How to Secure Your Laptop and Personal Data: 22 Steps That Actually Work
Secure your laptop with updates, encryption, password managers, two-factor authentication, router settings, backups and safer browsing habits.
Things You'll Need
- Laptop or desktop
- External backup drive
- Password manager
- Router admin access
- Authenticator app
- Offline storage for recovery codes
Steps
-

Update the operating system first
Close the holes attackers already know about
Install OS updates before changing anything else, because unpatched systems are the easiest way for malware to enter. On Windows, macOS or Linux, use the built-in update tool and restart when prompted. More Computers and Electronics guides follow the same update-first habit.
-
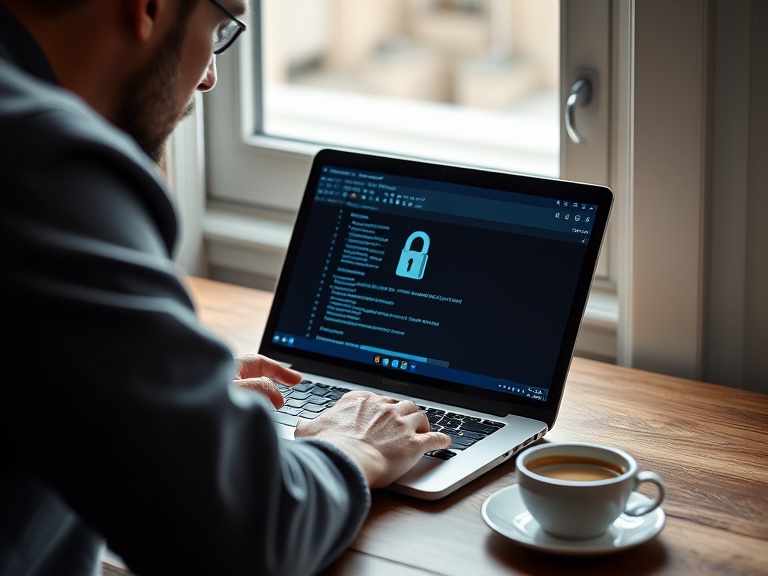
Enable full-disk encryption
Protect files if the laptop is lost or stolen
Turn on BitLocker on Windows, FileVault on macOS, or the encryption option provided by your Linux distribution. Encryption does not protect against every attack, but it makes a stolen device much less useful to a thief.
-

Use a password manager
Stop reusing passwords across accounts
Choose a reputable password manager and let it generate unique passwords for each site. Save recovery information offline as well, because losing access to the manager can lock you out of everything. The FTC has practical password guidance for consumers.
-
Create unique passwords for important accounts
Email, banking and cloud accounts need separate protection
If one website is breached and you reuse the same password, attackers can try it on your email or bank. Start by fixing email, payment accounts and cloud storage, then move to smaller accounts over time.
-
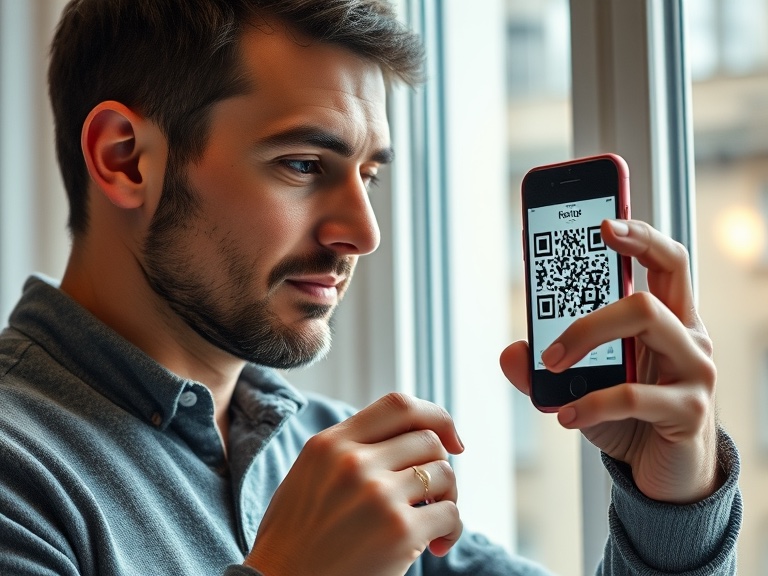
Turn on two-factor authentication
Add a second layer to logins
Use an authenticator app or hardware key where available. SMS is better than nothing, but app-based codes and security keys are harder to intercept. Keep backup codes in a safe place so you are not locked out.
-

Review browser extensions
Remove tools you no longer recognise
Extensions can read browsing data, so keep only the ones you actively need. Delete old ad blockers, shopping helpers and download tools you no longer use, then check permissions for the rest.
-

Use a standard user account for daily work
Limit what malware can change
Do not browse, email or test software from an administrator account. Keep a separate admin account for installations, so accidental malware has less power to change the system.
-

Enable the firewall
Block unwanted inbound connections
The built-in firewall is usually enough for a home laptop. Keep it enabled unless a trusted application specifically asks for a narrow exception, and avoid turning it off just to make a device work.
-

Set up automatic backups
Protect files from ransomware and hardware failure
Use the 3-2-1 rule: three copies, two local media types and one off-site backup. Cloud backup plus an external drive is a simple setup for most people, and it can save you after a failed update or stolen laptop.
-
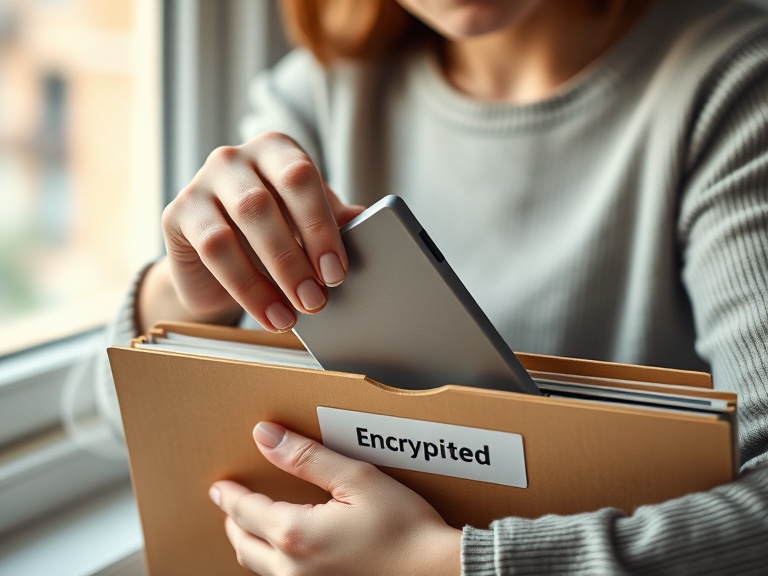
Encrypt external drives
Backups can be lost too
If you keep backups on a portable SSD or USB drive, encrypt it or use a drive with hardware encryption. Label the drive, store it away from the laptop, and test that you can restore a file.
-

Update the router firmware
Secure the network your laptop relies on
Log into your router and check for firmware updates. If the router is old and no longer receives updates, replace it. The UK NCSC provides practical router security advice.
-

Change the default router password
Stop the easiest network attack
Default admin passwords are often printed on the device and widely known. Replace the router admin password with a unique one stored in your password manager.
-

Use WPA2 or WPA3 Wi-Fi security
Keep wireless traffic protected
Set the wireless security mode to WPA3 if available, otherwise WPA2 AES. Avoid open or WEP networks, and do not reuse the Wi-Fi password as the router admin password.
-
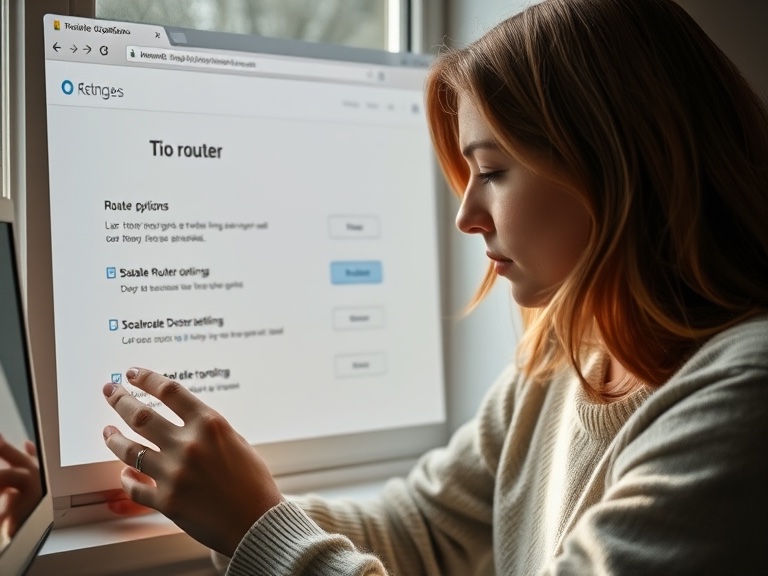
Disable WPS if it is enabled
Close a convenient but weak login method
Wi-Fi Protected Setup can make connecting easier, but older implementations have known weaknesses. If your router offers WPS, turn it off unless you specifically need it and understand the risk.
-

Review connected devices
Find unknown phones, laptops and smart gadgets
Check the router client list for devices you do not recognise. If something looks wrong, change the Wi-Fi password, update firmware and reconnect only trusted devices.
-

Enable find-my-device
Locate or lock a lost laptop
Turn on device location and remote lock through Apple, Microsoft or your Linux desktop account. This does not replace encryption, but it gives you a better chance of recovery.
-

Lock the screen automatically
Prevent quick access in public spaces
Set a short inactivity lock and require a password on wake. In cafes, trains and shared homes, a locked screen is one of the simplest protections available.
-

Be careful with public Wi-Fi
Use HTTPS, a VPN or mobile data
Public networks can be convenient but risky. Avoid banking on unfamiliar Wi-Fi, keep browser HTTPS warnings enabled, and use a trusted VPN or mobile data when you need extra protection.
-

Update applications regularly
Browsers and plugins are common attack paths
Keep the browser, email client, PDF reader and media apps updated. Enable automatic updates where safe, and remove software you no longer use.
-
Review app permissions
Camera and microphone access should be intentional
Check which apps can access the camera, microphone, files and location. Revoke permissions for apps that do not need them, and cover or disconnect devices when not in use.
-

Treat email links as suspicious
Phishing is still the biggest consumer threat
Do not click urgent payment or account alerts without checking the sender and visiting the official site directly. The CISA phishing guidance applies to home users too.
-

Store recovery codes offline
Keep access when a device is lost
Print or write down account recovery codes, then store them in a secure place. Do not keep all codes in the same cloud account you are trying to protect.
Tips
- Start with email, banking and cloud accounts before smaller services.
- Test a backup restore before you need it.
- Keep recovery codes offline and separate from the main device.
Warnings
- Do not disable encryption or firewall settings just to make old software run.
- Do not reuse passwords across email, banking and shopping sites.
- Be cautious with router firmware from unofficial sources.
References
About This Article
This guide was written and edited by the HowCompass editorial team. It is reviewed for clarity, safety and accuracy before publication, and revised when readers report something out of date.
Found a step that's wrong or out of date? Tell us and we'll verify and revise it.