How to Host a Dinner Party: 25 Simple Steps for a Relaxed Evening
Host a relaxed dinner party with a simple menu, clear timing, thoughtful table setting and a calm plan for dietary needs.
Things You'll Need
- Dinner plates and glasses
- Linen napkins or runner
- Oven-safe dish
- Sharp knife and board
- Serving platters
- Candles or soft lighting
Steps
-

Set the guest count first
Decide how many people you can host comfortably
Count seats, table space, oven space and your own energy. A relaxed dinner for six is easier than an ambitious dinner for twelve, especially if you are cooking everything yourself.
-
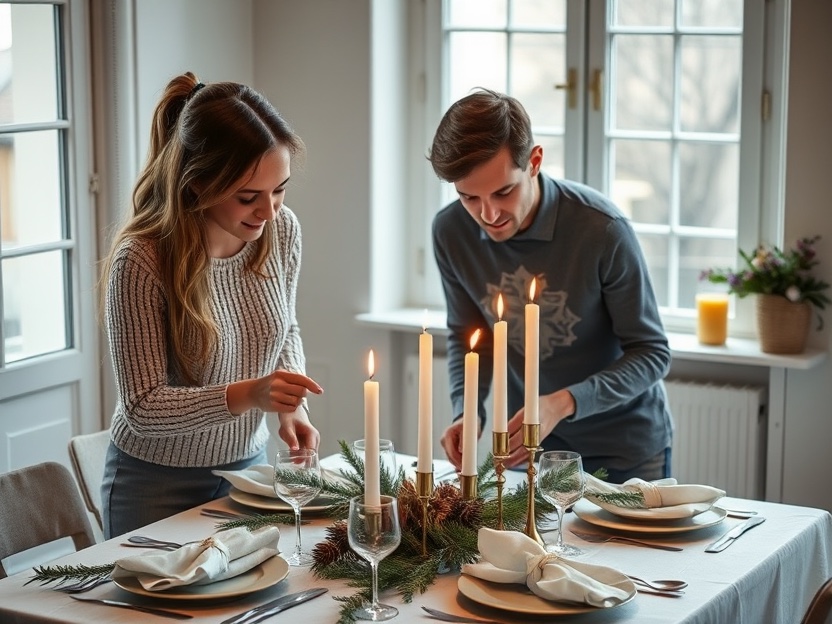
Choose a simple theme
Give the evening a direction without overcomplicating it
Pick one cuisine, season or colour palette. A French bistro night, autumn roast dinner or Mediterranean sharing table works well and keeps shopping focused. If you need more structure, use the Food and Entertaining category to find a matching menu.
-
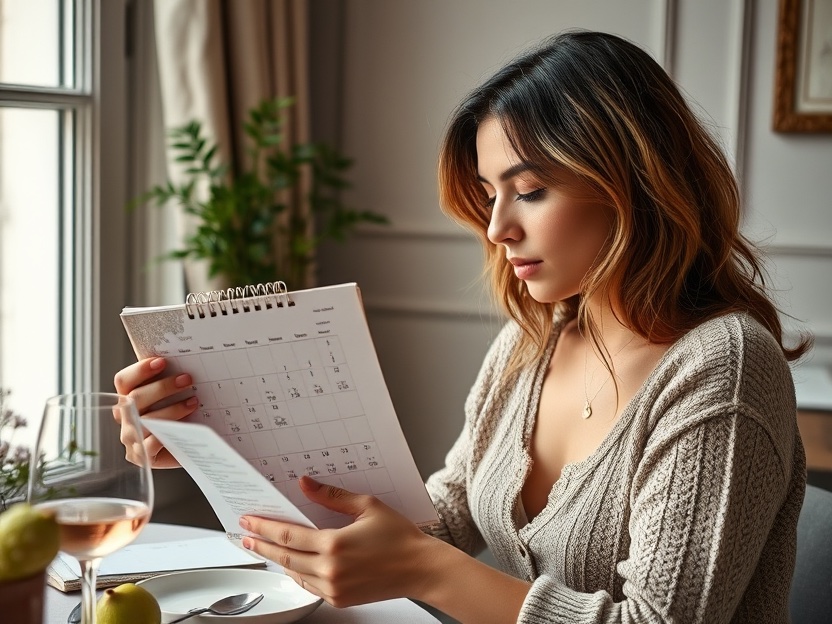
Pick a date that allows prep time
Avoid scheduling the party on your busiest day
Choose a day when you can shop the day before and tidy the kitchen the morning of. If guests arrive at 7:30, plan food that can rest or be finished quickly.
-

Send clear invitations
Tell guests what to expect and what to bring
Include date, start time, end time, dress code, dietary questions and whether it is potluck. A short message is enough, but make the RSVP date clear.
-

Ask about allergies and dietary needs
Check before you shop, not after guests arrive
Ask specifically about nuts, shellfish, dairy, gluten, alcohol and vegetarian or vegan preferences. Keep one dish naturally safe so you are not redesigning the menu at the last minute.
-
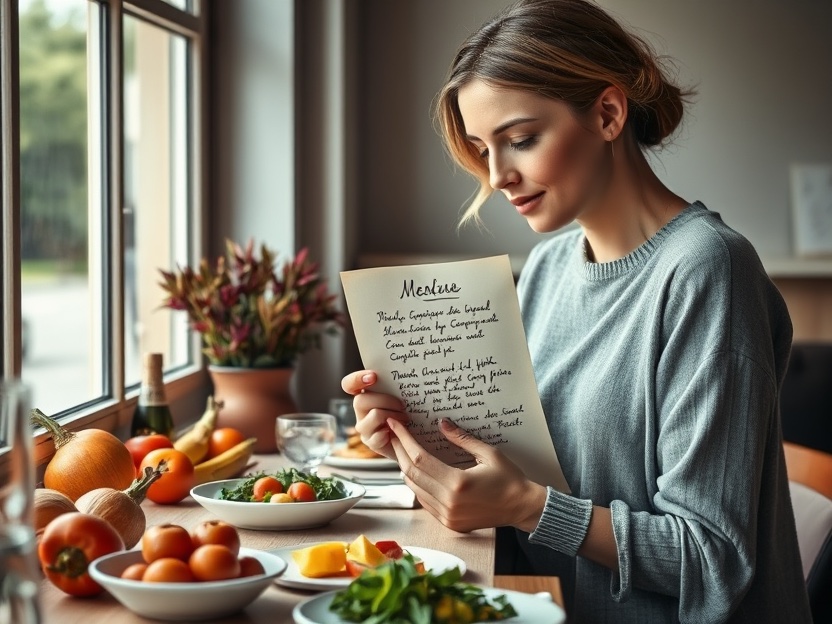
Plan a menu you can cook calmly
Choose dishes you have made before
A good beginner menu has one main, two sides and one make-ahead dessert. Avoid dishes that need precise timing from multiple guests or unfamiliar techniques.
-
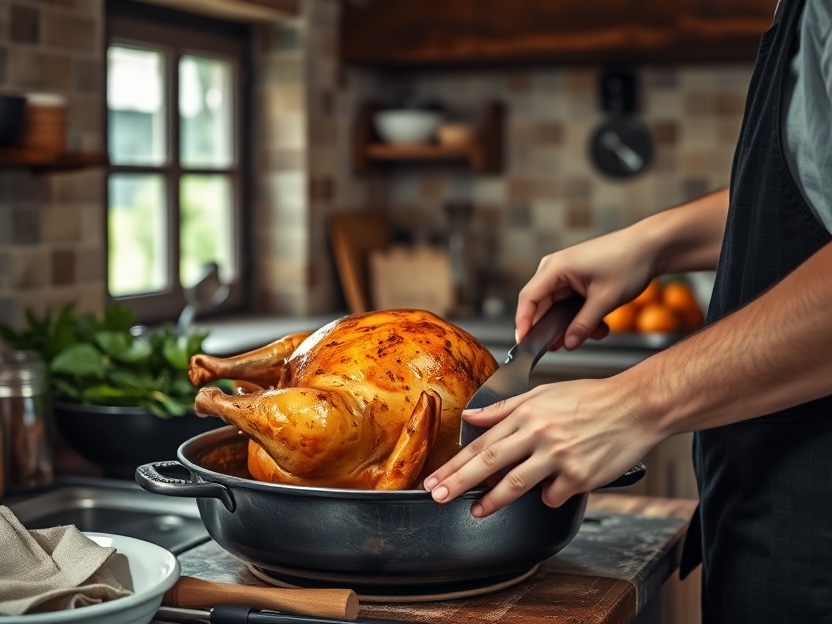
Choose a forgiving main course
Pick something that tastes better after resting
Roast chicken, braised beef, pasta bake or a vegetable traybake are easier than delicate seafood. If you want a European feel, use olive oil, garlic, lemon, herbs and good bread.
-
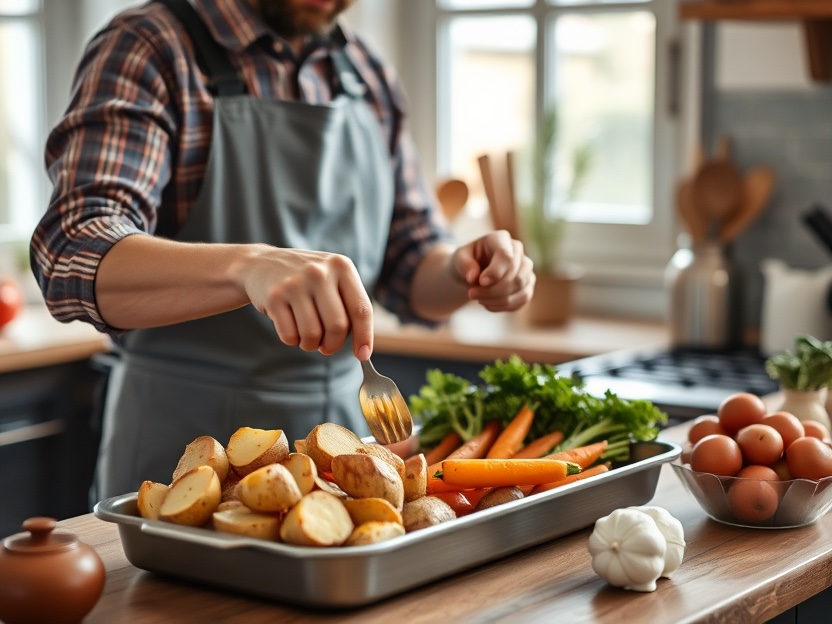
Select two sides that complement the main
Balance texture, colour and temperature
Choose one warm starch and one fresh or acidic side. Roasted potatoes, green beans, fennel salad or a simple grain salad can make the plate feel complete.
-
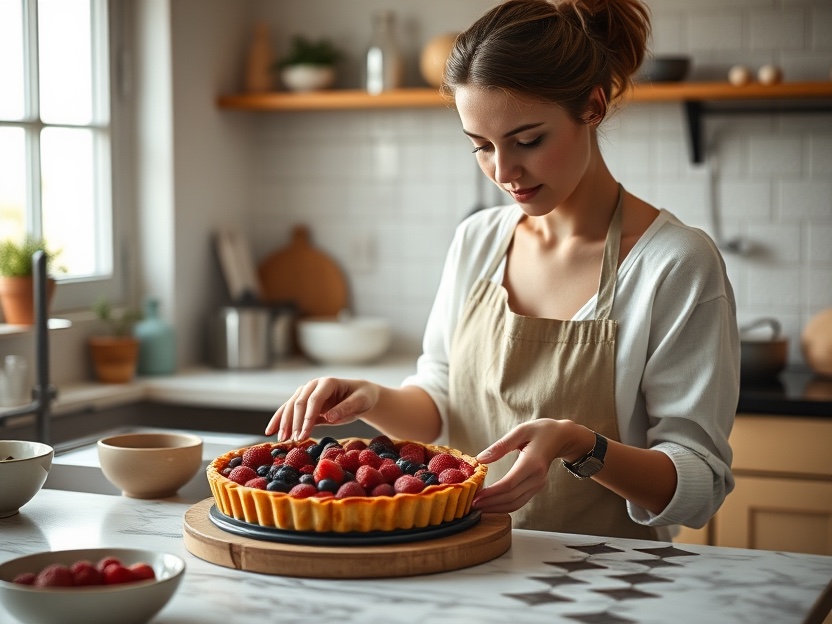
Pick a dessert you can make ahead
Do not save the hardest task for last
Chocolate mousse, fruit crumble, panna cotta or a simple tart can be made earlier. Keep plating easy so you can serve without stress.
-
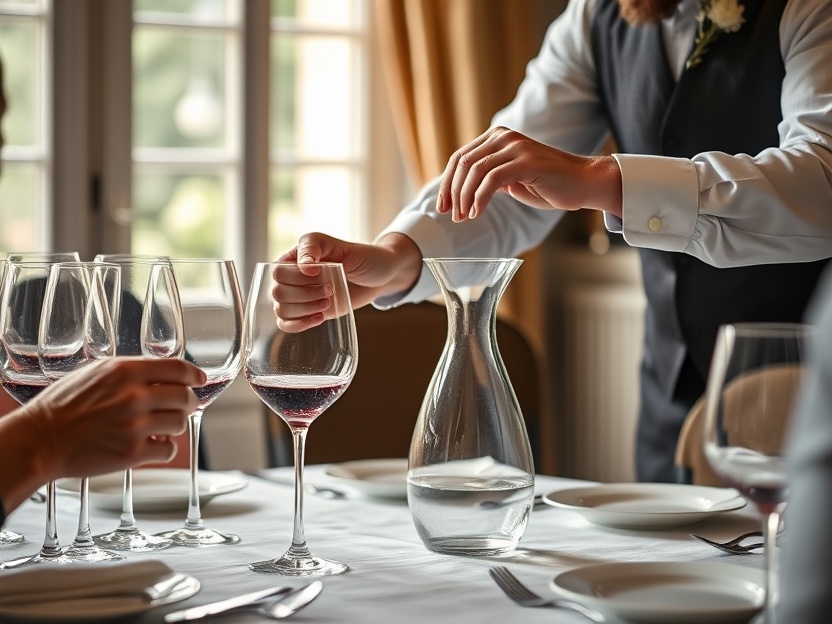
Decide drinks before the table is set
Offer one wine, one non-alcoholic and water
Choose a red, a white or a sparkling option, plus a good non-alcoholic drink such as sparkling water with citrus. Pre-pour or chill bottles so service does not interrupt conversation.
-

Make a shopping list by aisle
Save time and reduce forgotten items
Group items into produce, protein, dairy, pantry, drinks and household. Check your fridge and pantry before leaving so you do not buy duplicates.
-
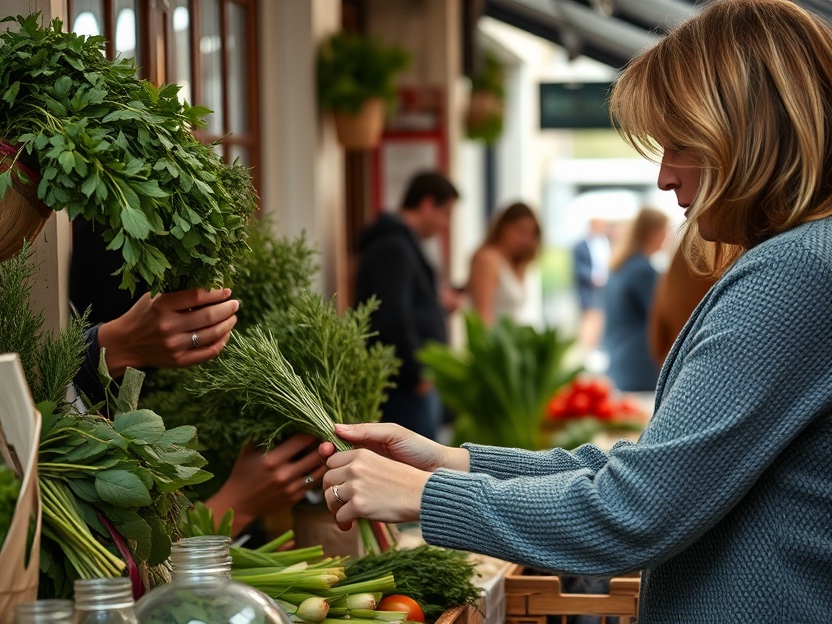
Shop a local market for fresh pieces
Buy herbs, bread and produce close to the day
A farmers' market can improve flavour and give the evening a European feel. Buy delicate herbs, bread and fruit one or two days before, not weeks in advance.
-
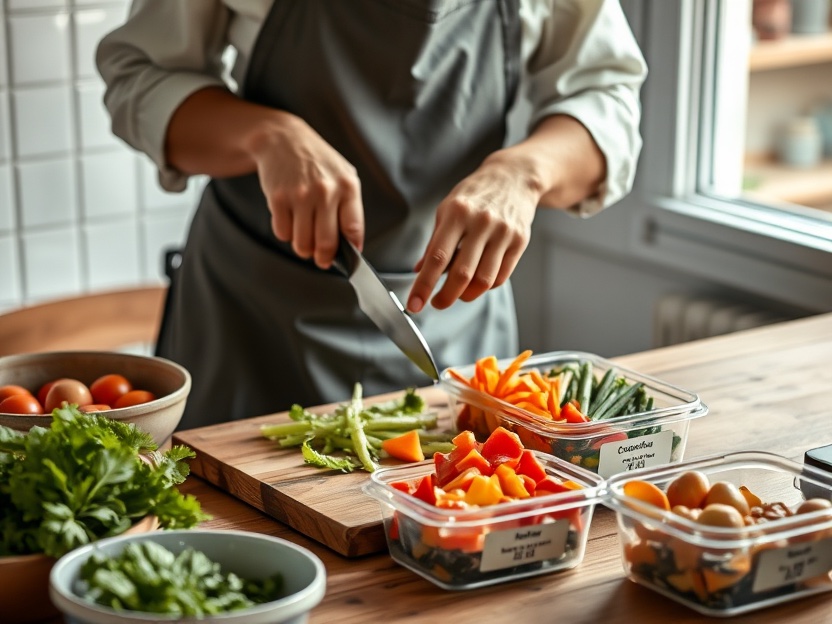
Do the prep the day before
Chop, measure and chill what can wait
Wash salad leaves, chop onions, make dessert, marinate meat and set the table if you have space. The day before is for reducing tasks, not adding them.
-
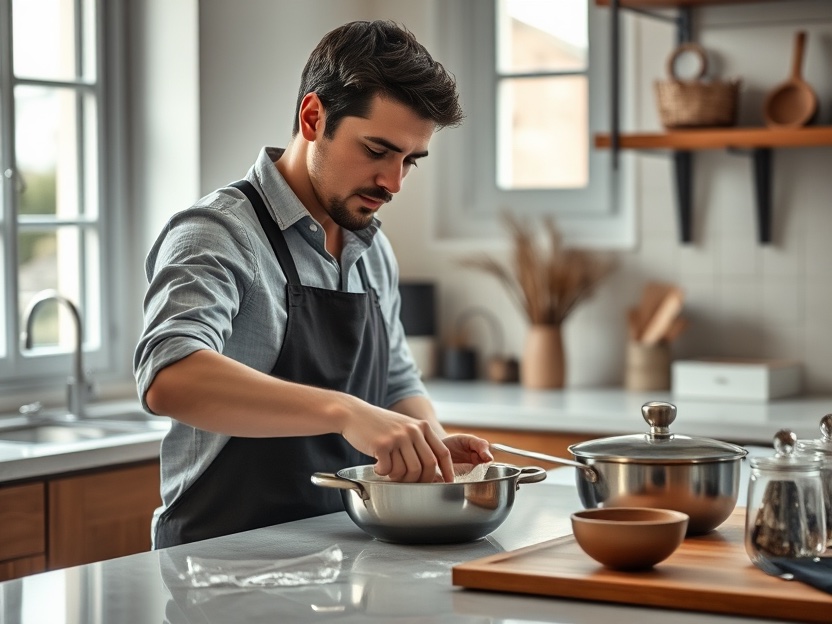
Clean the kitchen before cooking
Start with clear counters and empty sinks
Wipe surfaces, clear clutter and run the dishwasher before you begin. A clean workspace makes the actual cooking feel manageable.
-
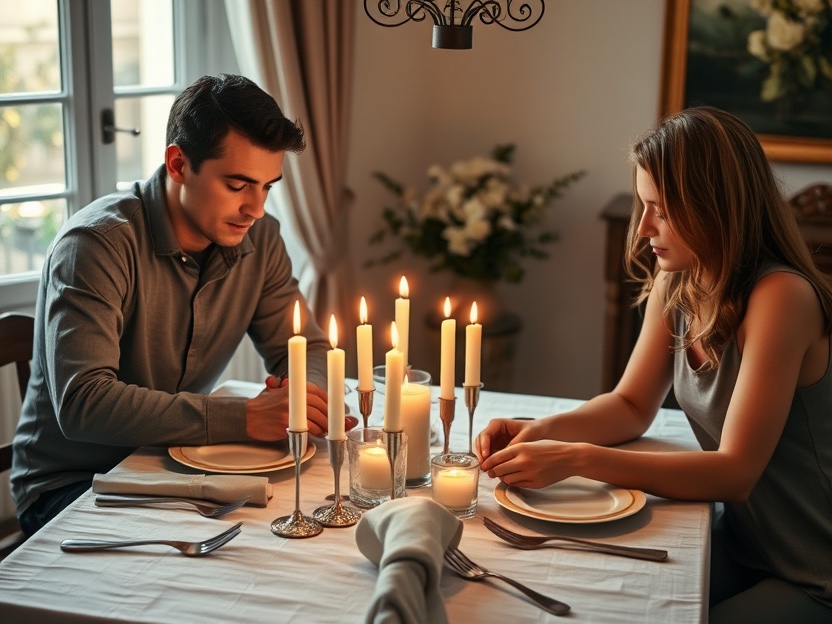
Set the table with one focal point
Keep the centre low enough to talk across
Use a runner, candles or a small bowl of seasonal fruit. Avoid tall arrangements that block eye contact or force guests to lean around them.
-
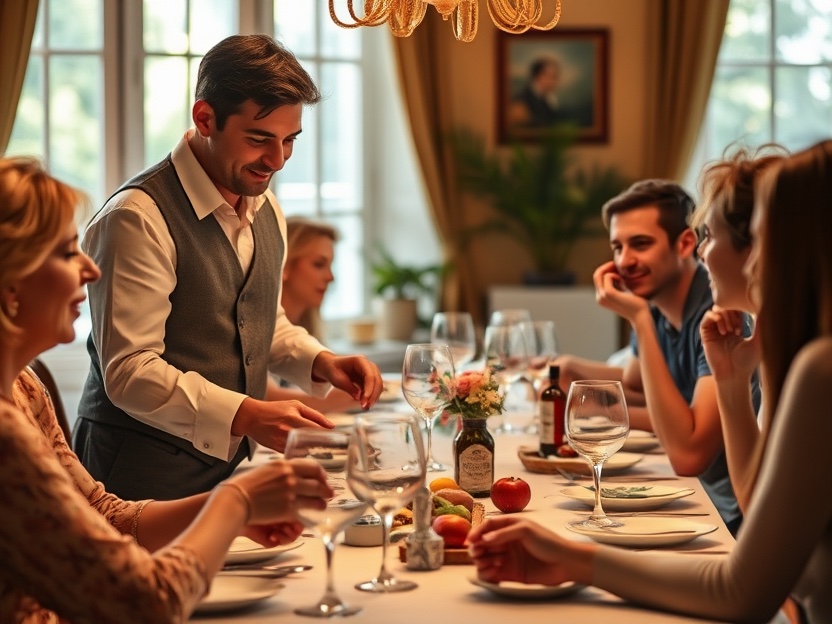
Choose lighting that flatters the room
Dim overhead lights and add warm lamps
Soft lighting makes a small dining area feel more welcoming. Use candles, table lamps or a dimmer rather than bright ceiling lights.
-
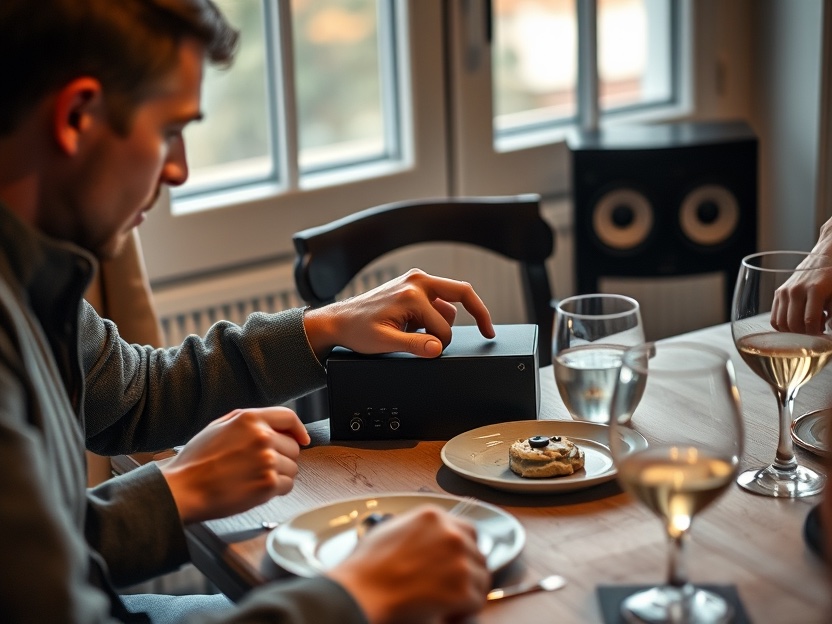
Create a low-volume playlist
Music should fill silence, not compete with conversation
Choose instrumental jazz, French café music or acoustic playlists. Keep the volume low enough that guests do not raise their voices.
-

Prepare a welcome drink
Give guests something while you finish cooking
Set out sparkling water, juice or pre-poured wine near the entry. A simple welcome gesture helps the evening start before the food is ready.
-
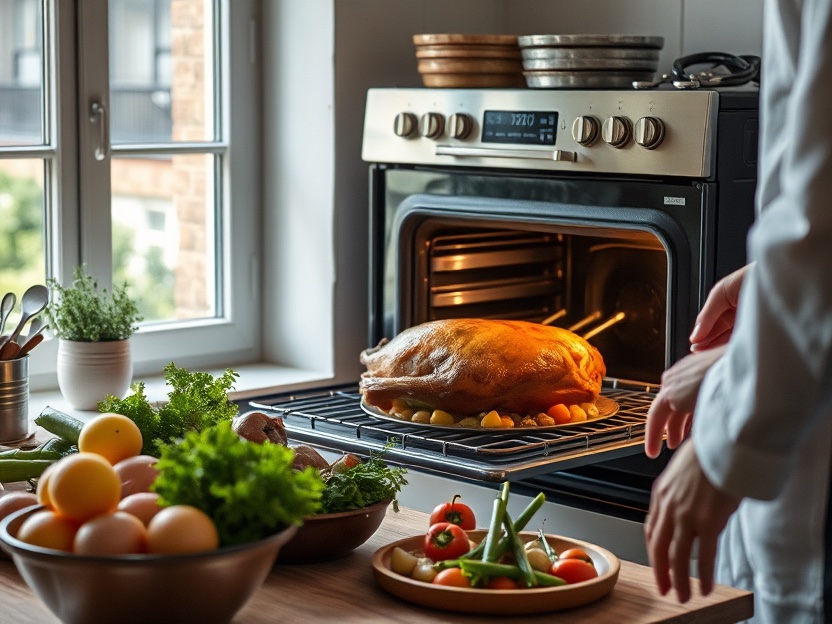
Cook in sequence, not all at once
Use oven space and stovetop timing deliberately
Write a simple timeline: dessert first, main next, sides last. If the oven is full, choose dishes that can sit at room temperature without suffering.
-
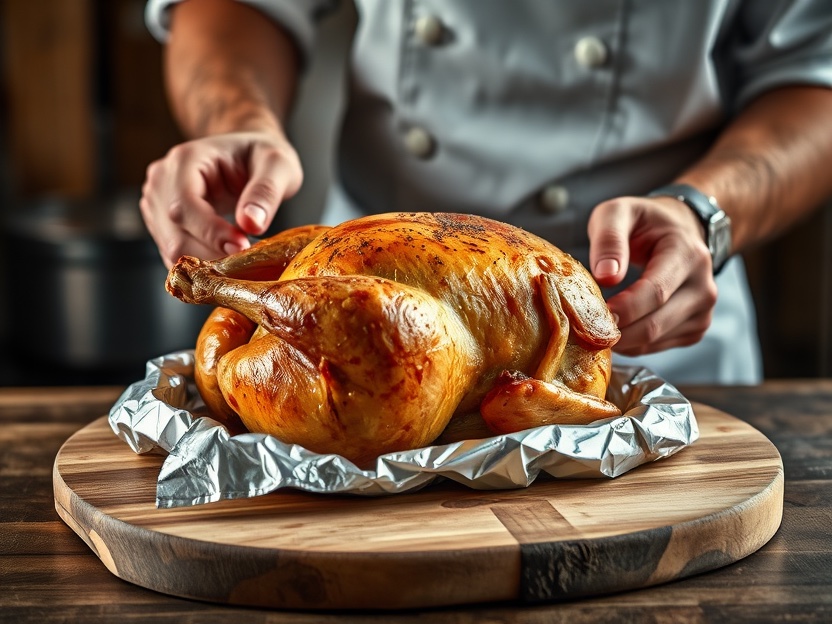
Rest the meat before carving
Let juices redistribute for better slices
Roast chicken, beef or lamb tastes better after resting. Cover loosely with foil and use the time to warm plates and finish sauces.
-
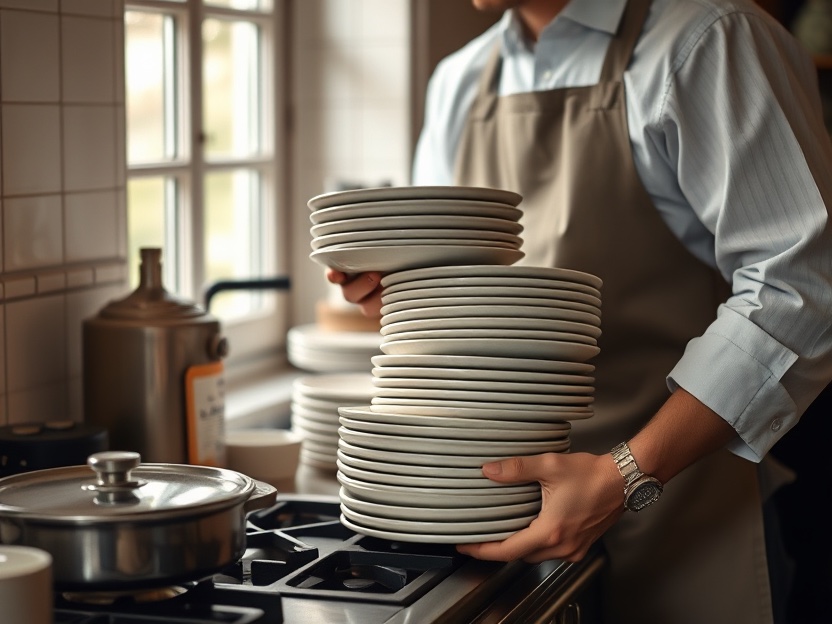
Warm plates just before serving
Small details make food feel considered
Run plates under hot water or place them in a low oven for a few minutes. Dry them carefully before serving so sauces do not slide.
-
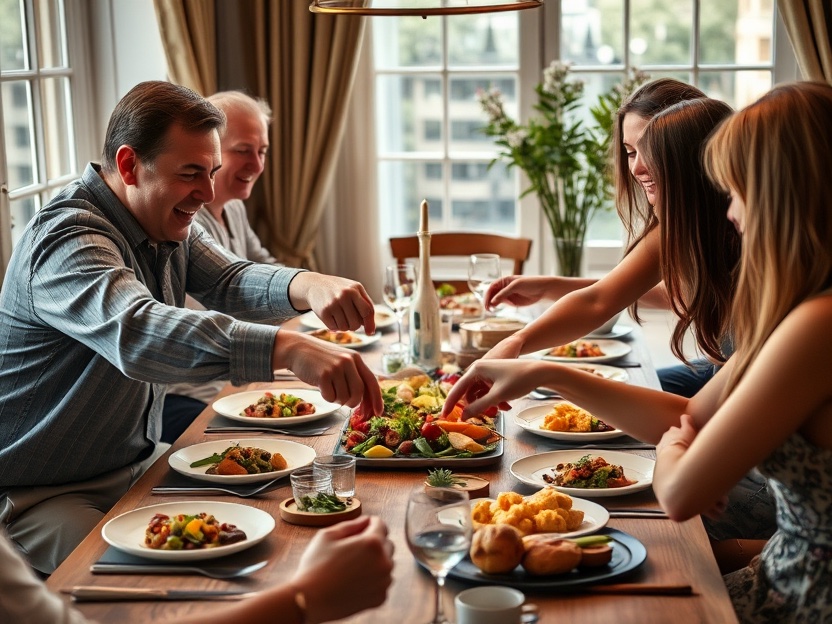
Serve family-style if the menu allows
Platters reduce trips to the kitchen
Pass a few shared dishes around the table instead of plating every portion. This works well for casual dinners and keeps the host with guests.
-
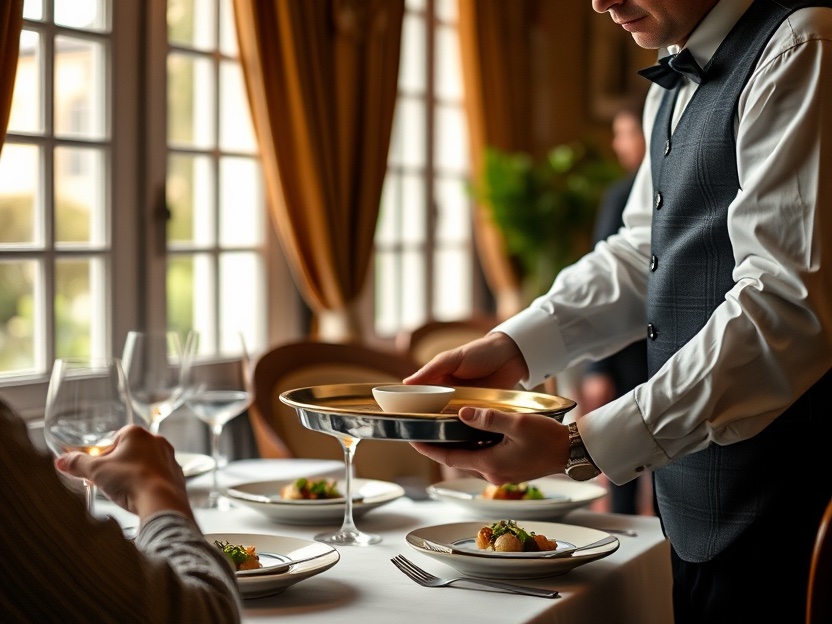
Clear between courses calmly
Reset the table without interrupting the flow
Remove finished plates, wipe crumbs and refresh drinks before dessert. Keep a tray ready so clearing takes one trip, not five.
-
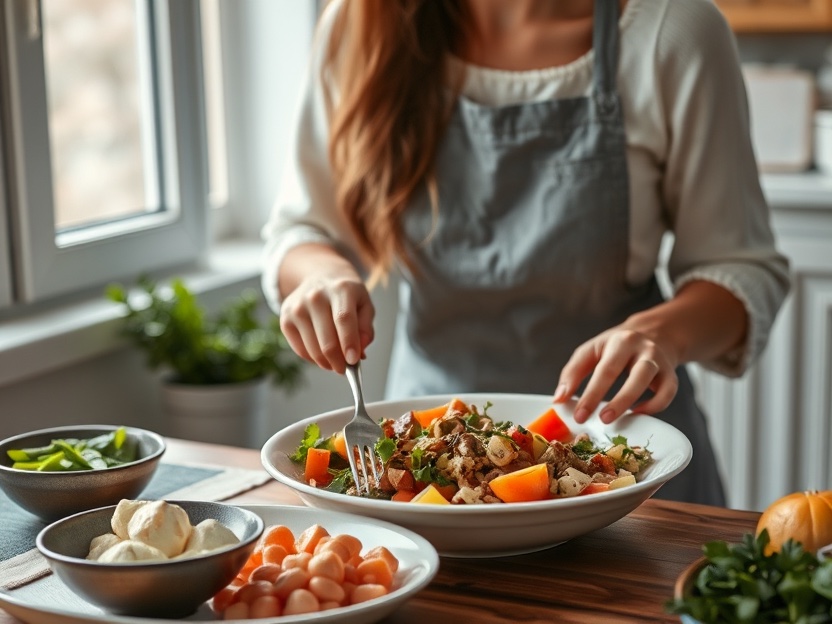
Handle dietary swaps without drama
Have one simple backup option ready
If a guest cannot eat the main, offer a side plate, salad, bread and cheese, or a pre-made vegetarian portion. Do not announce the problem loudly; quietly solve it.
-
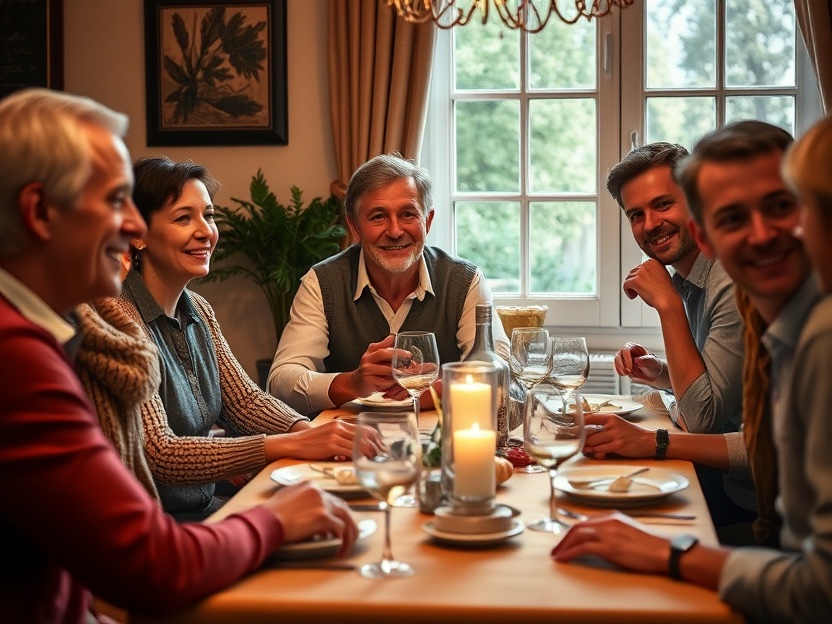
Enjoy the evening yourself
A relaxed host makes guests relax
Do not chase perfection. Sit down, eat, listen to conversation and let small mistakes pass. The best dinner party memory is usually the atmosphere, not the menu.
Tips
- Cook a dish you have already made successfully.
- Prepare anything that can be made a day ahead.
- Keep one naturally safe dish for guests with dietary restrictions.
Warnings
- Ask about allergies before shopping or cooking.
- Keep raw meat separate from ready-to-eat foods and wash hands after handling it.
- Do not leave candles unattended near curtains or table decorations.
References
About This Article
This guide was written and edited by the HowCompass editorial team. It is reviewed for clarity, safety and accuracy before publication, and revised when readers report something out of date.
Found a step that's wrong or out of date? Tell us and we'll verify and revise it.