How to Deep Clean Your Home: 27 Steps for a Spotless Weekend
Deep clean every room with a room-by-room plan, top-down dusting, kitchen and bathroom routines, and floor finishing steps that actually work.
Things You'll Need
- Microfibre cloths
- All-purpose cleaner
- Glass cleaner
- Soft and stiff brushes
- Vacuum with attachments
- Rubber gloves
Steps
-

Make a room-by-room plan
Decide the order before you start cleaning
Work top to bottom and dry areas before wet ones. A simple order is bedrooms, bathrooms, kitchen, living areas, then floors. For related projects, see the Home and Garden guides.
-
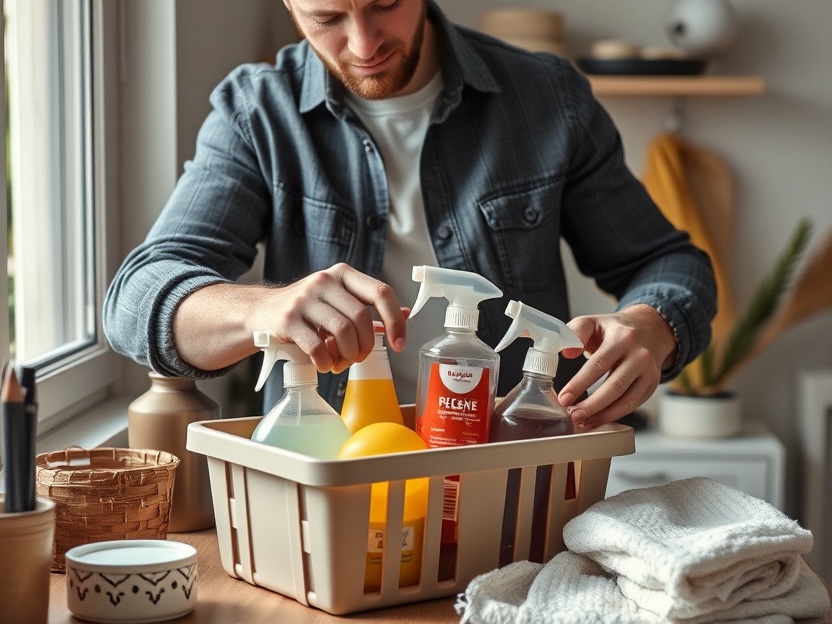
Gather supplies before starting
Avoid stopping halfway to search for tools
Collect microfibre cloths, all-purpose cleaner, glass cleaner, brushes, gloves, a bucket and a vacuum. Keep everything in one caddy so you can move room to room.
-

Open windows for ventilation
Let dust and cleaning odours escape
Crack windows where safe while using sprays. If the weather is cold, ventilate for a few minutes between rooms instead of keeping one window open all day.
-

Clear clutter first
You cannot clean surfaces covered in objects
Put away items, throw obvious rubbish and move objects to a staging basket. Do not start deep sorting during the cleaning session.
-
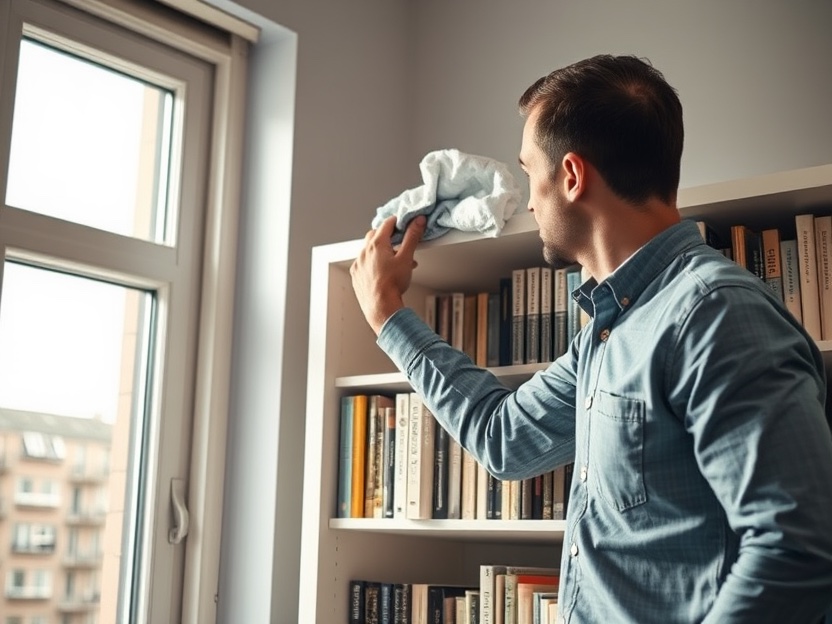
Dust high surfaces before low ones
Let falling dust land where you can clean it
Start with shelves, light fixtures, tops of cabinets and picture frames. Use a dry microfibre cloth or a duster, then move downward.
-
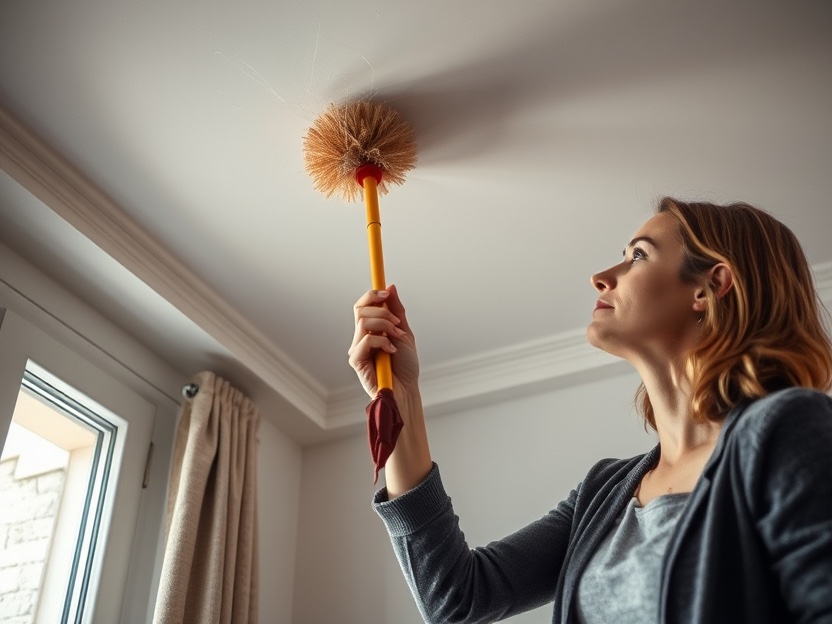
Remove cobwebs from corners
Use a long handle and work gently
A duster on an extendable pole can reach ceiling corners. If a web sticks, wipe the corner with a damp cloth afterward.
-
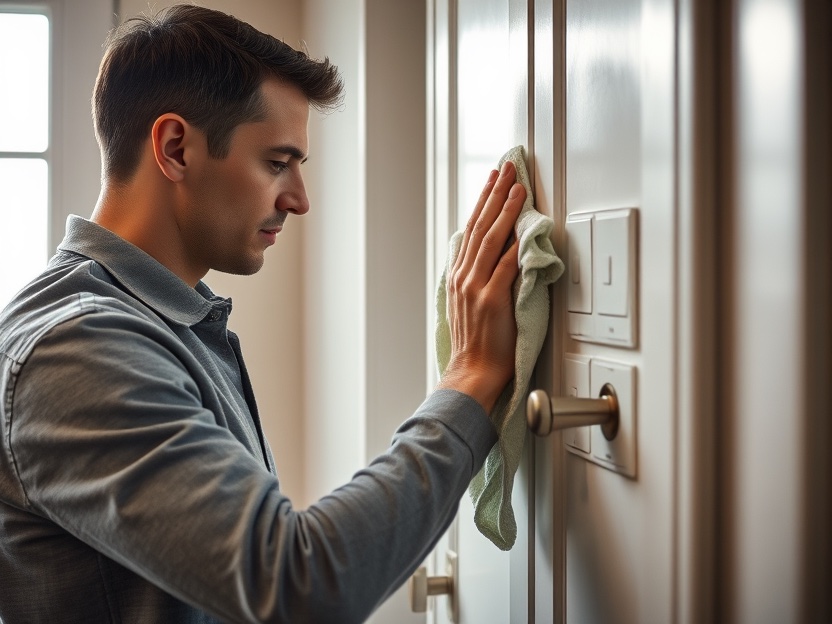
Wipe touchpoints and switches
Clean the surfaces hands touch most
Use a lightly dampened cloth on light switches, door handles, taps and remote controls. If using disinfectant, follow the product's contact time.
-
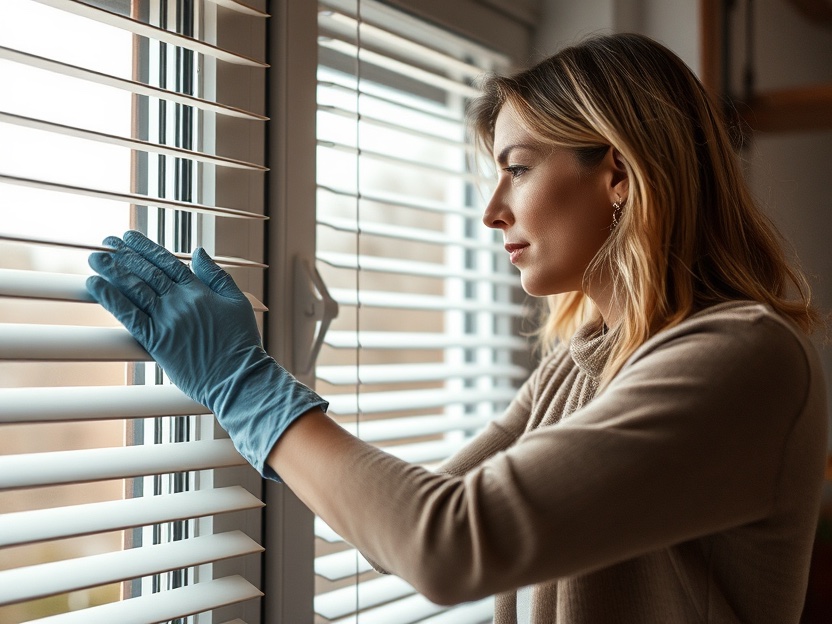
Dust blinds and window frames
Work one slat at a time for visible results
Use a microfibre glove or a vacuum brush attachment. Finish with a damp cloth on the sill and frame to catch loosened dust.
-

Clean interior glass
Use a squeegee or two cloths
Spray glass cleaner onto the cloth, not directly onto the pane where possible, then wipe with a dry cloth. Work from top to bottom in overlapping strokes.
-

Clear window tracks and sills
Use a brush and vacuum for built-up grit
A stiff brush, damp cloth and vacuum nozzle can remove dirt from tracks. Finish by wiping the sill with an all-purpose cleaner.
-
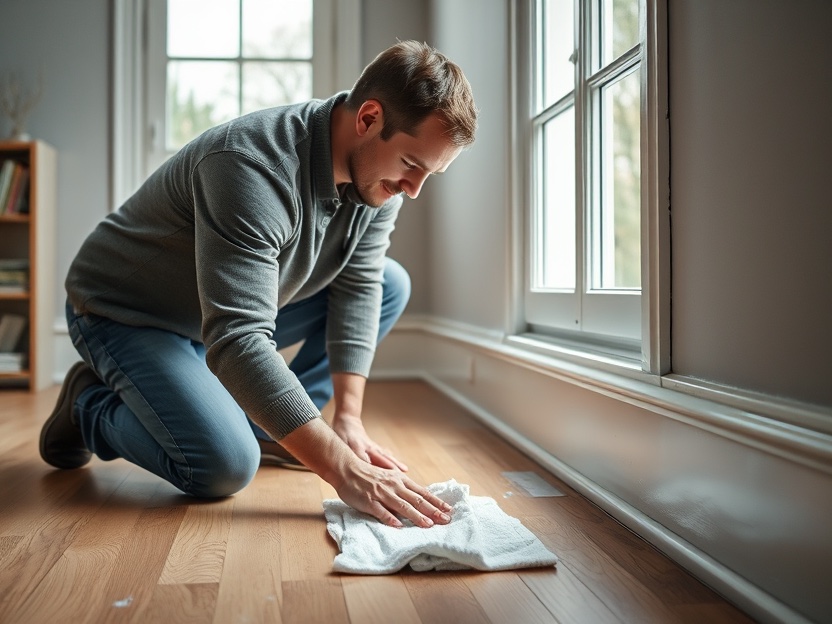
Dust baseboards and edges
The lower edge shows how clean a room feels
Run a damp microfibre cloth along baseboards, door frames and radiator edges. Use a toothbrush for corners where dust collects.
-
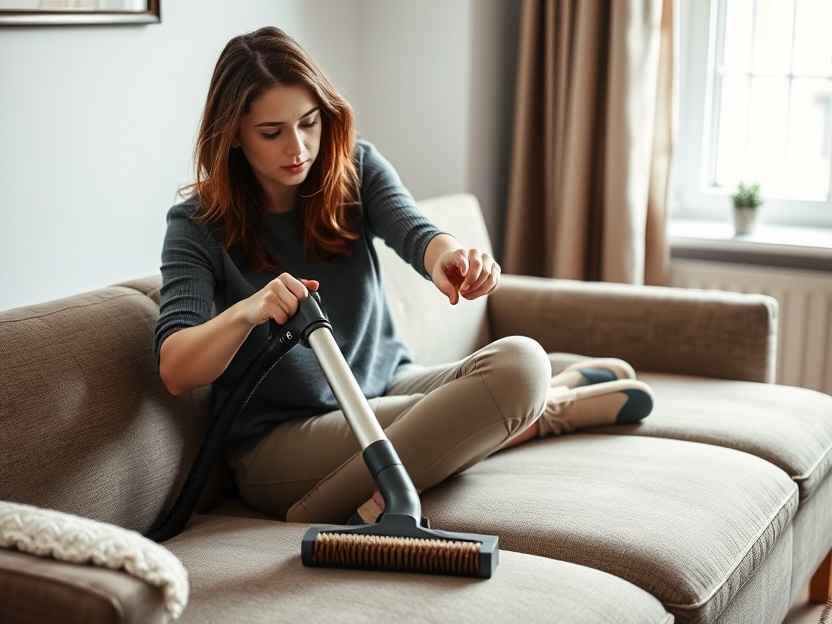
Vacuum upholstery and soft furniture
Use the brush attachment and go slowly
Vacuum cushions, arms, backs and seams. If furniture has removable covers, check the care label before washing.
-

Spot-clean walls carefully
Test a small area before scrubbing
Use a damp microfibre cloth with a little mild detergent on marks near switches and corners. Avoid soaking painted walls or abrasive pads.
-
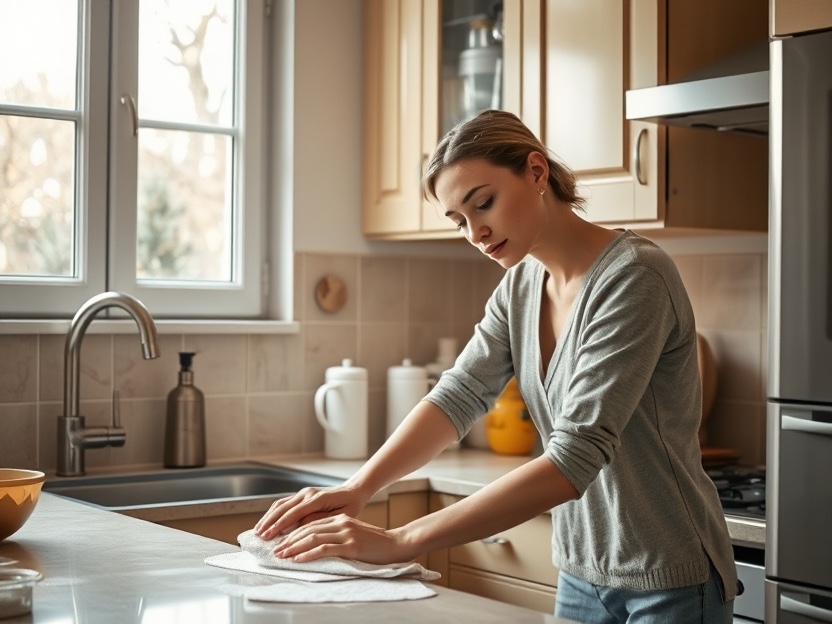
Degrease kitchen cabinet fronts
Start with warm soapy water, not harsh scrubbing
Wipe from top to bottom and dry immediately. For sticky handles and hinges, use a soft brush and a mild degreaser.
-

Clean the stovetop and splatter wall
Let the cleaner dwell before scrubbing
Remove grates if possible and soak them. Spray the surrounding wall or splashback, wait a few minutes, then wipe with a non-scratch pad.
-
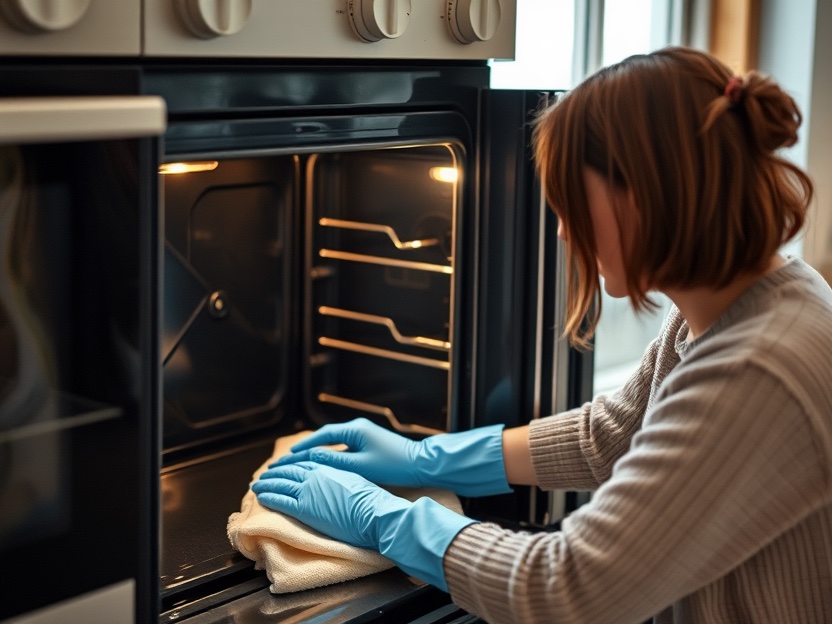
Deep-clean the oven safely
Ventilate and follow product instructions
Remove racks, apply oven cleaner if needed, and let it work for the stated time. Rinse thoroughly and run the oven empty on a low heat if residue remains.
-
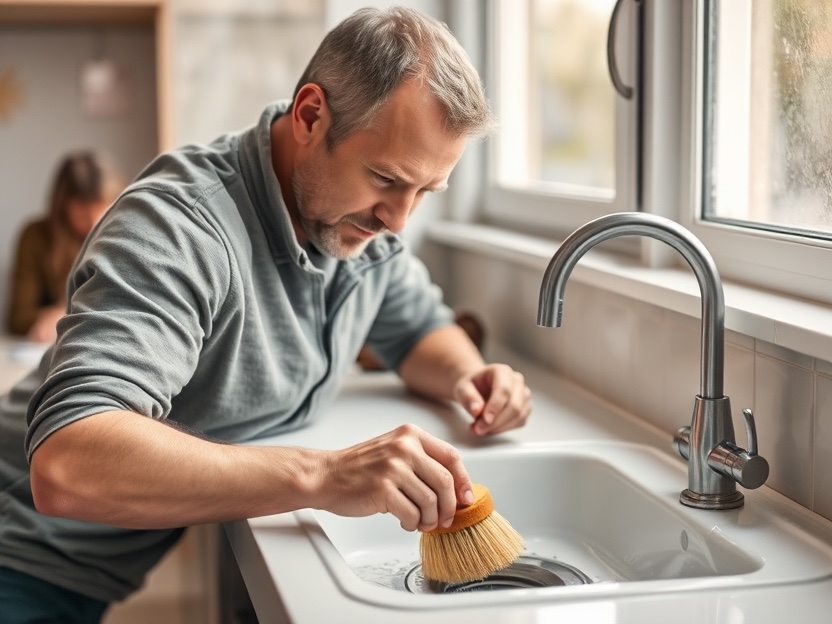
Sanitise the sink and drain
The sink collects more residue than it looks
Scrub the basin, taps and drain ring with baking soda or mild cleaner. Rinse the drain with hot water and remove any trapped food.
-

Descale the kettle and coffee maker
Mineral buildup affects taste and efficiency
Use a descaling solution or white vinegar according to the appliance manual. Run several clean-water cycles afterward.
-
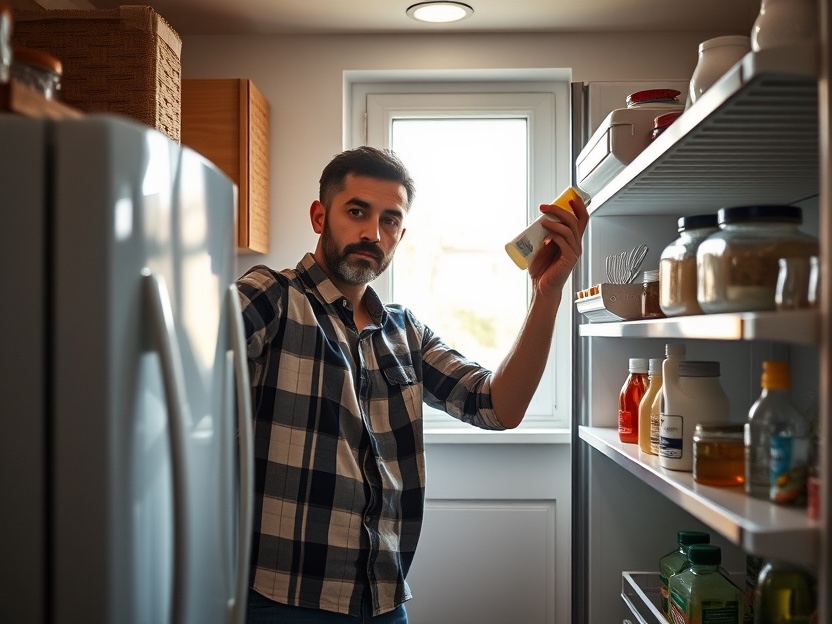
Clean fridge shelves and spills
Remove shelves and wash them separately
Take out removable shelves, wash with warm soapy water and dry before replacing. Wipe the interior with a mild cleaner and discard old food.
-
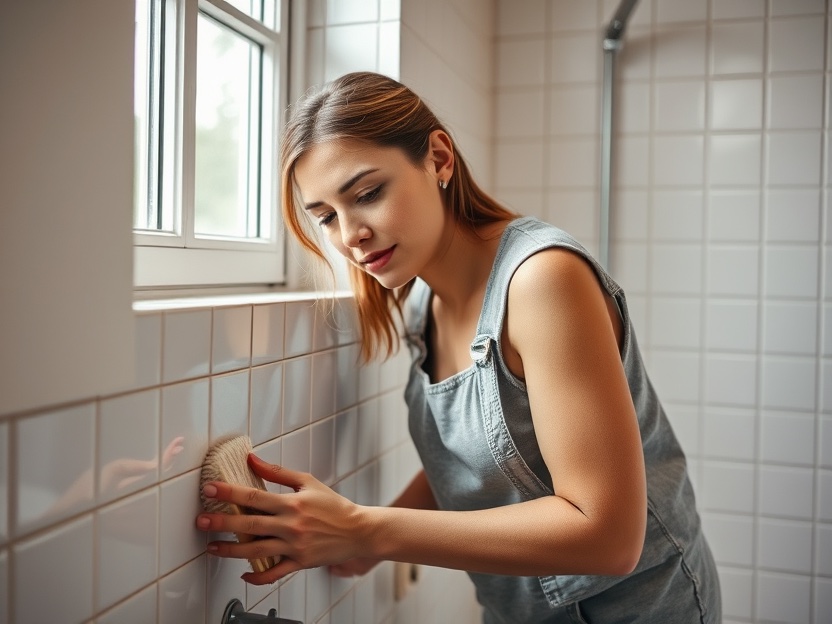
Scrub bathroom tiles and grout
Let the cleaner work before using a brush
Apply a bathroom cleaner to tiles and grout, wait, then scrub with a stiff brush. Rinse well and squeegee glass or tile walls to reduce streaks.
-
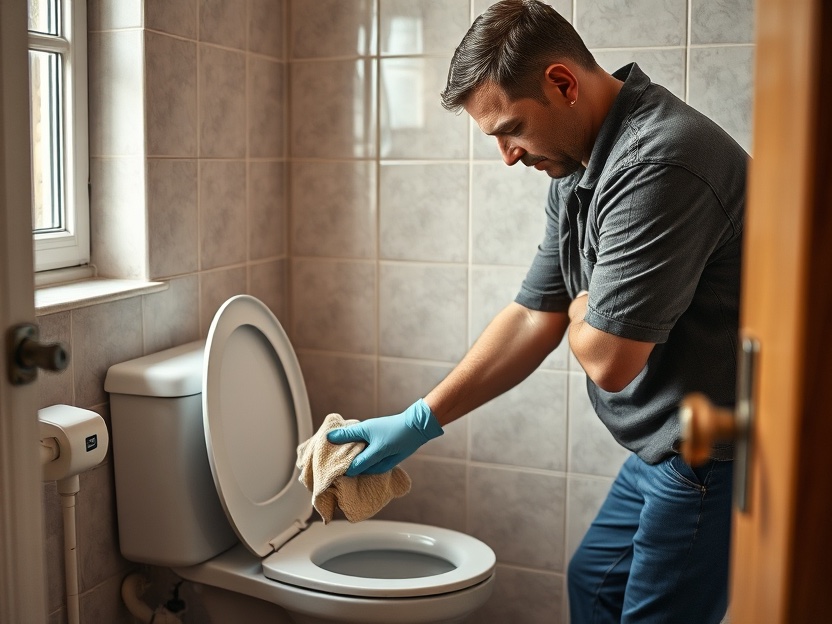
Disinfect the toilet inside and out
Clean from the least dirty area to the most
Wipe the lid, seat, hinge covers, bowl rim and base. Use separate cloths for the toilet and sink, and let disinfectant sit for the recommended time.
-
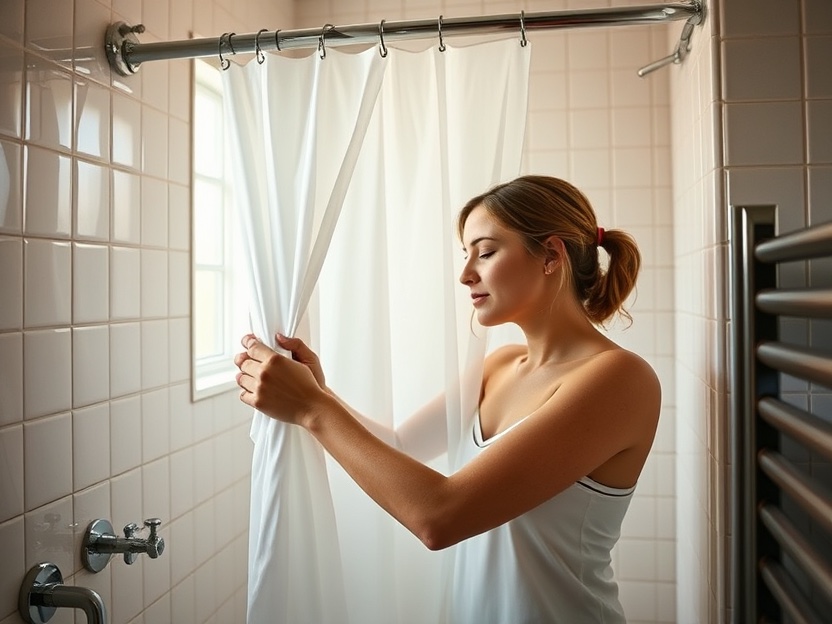
Wash the shower curtain and liner
Check care labels before machine washing
Plastic liners often need a gentle cycle with towels to balance the load. Hang the curtain back up while damp so it dries straight.
-
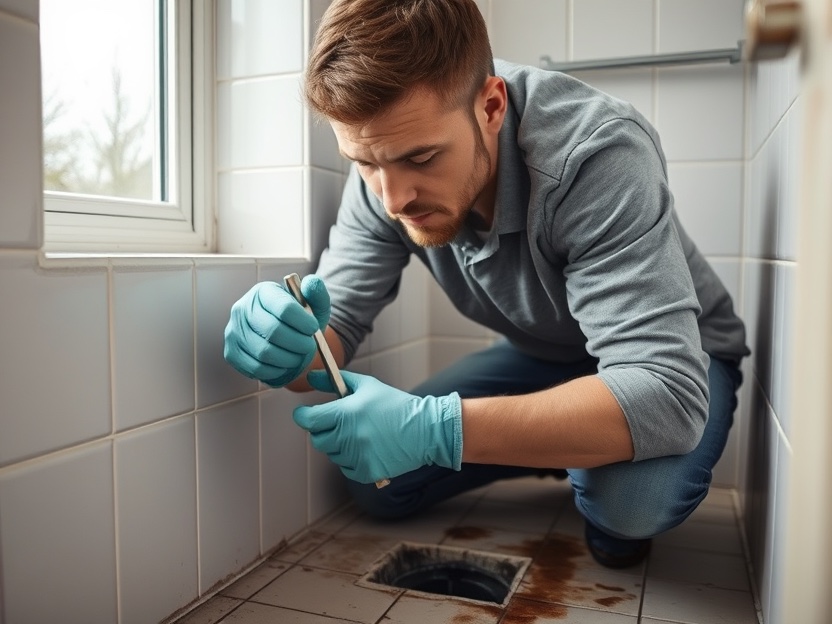
Clear and freshen drains
Remove hair before pouring cleaners
Use gloves and a drain tool to remove hair, then flush with hot water. Avoid mixing different chemical cleaners in the same drain.
-

Vacuum under furniture
Dust hides where you do not look daily
Move light chairs and tables, then use the crevice tool under beds and sofas. Check for lost items before vacuuming too deeply.
-
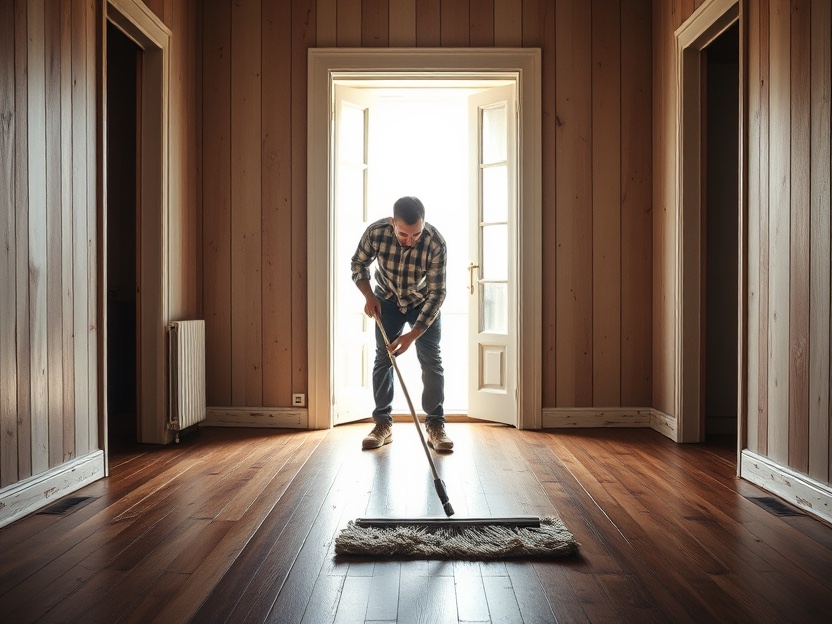
Wash floors last
Finish with a clean exit path
Vacuum or sweep before mopping. Start at the far corner and mop toward the door, rinsing the mop often enough that you are not spreading dirt.
-

Freshen textiles and linens
Wash what can be laundered, air what cannot
Wash cushion covers, throws and bed linens according to care labels. Air rugs and curtains outside if weather allows.
-

Do a final walkthrough
Check mirrors, handles and floor edges
Walk each room and look for missed spots, streaks and wet surfaces. Open windows briefly to dry floors, then put cleaning supplies away before they become clutter.
Tips
- Work top to bottom so dust falls onto areas you have not cleaned yet.
- Ventilate rooms when using stronger cleaners.
- Keep separate cloths for kitchen and bathroom surfaces.
Warnings
- Never mix bleach, ammonia or different toilet and drain cleaners.
- Test cleaning products on a small hidden area before scrubbing painted surfaces.
- Wear gloves when using oven cleaners, drain tools or disinfectants.
References
About This Article
This guide was written and edited by the HowCompass editorial team. It is reviewed for clarity, safety and accuracy before publication, and revised when readers report something out of date.
Found a step that's wrong or out of date? Tell us and we'll verify and revise it.