How to Change a Flat Tire
Complete guide to safely changing a flat tire, from finding a safe location to securing the spare and checking tire pressure.
Things You'll Need
- Spare tire
- Jack
- Lug wrench
- Wheel wedges
- Gloves
Steps
-
1
Find a Safe Location
Pull over to a flat, stable surface away from traffic. Avoid curves and slopes. Turn on your hazard lights immediately.
-
2
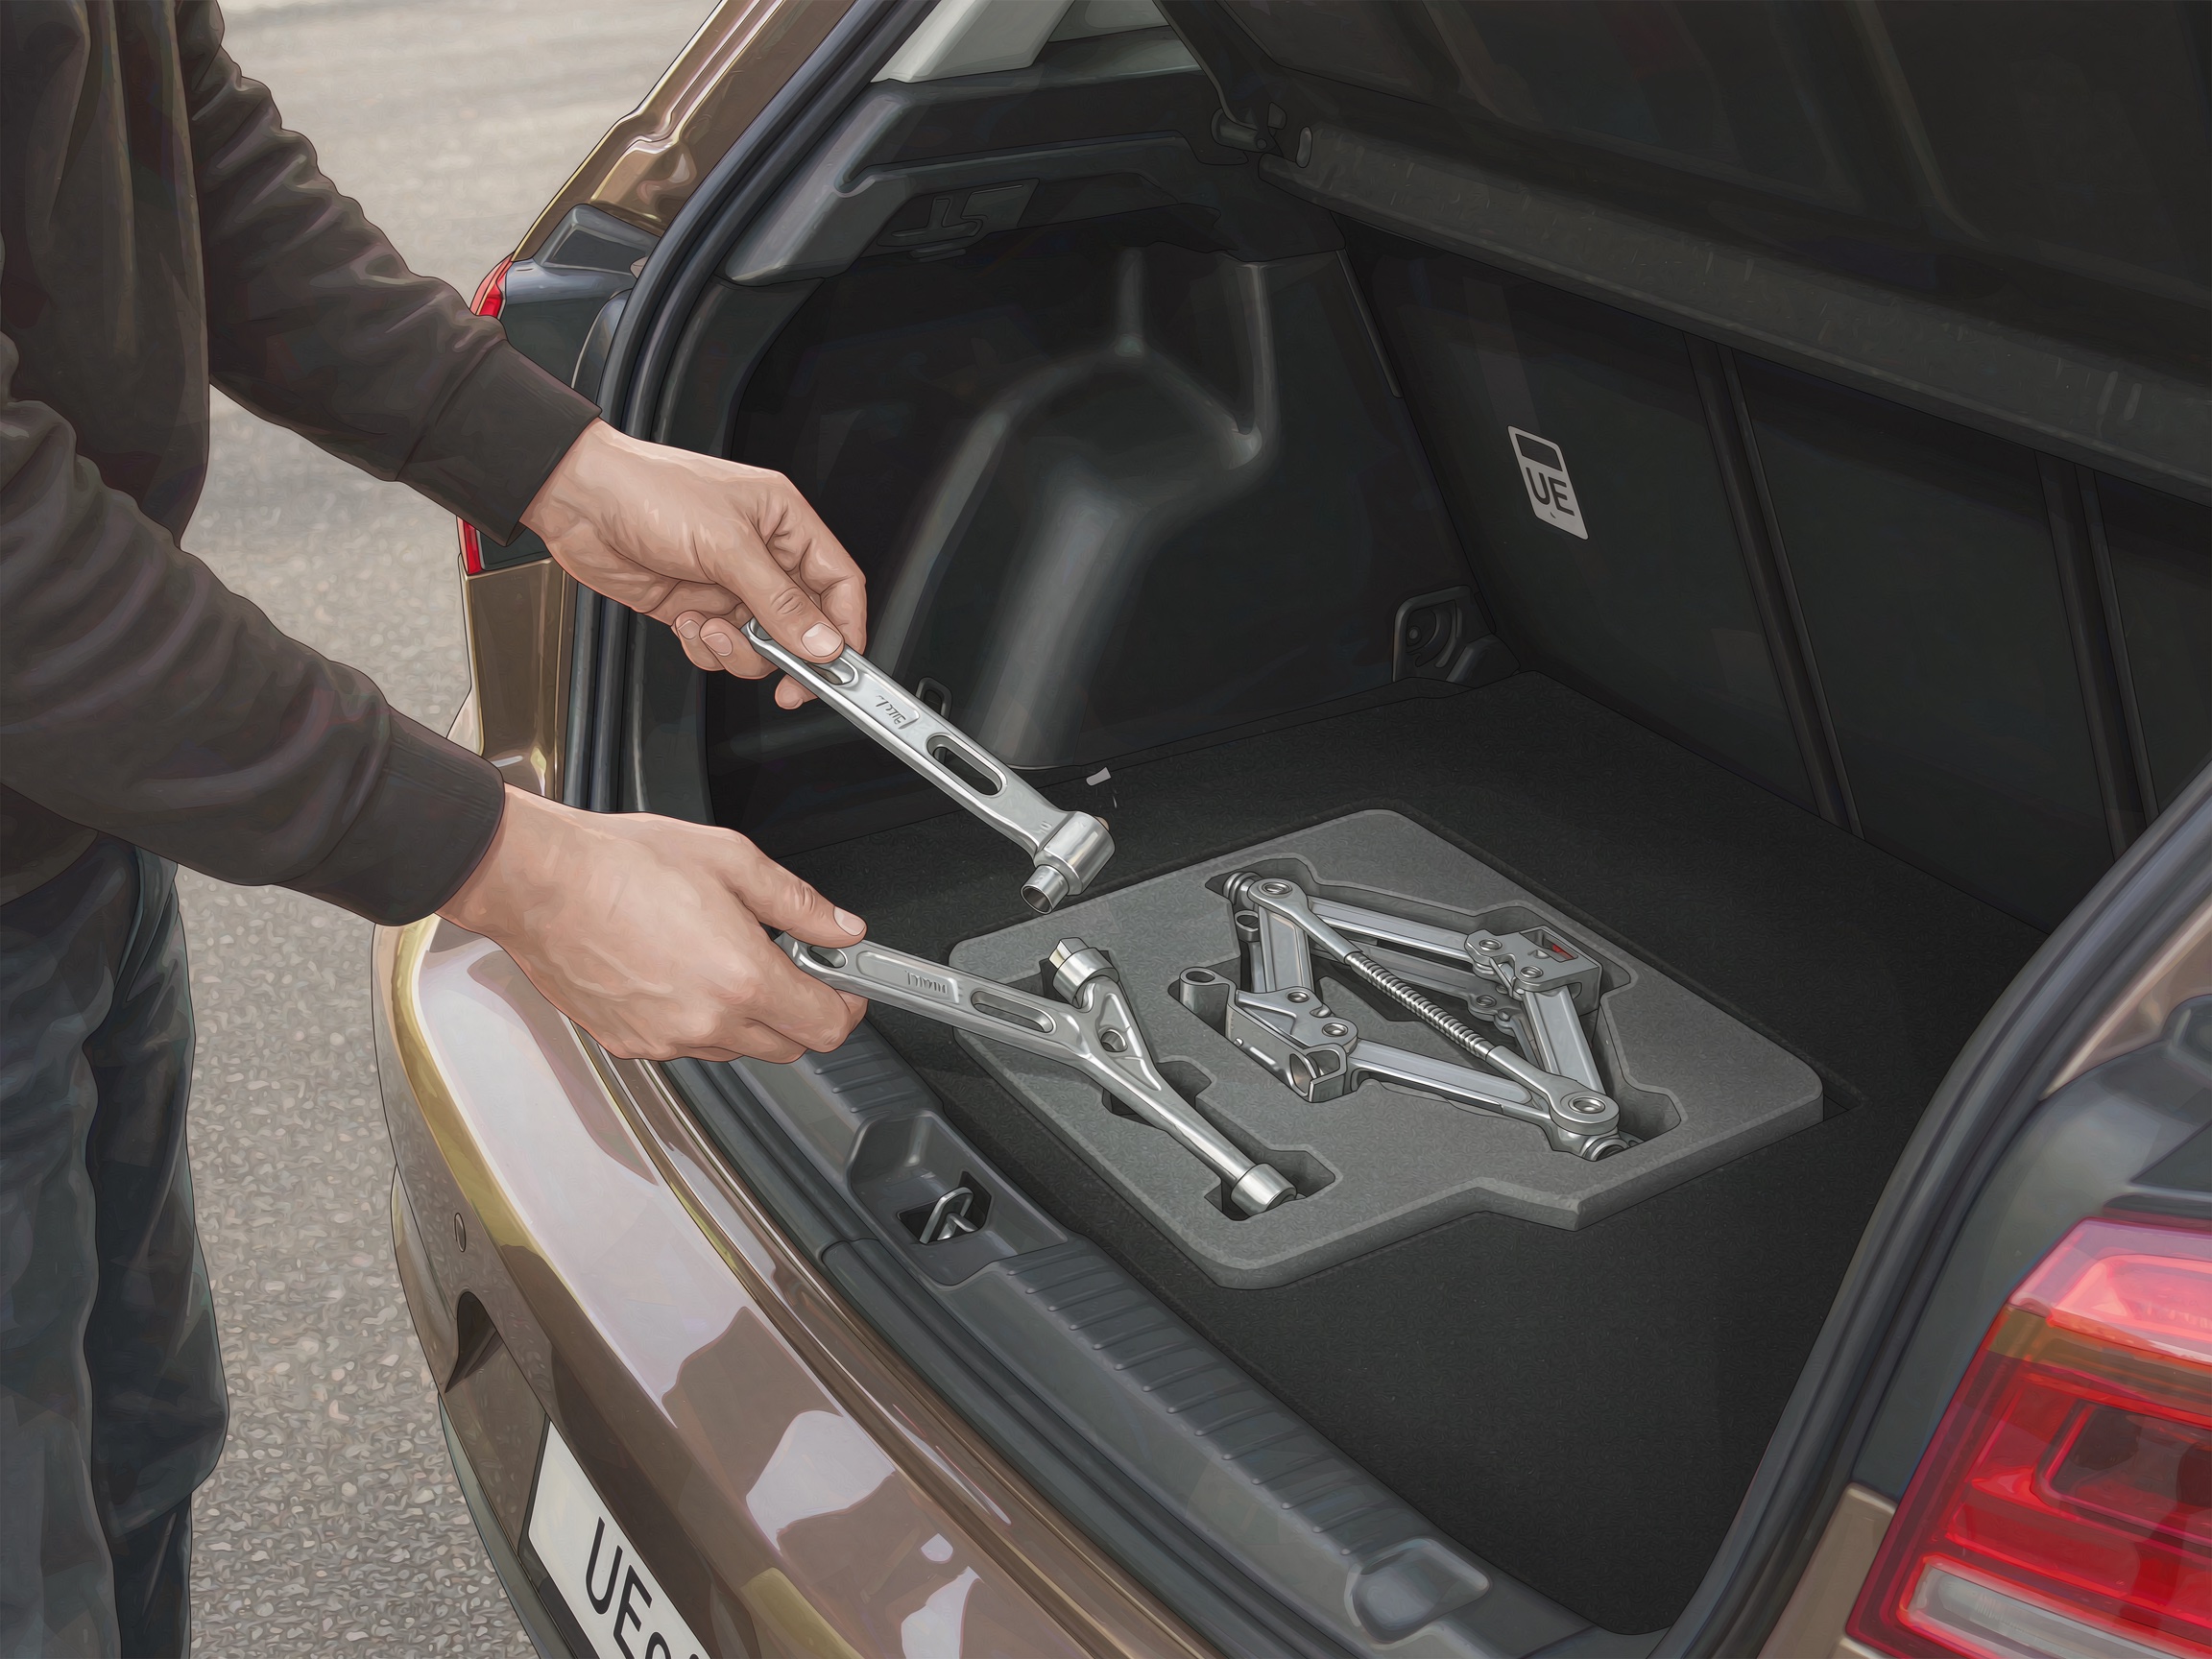
Consult the Manual
Check your owner's manual for the exact location of the jack, spare tire, and lug wrench. The jack point location varies by vehicle.
-
3
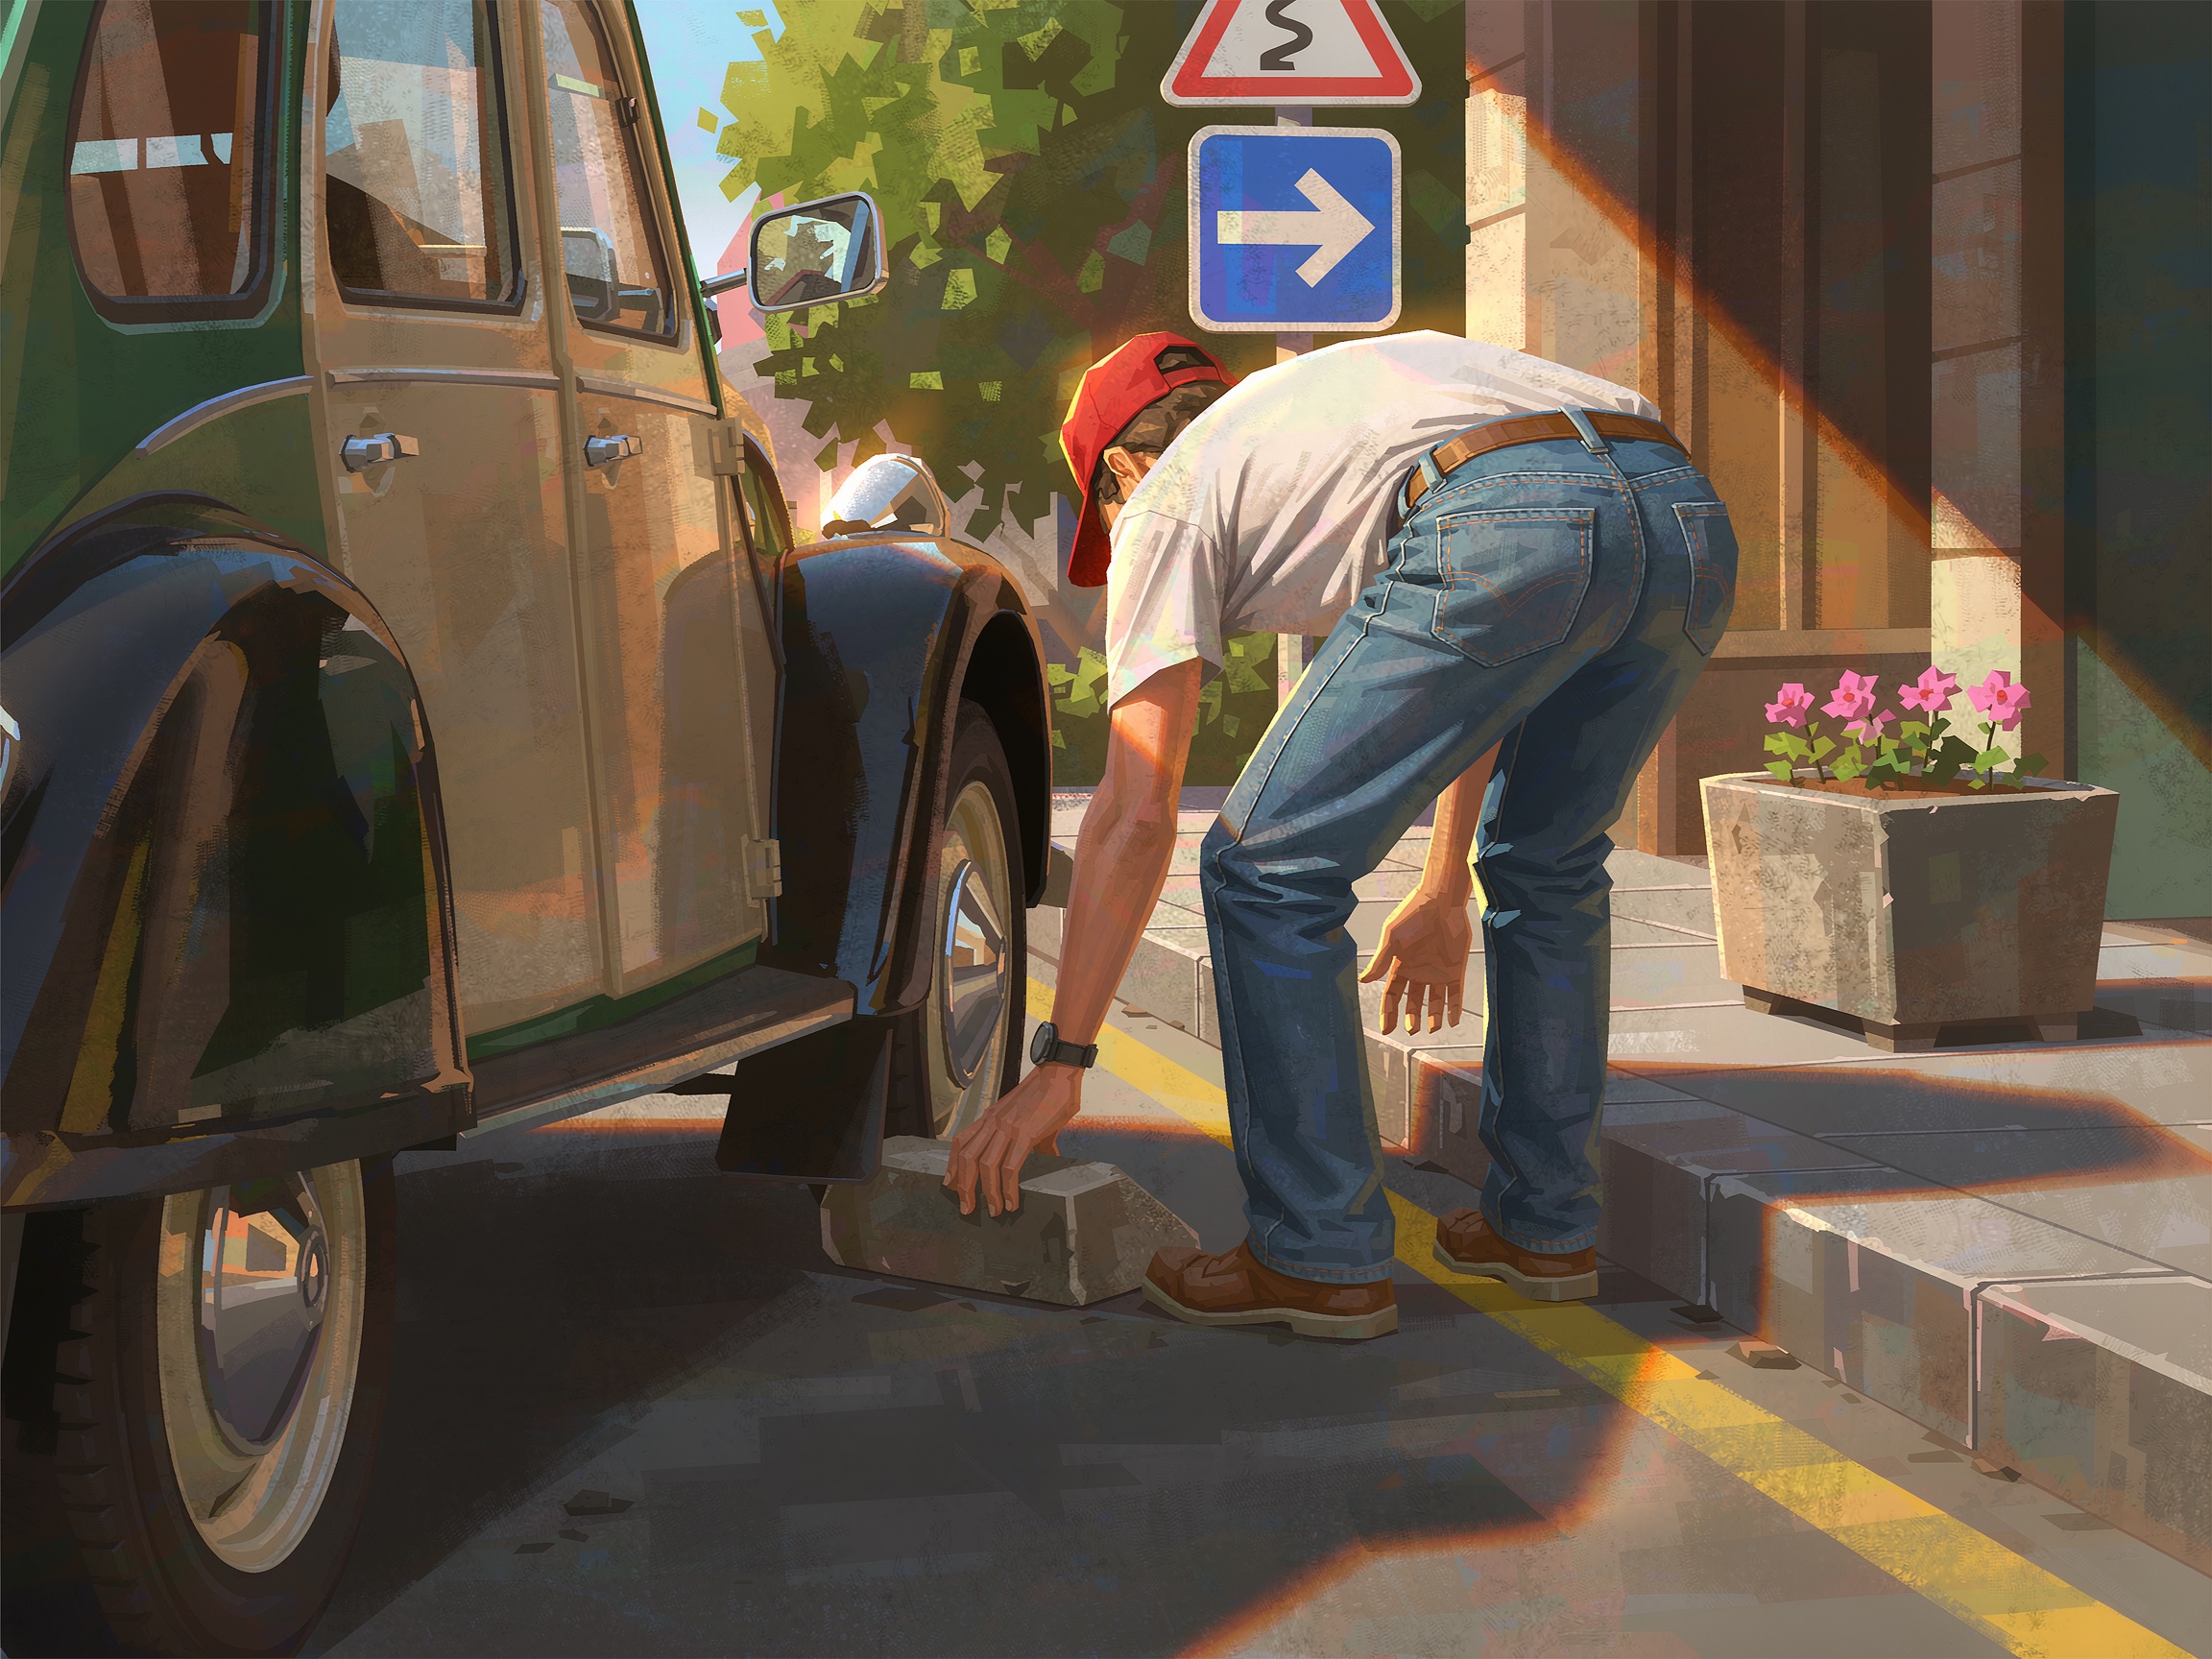
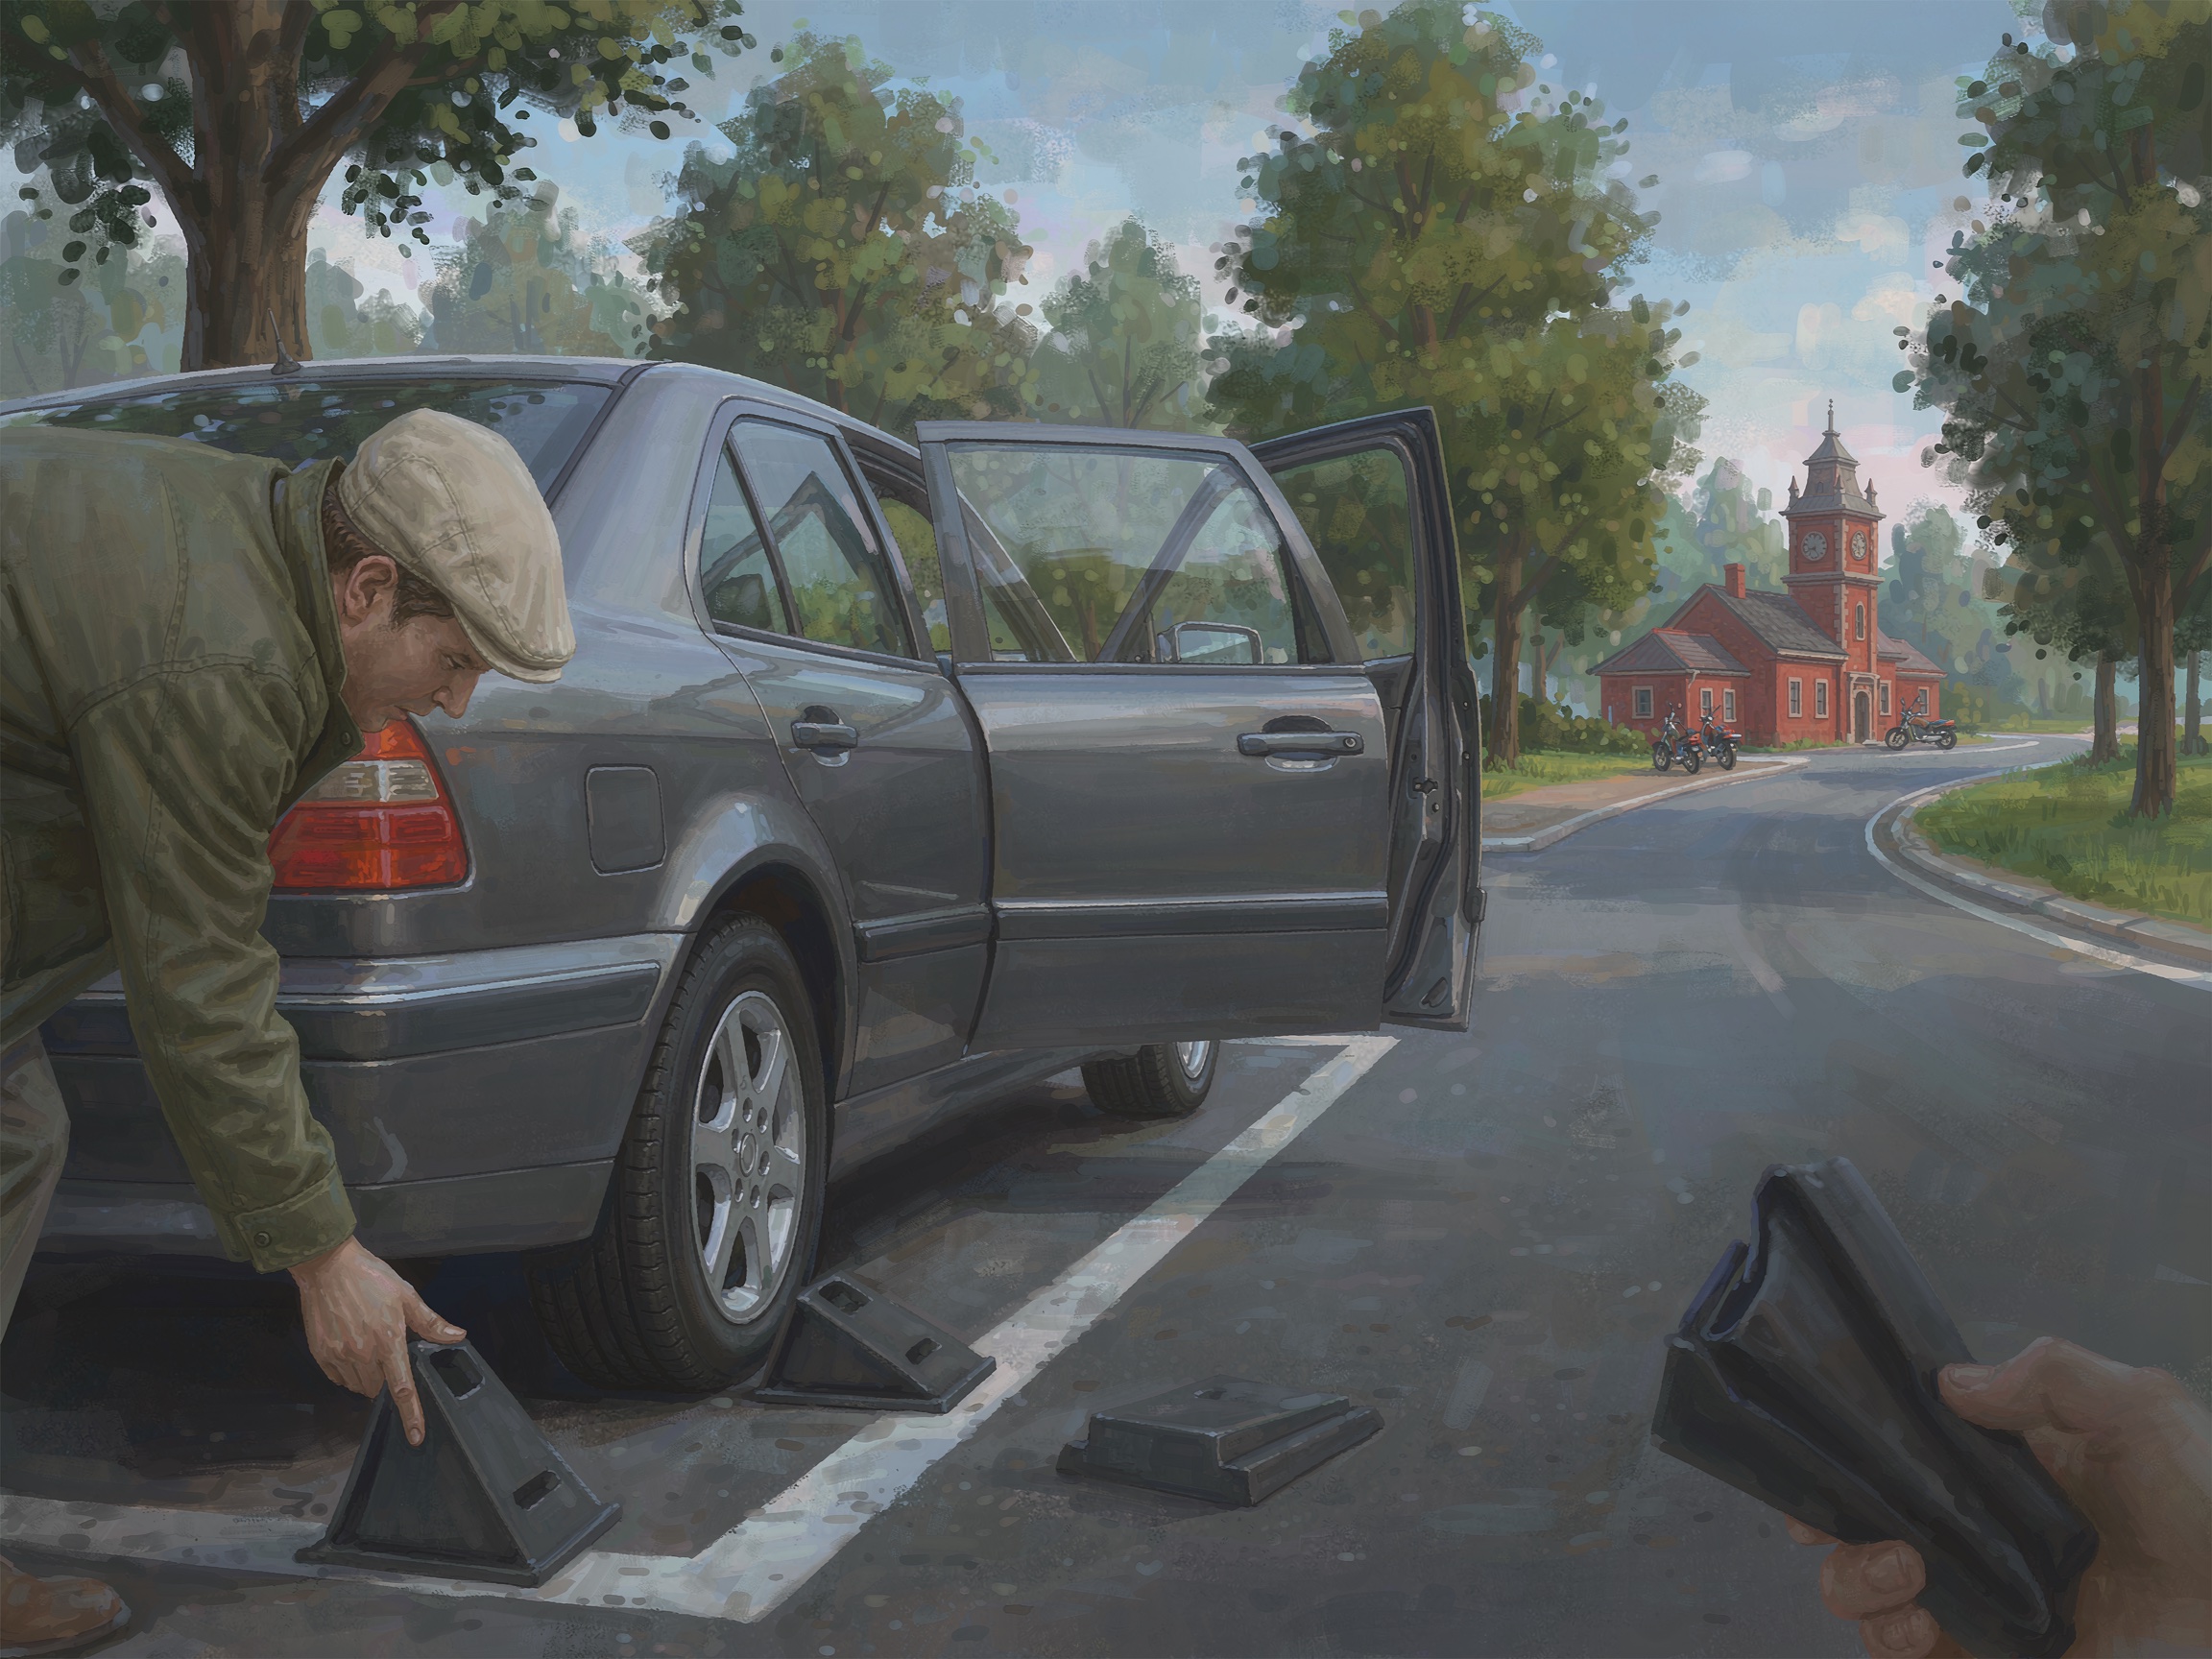
Secure the Vehicle
Place a wheel wedge or heavy object against the tire diagonally opposite the flat tire to prevent rolling. Engage the parking brake.
-
4
Remove the Hubcap
If your vehicle has a hubcap covering the lug nuts, use the flat end of the lug wrench to pry it off. Some vehicles have decorative center caps that pop off.
-
5
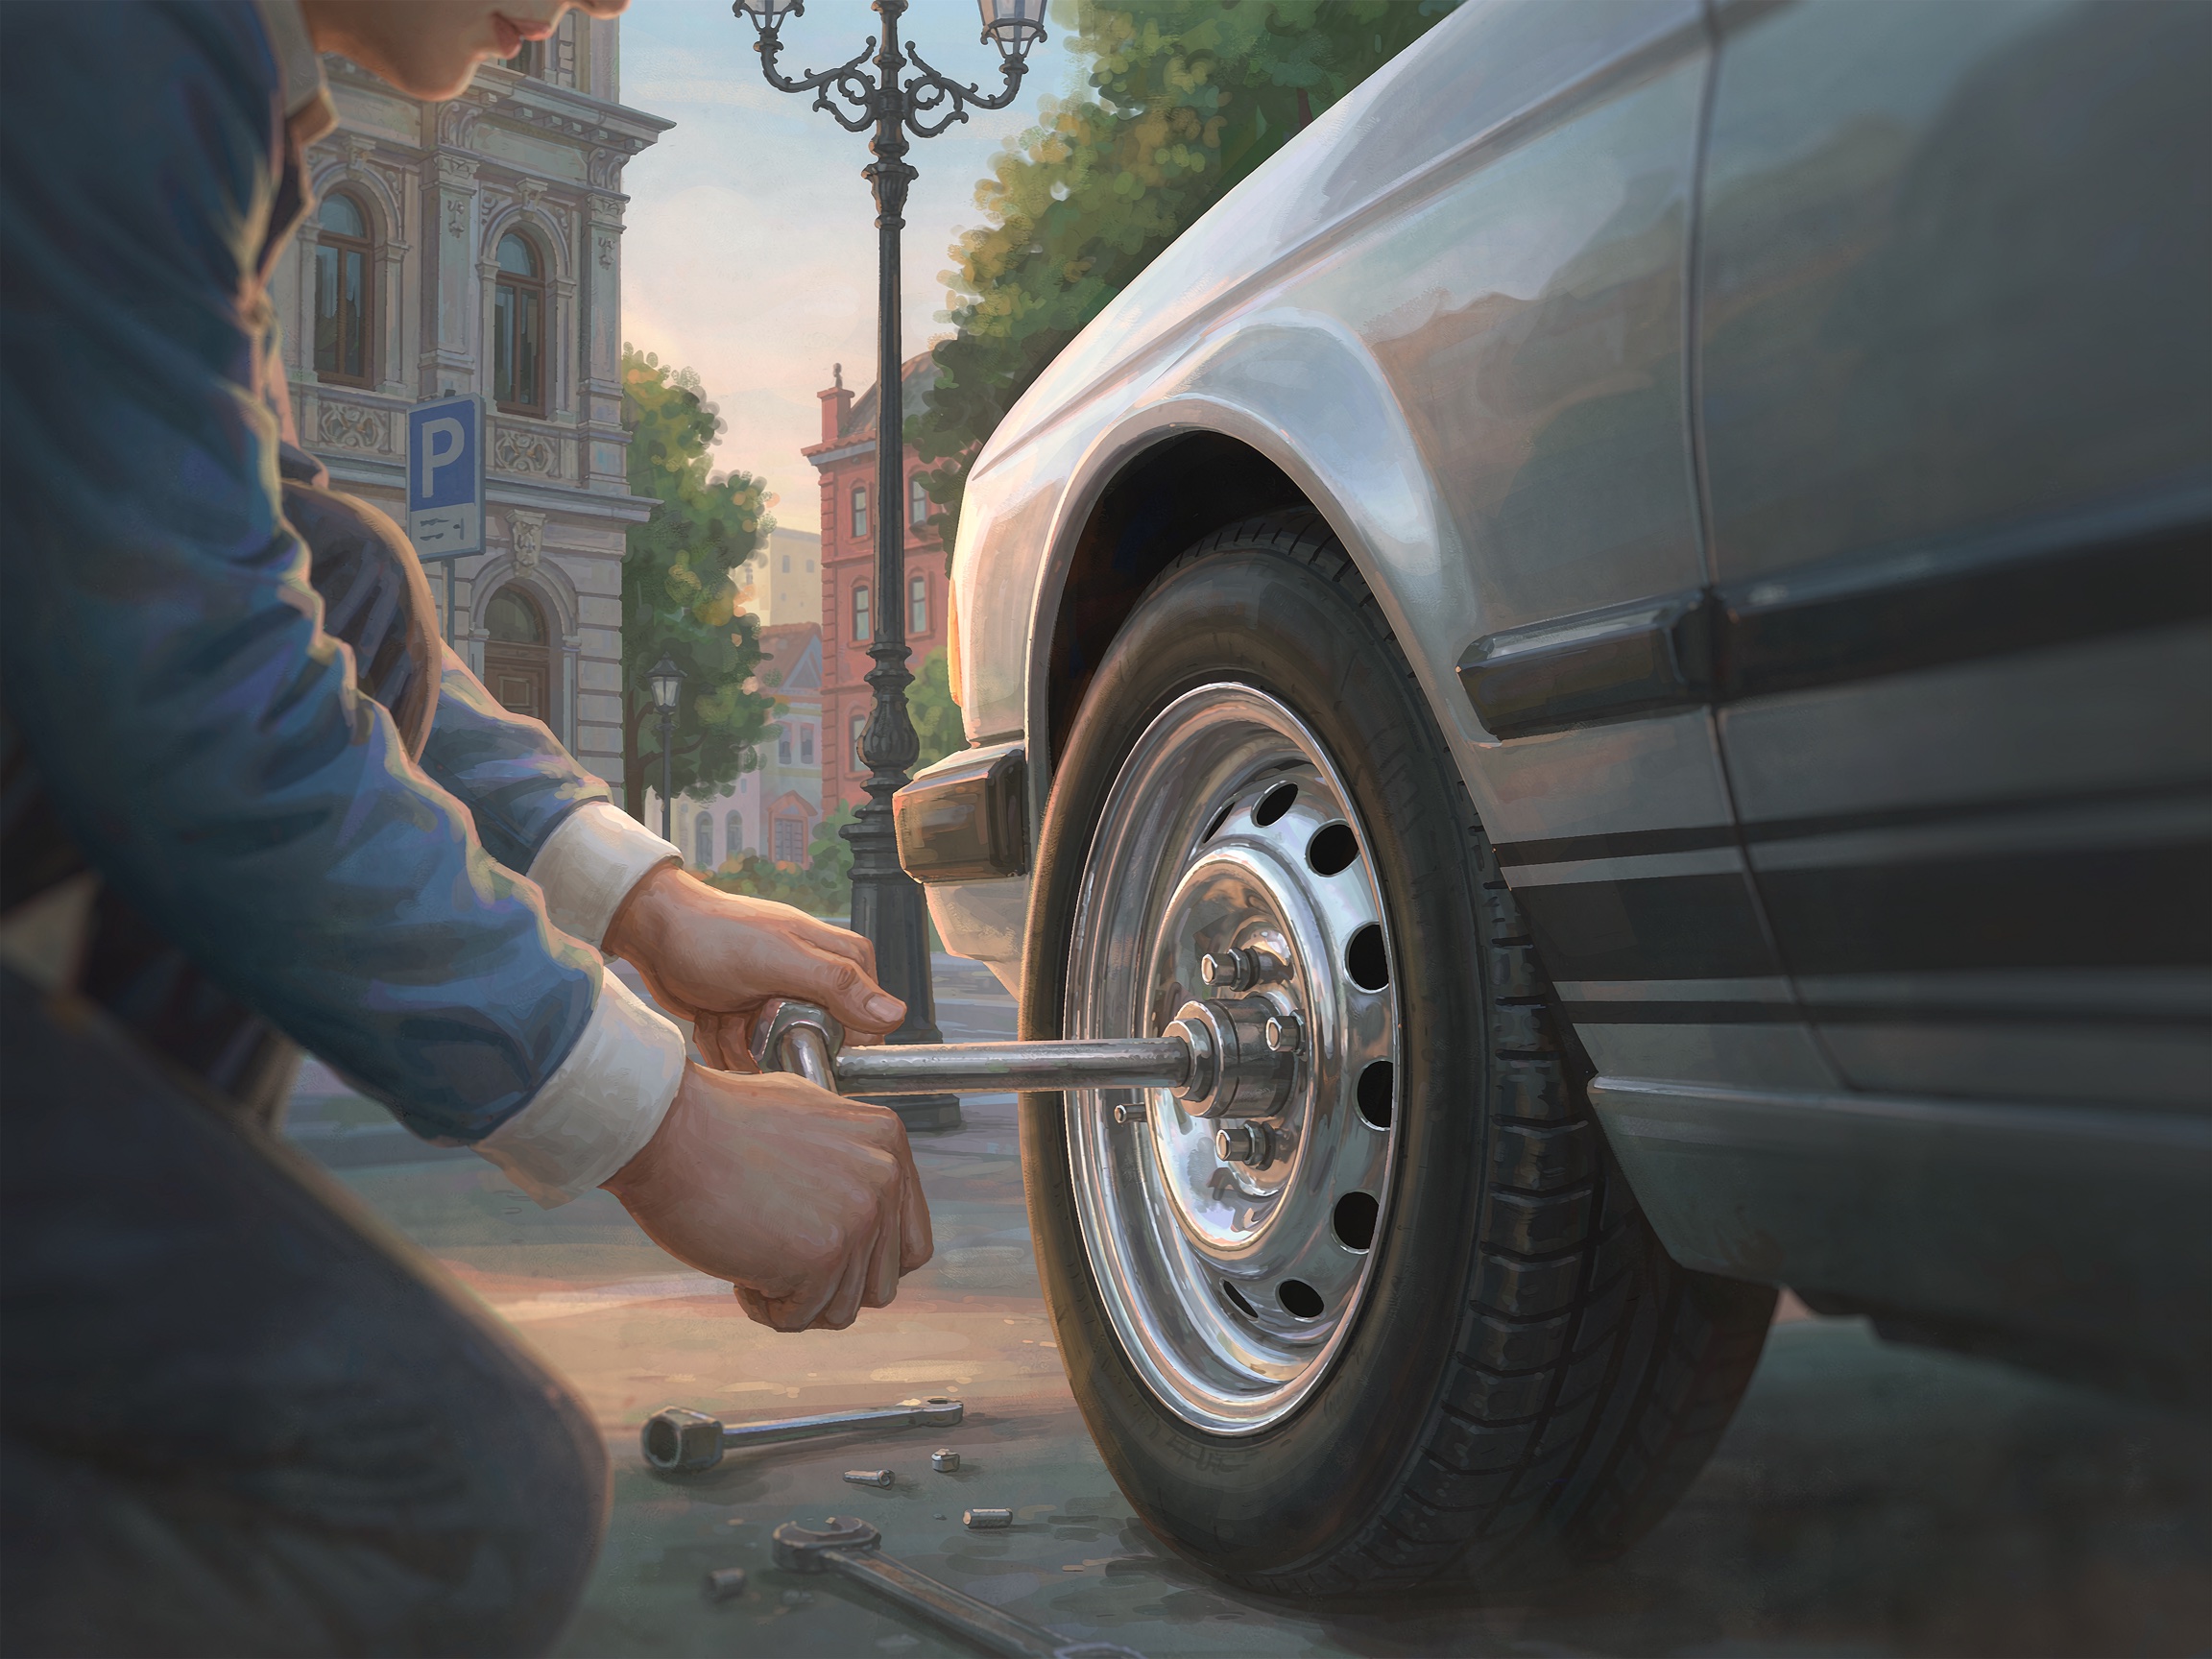
Loosen the Lug Nuts
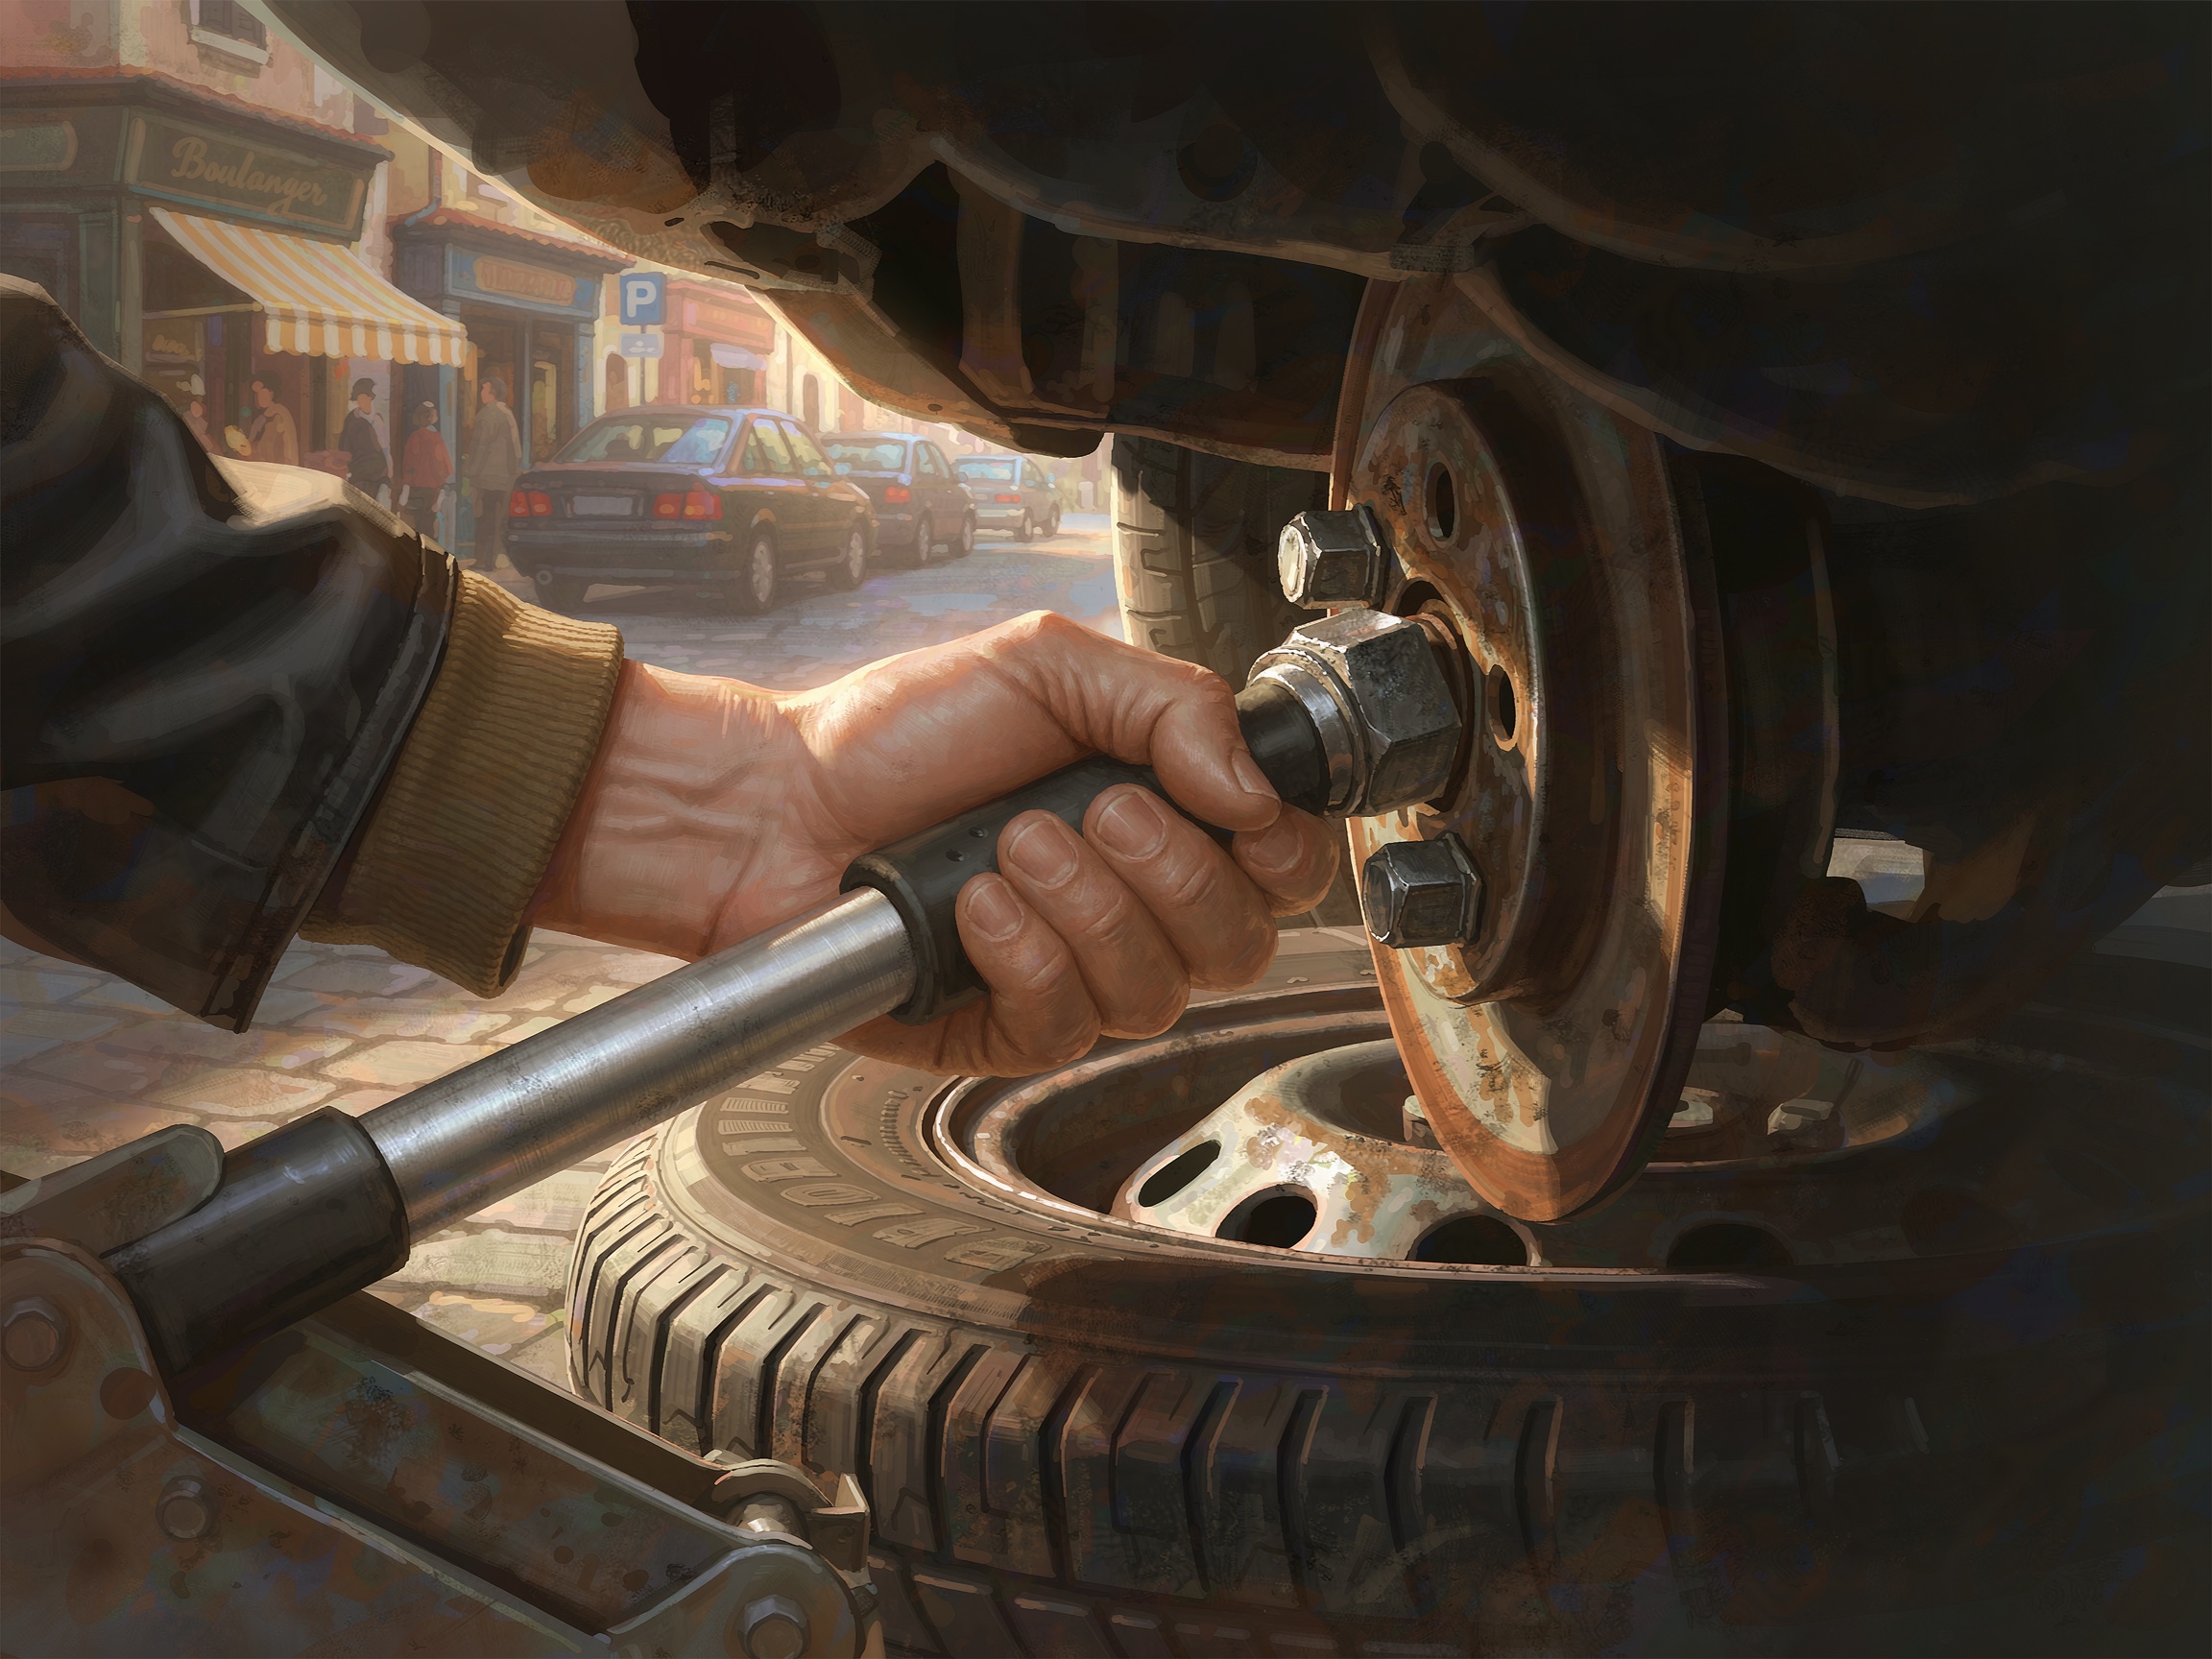
Use the lug wrench to break the lug nuts loose by turning counterclockwise. Do this while the tire is still on the ground — you need the tire's weight to prevent spinning.
-
6
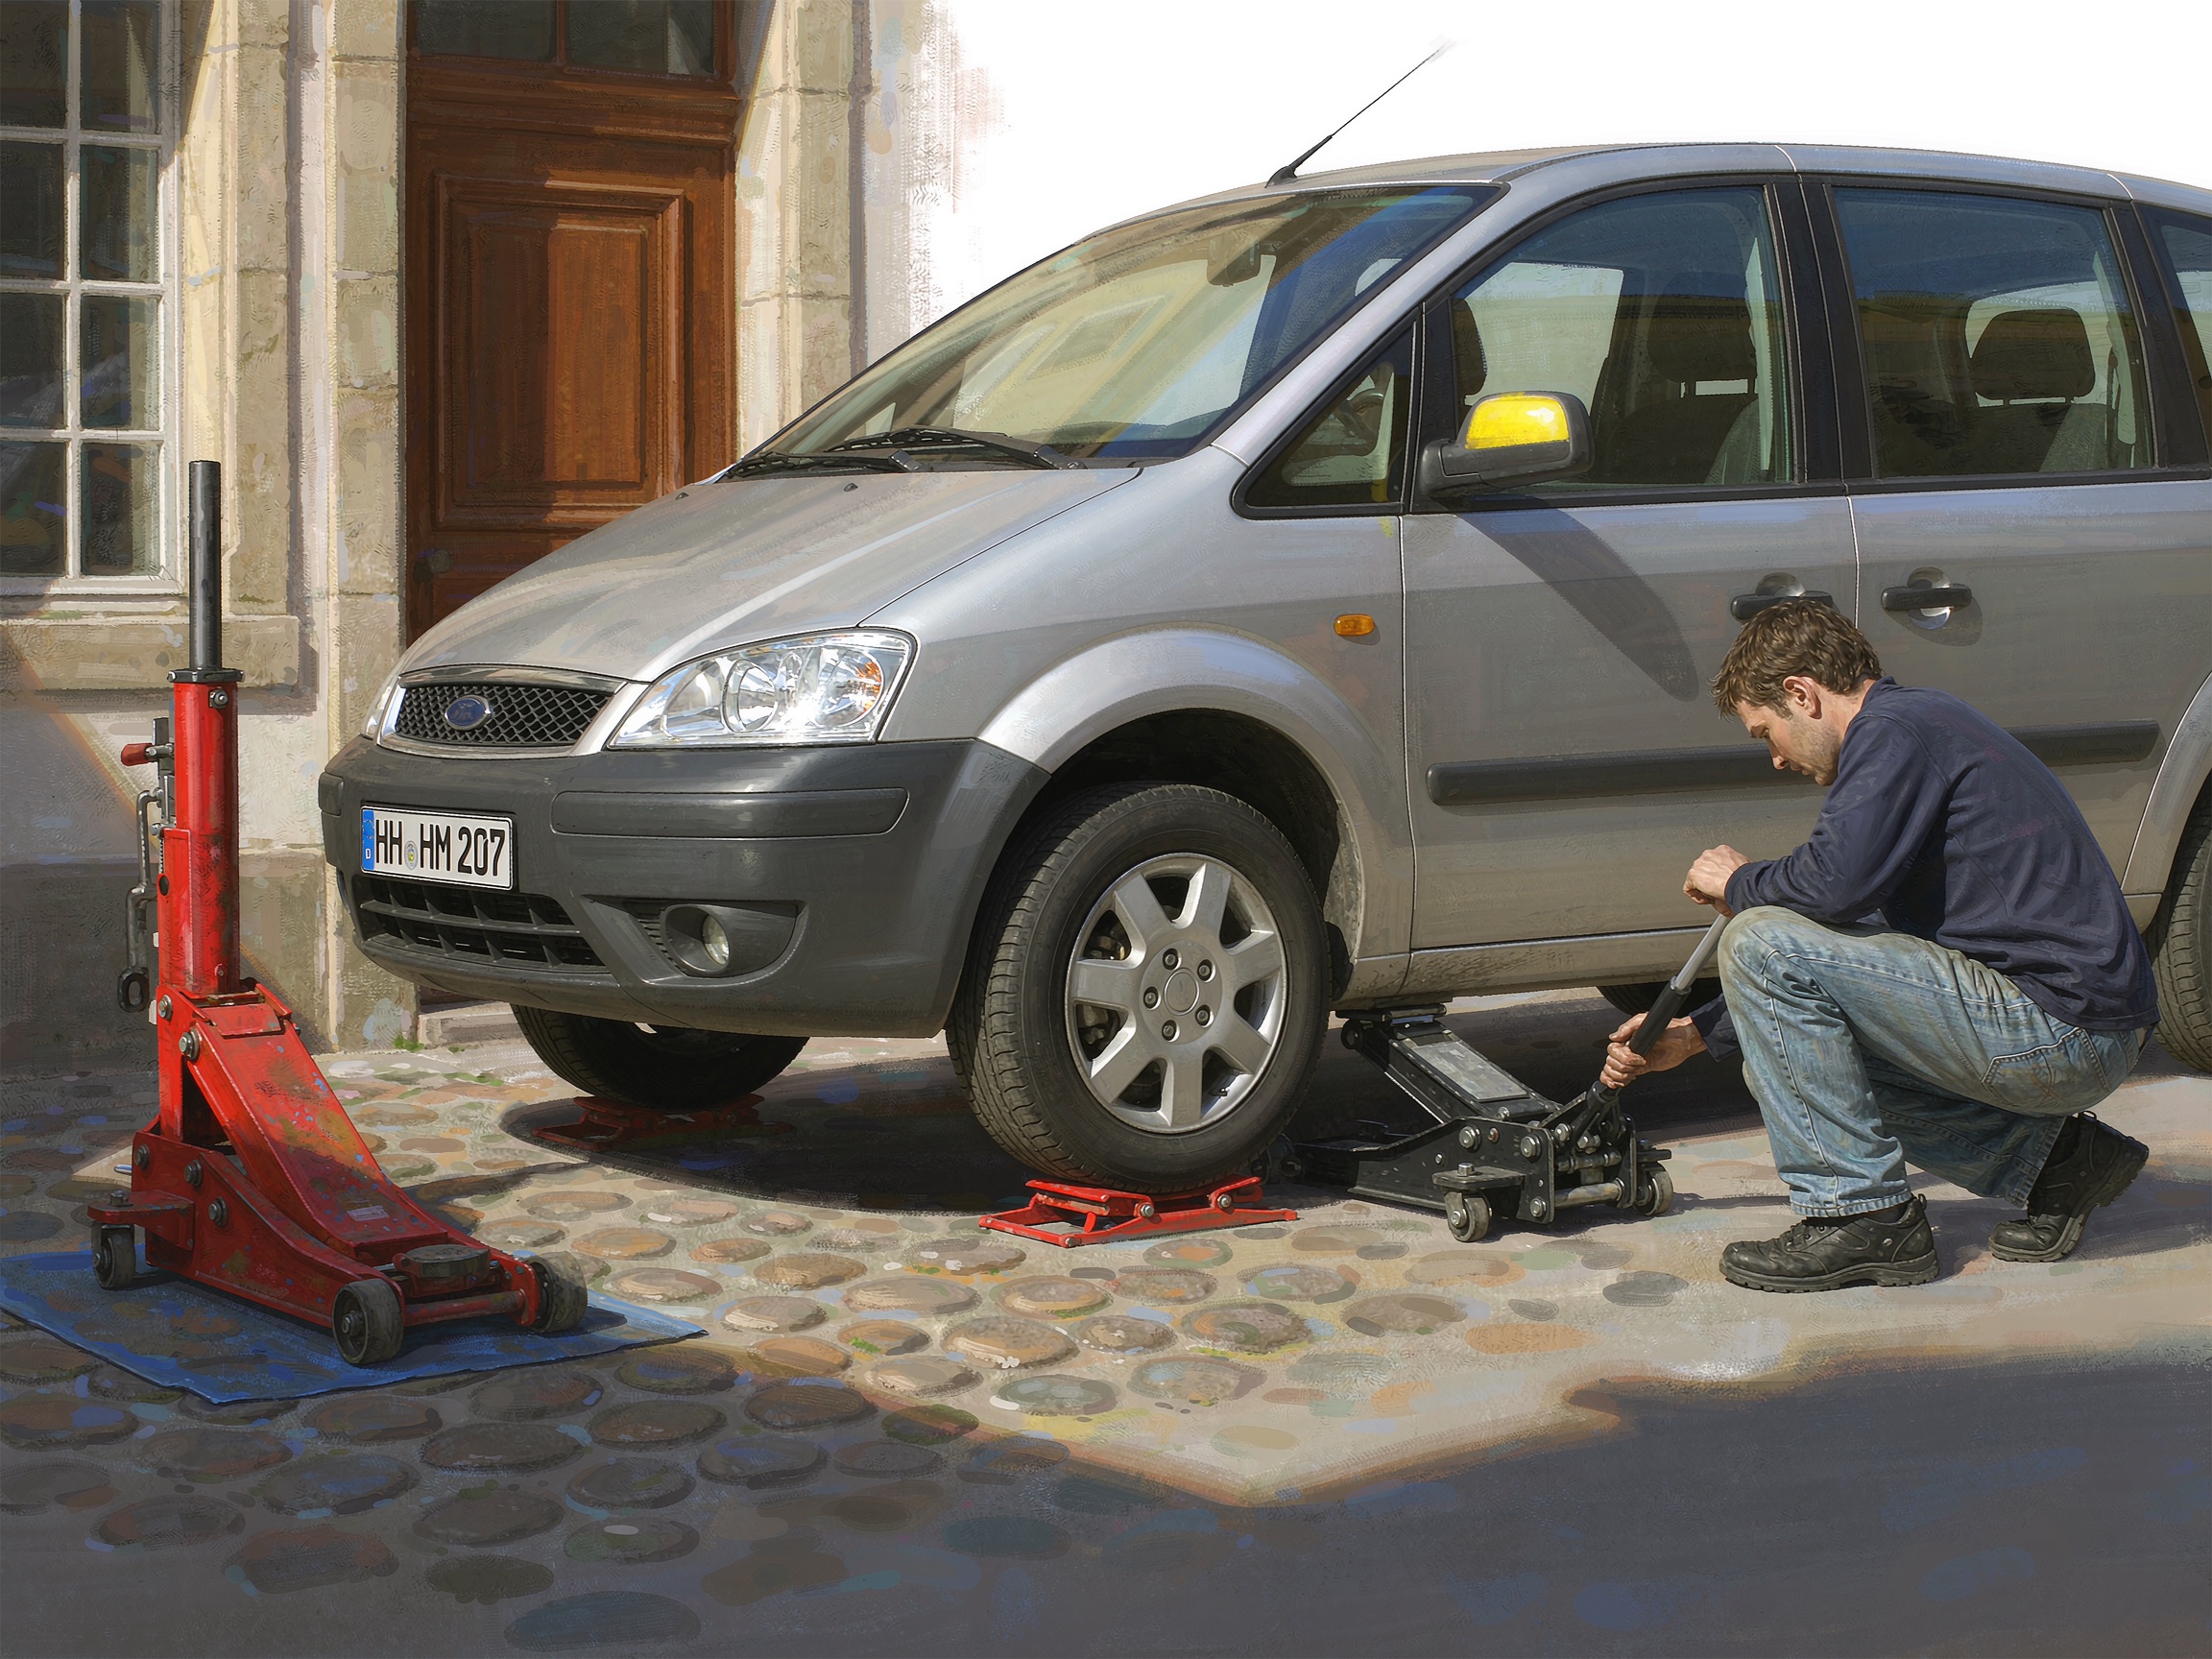
Position the Jack
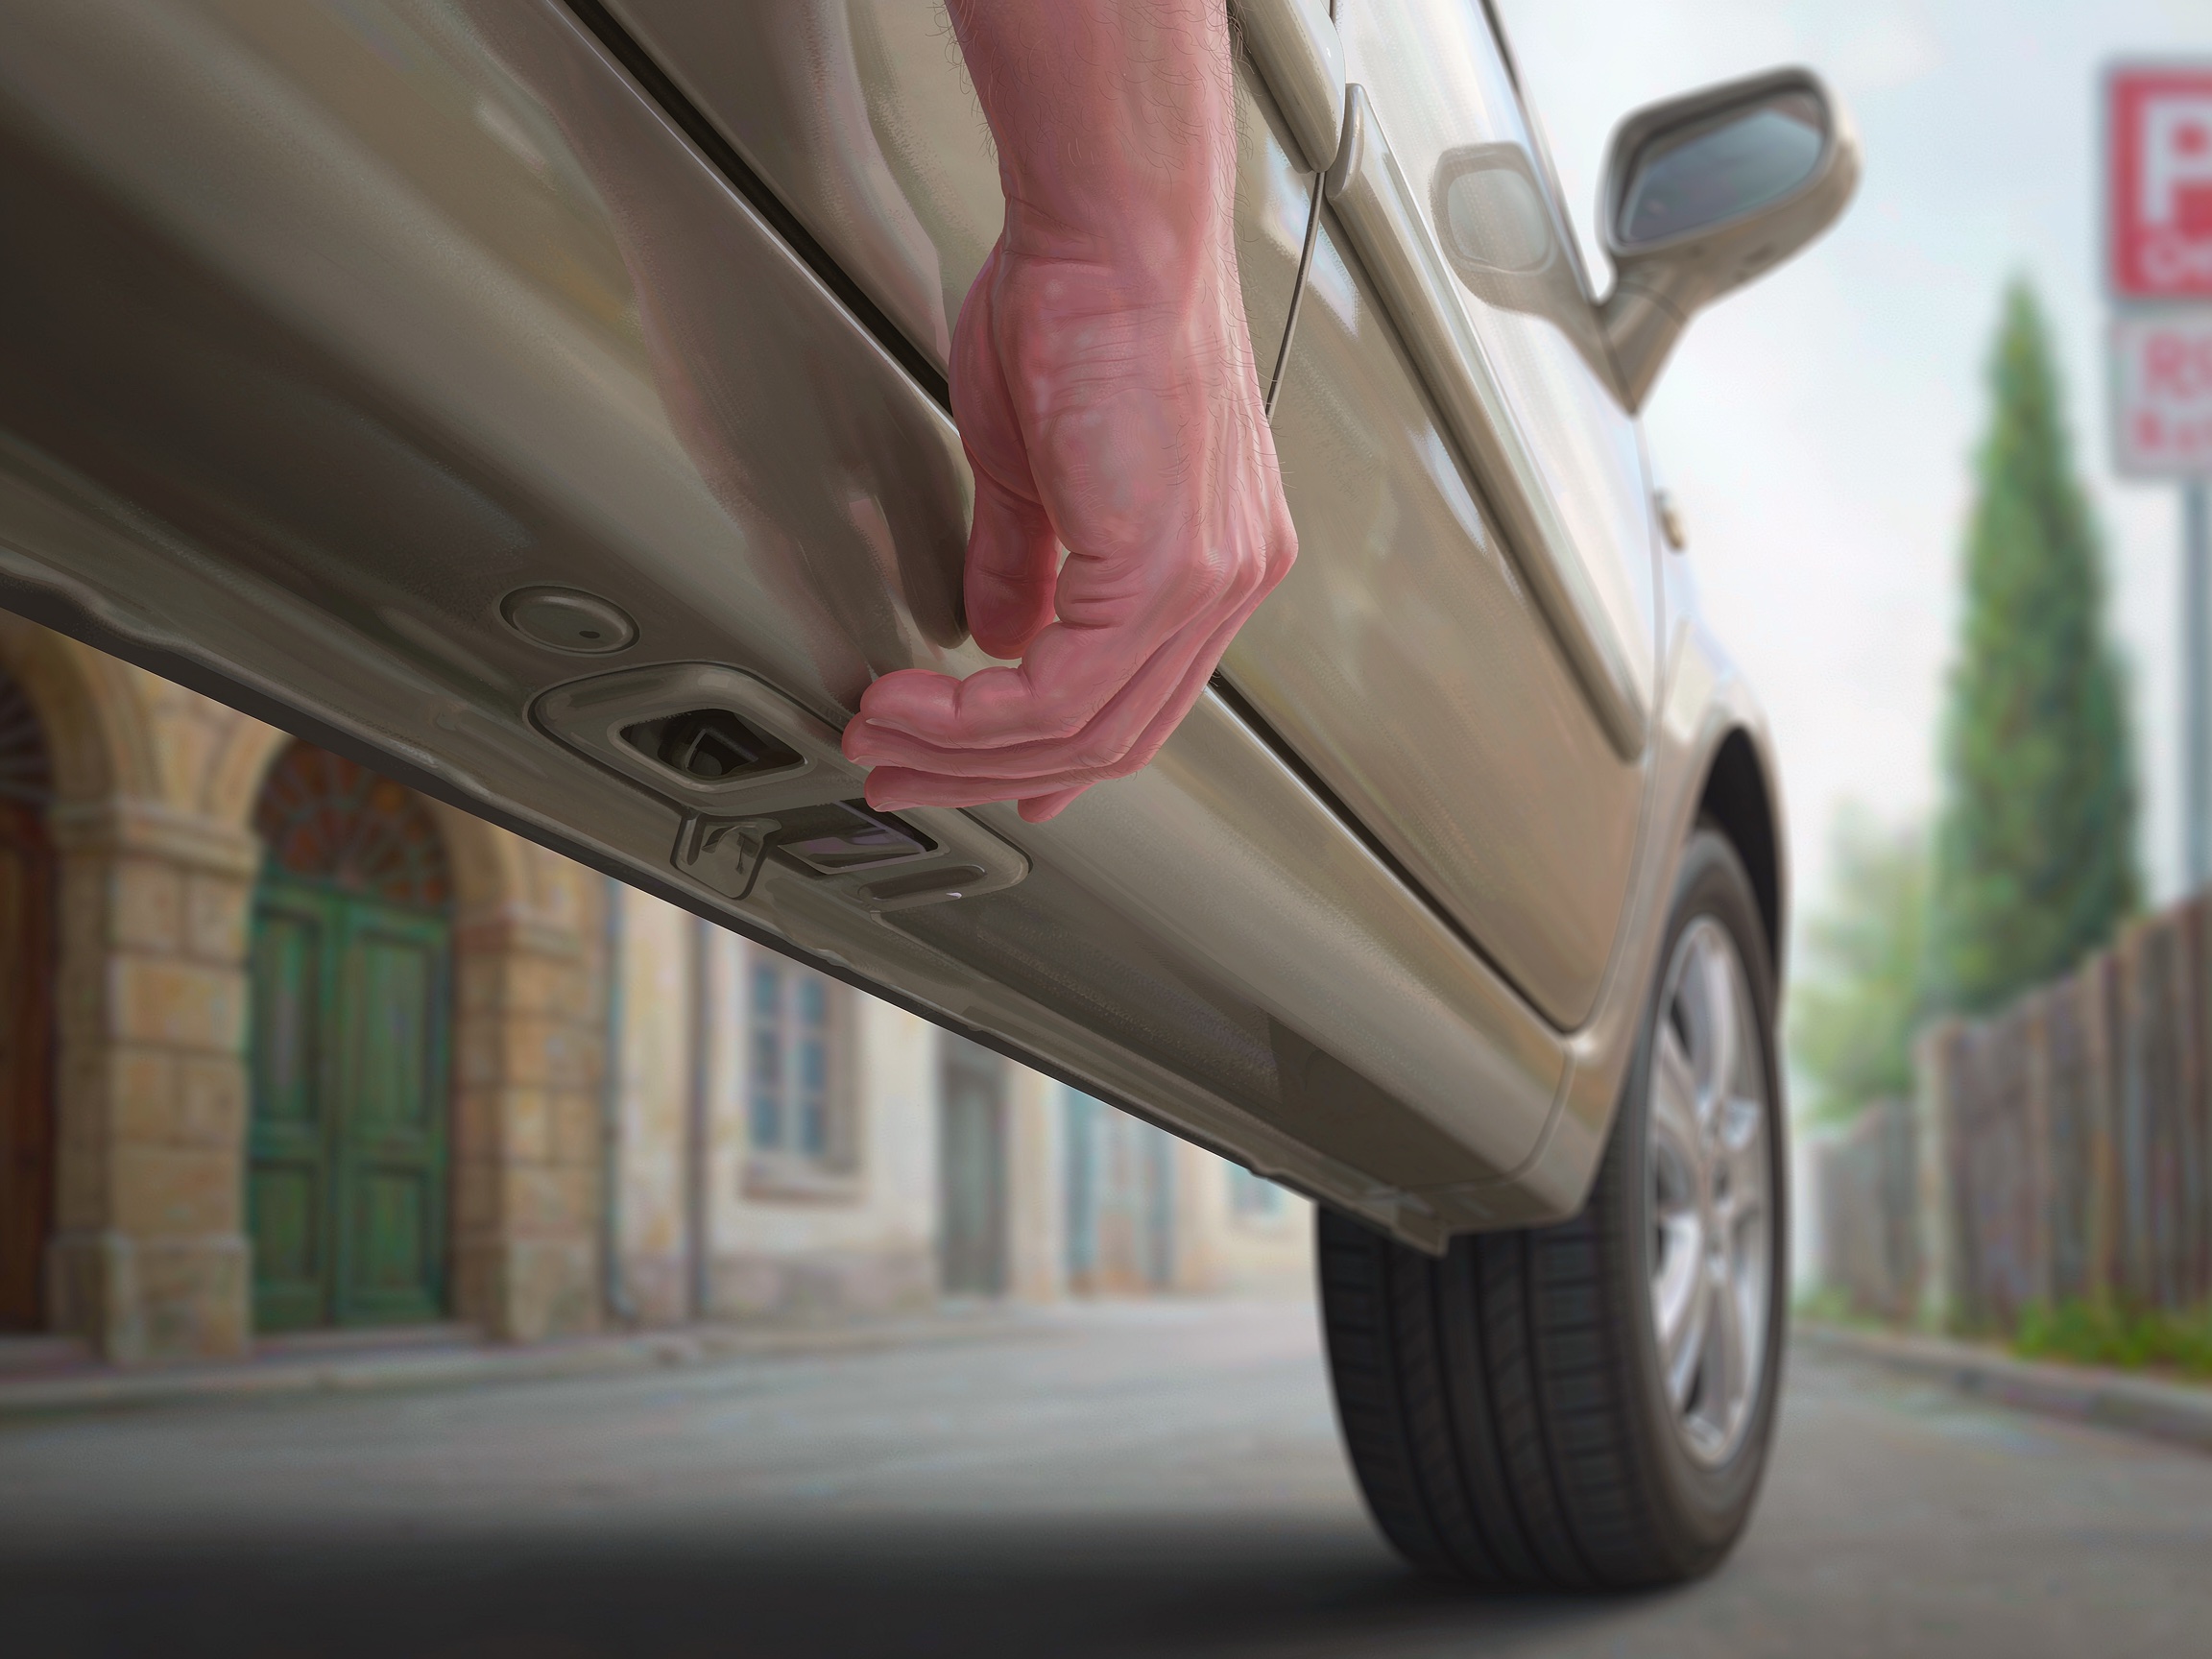
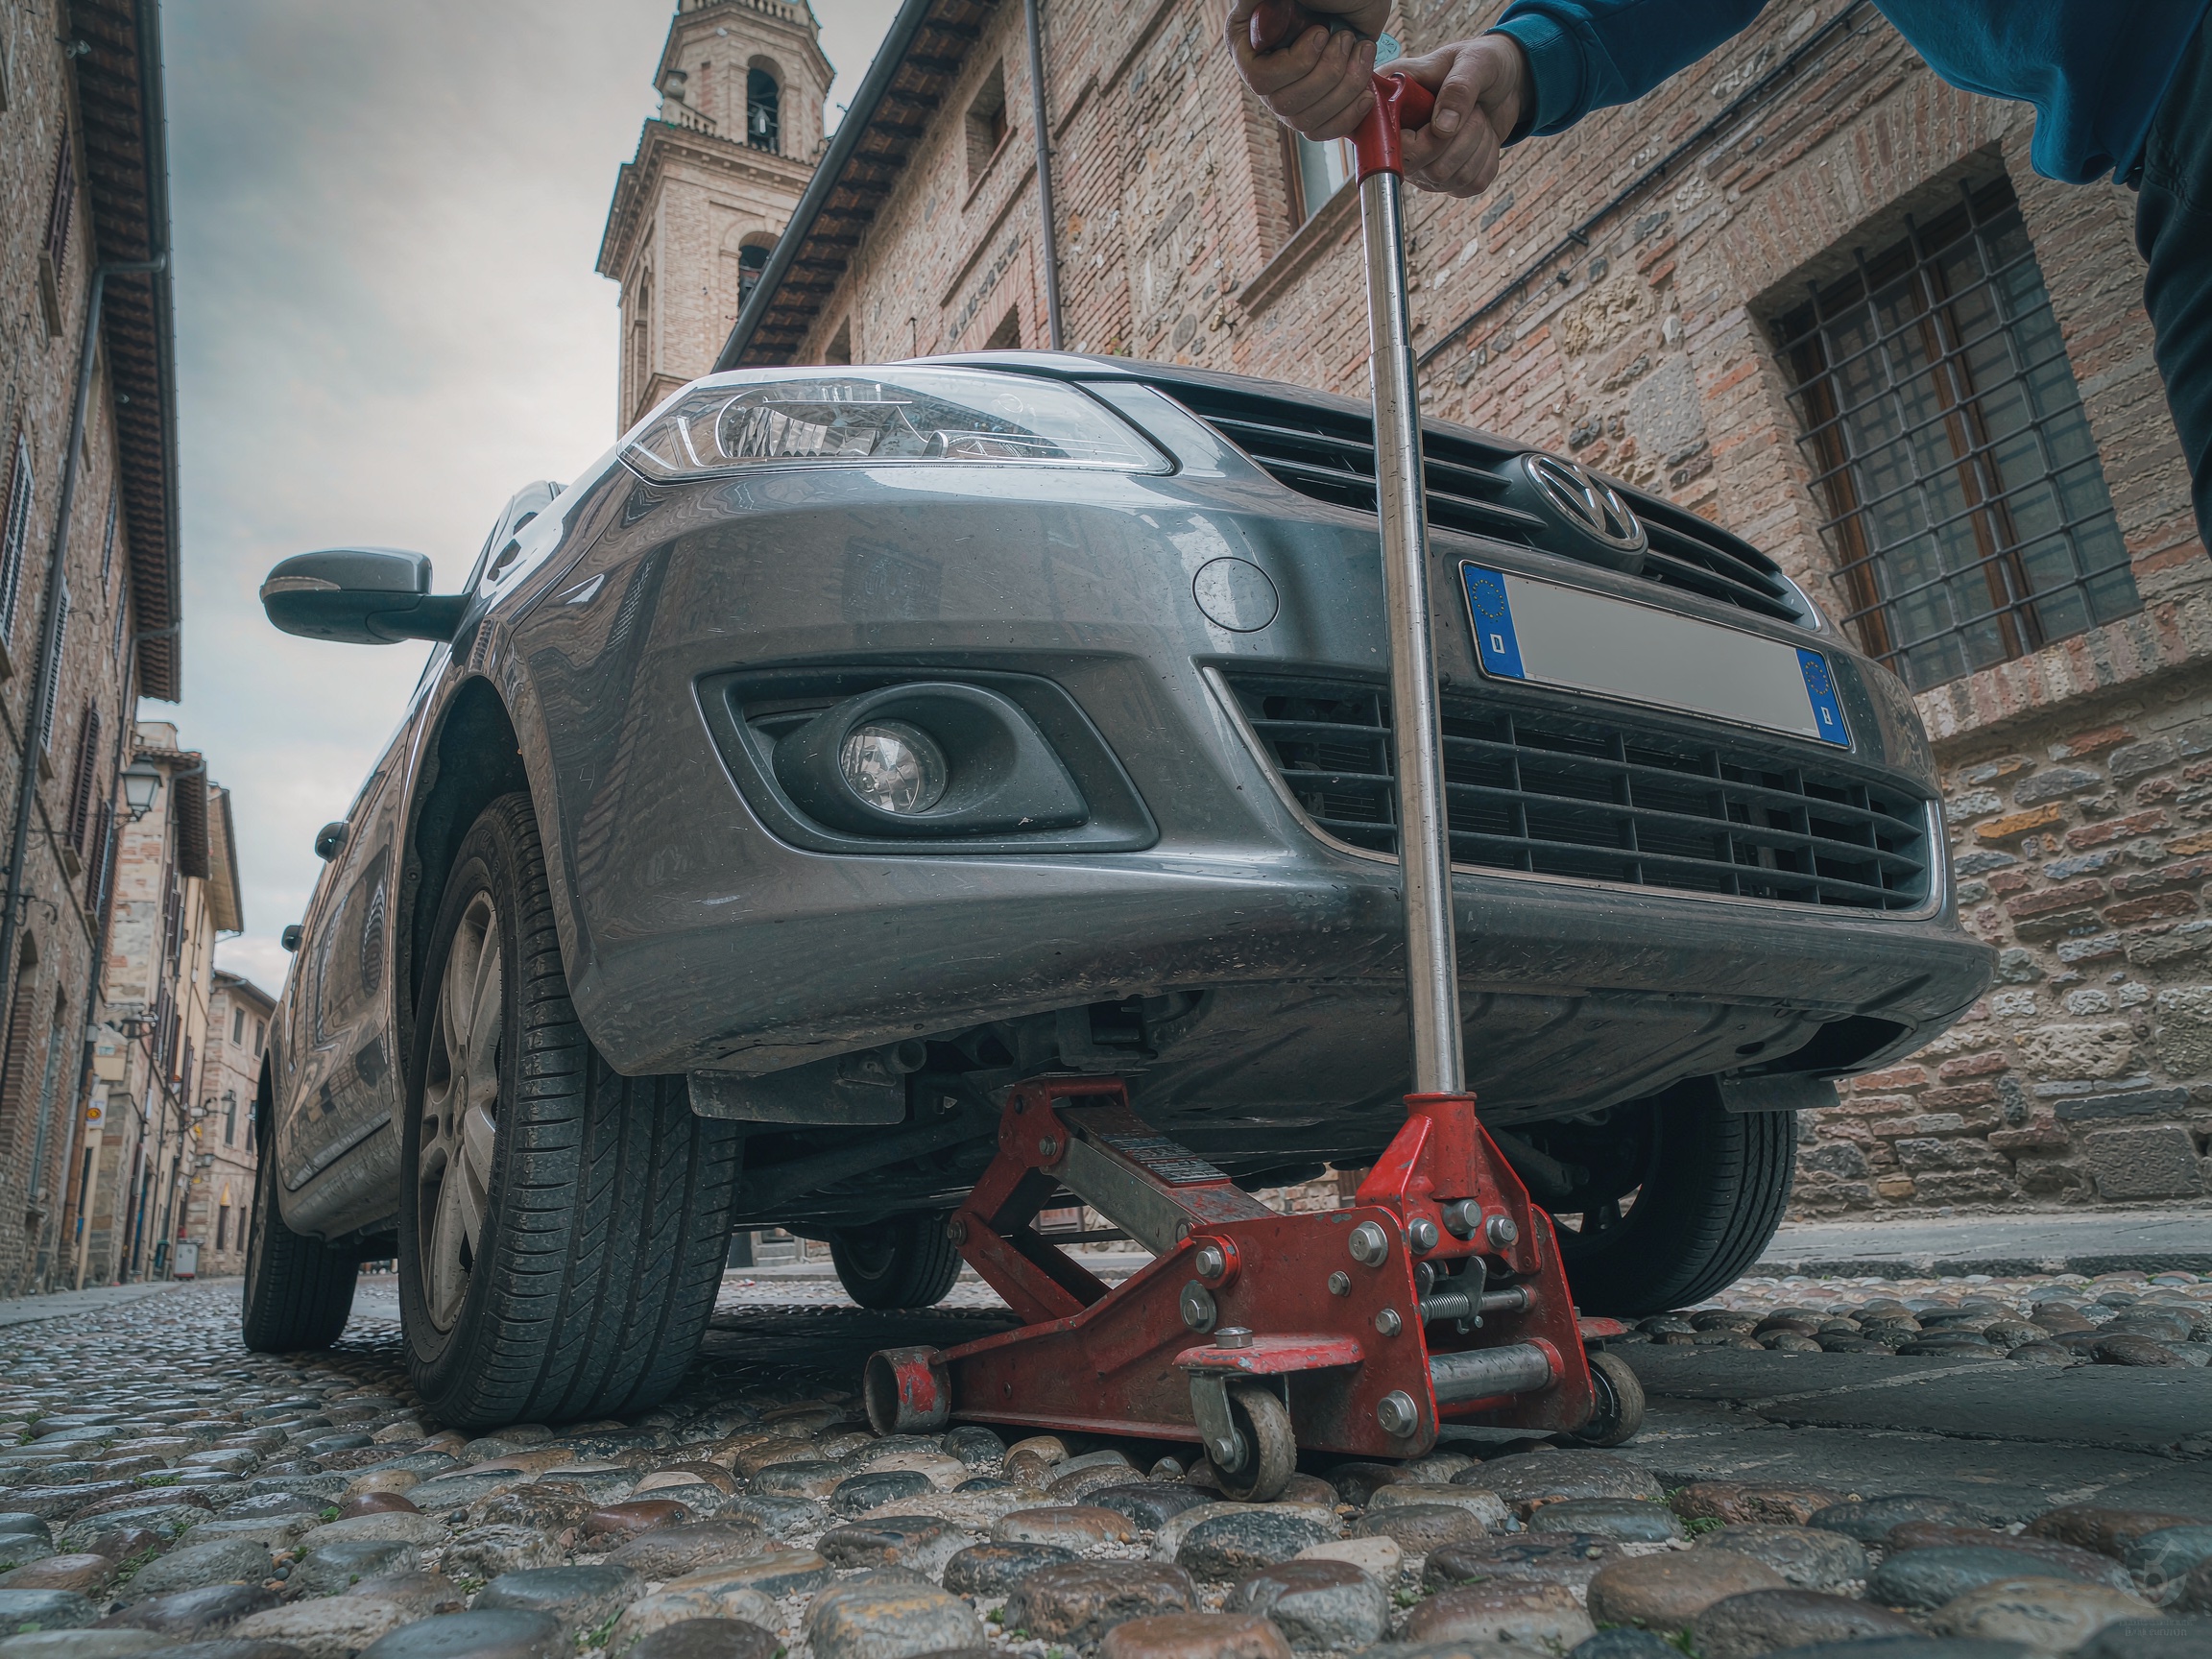
Place the jack under the designated jack point on the vehicle's frame. Consult your manual for the exact location. Never place the jack under the body panels or trim.
-
7
Lift the Vehicle
Pump or crank the jack to lift the vehicle until the flat tire is about 6-12 inches off the ground. Make sure the vehicle is stable before proceeding.
-
8
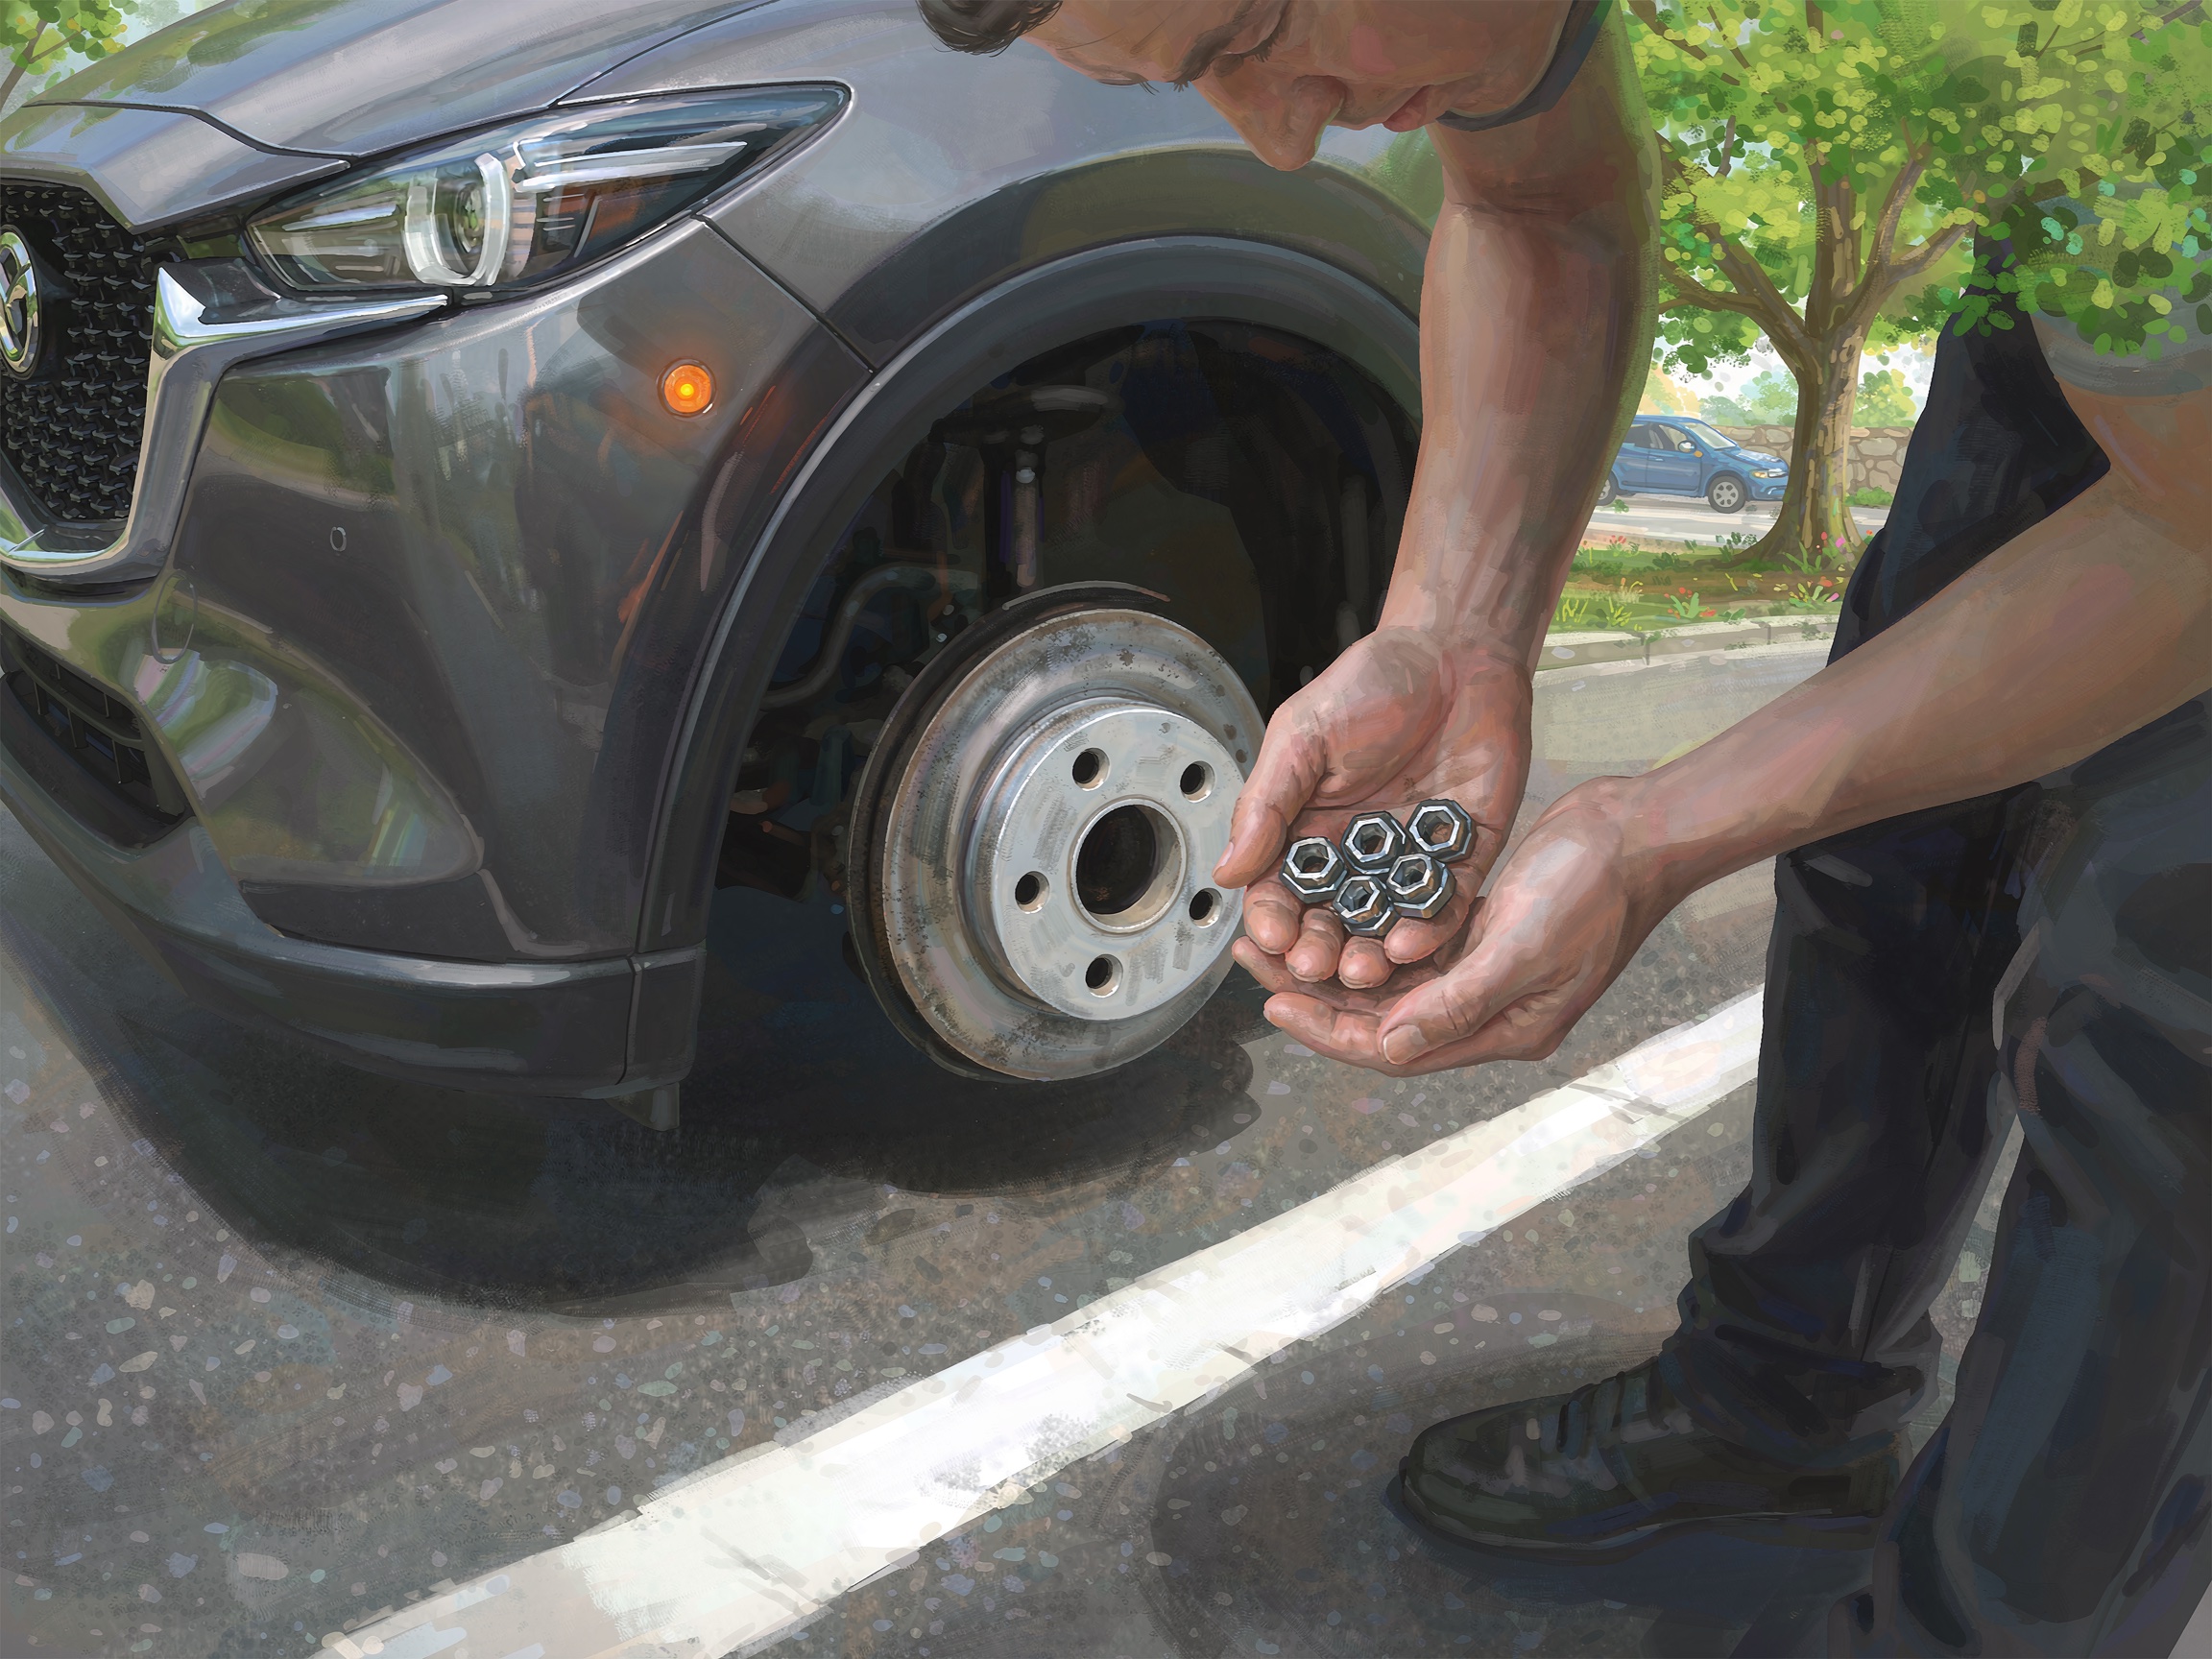
Remove the Lug Nuts
Fully remove all lug nuts by hand and set them aside in a safe place where they won't roll away. Check that the lug nuts are not damaged.
-
9
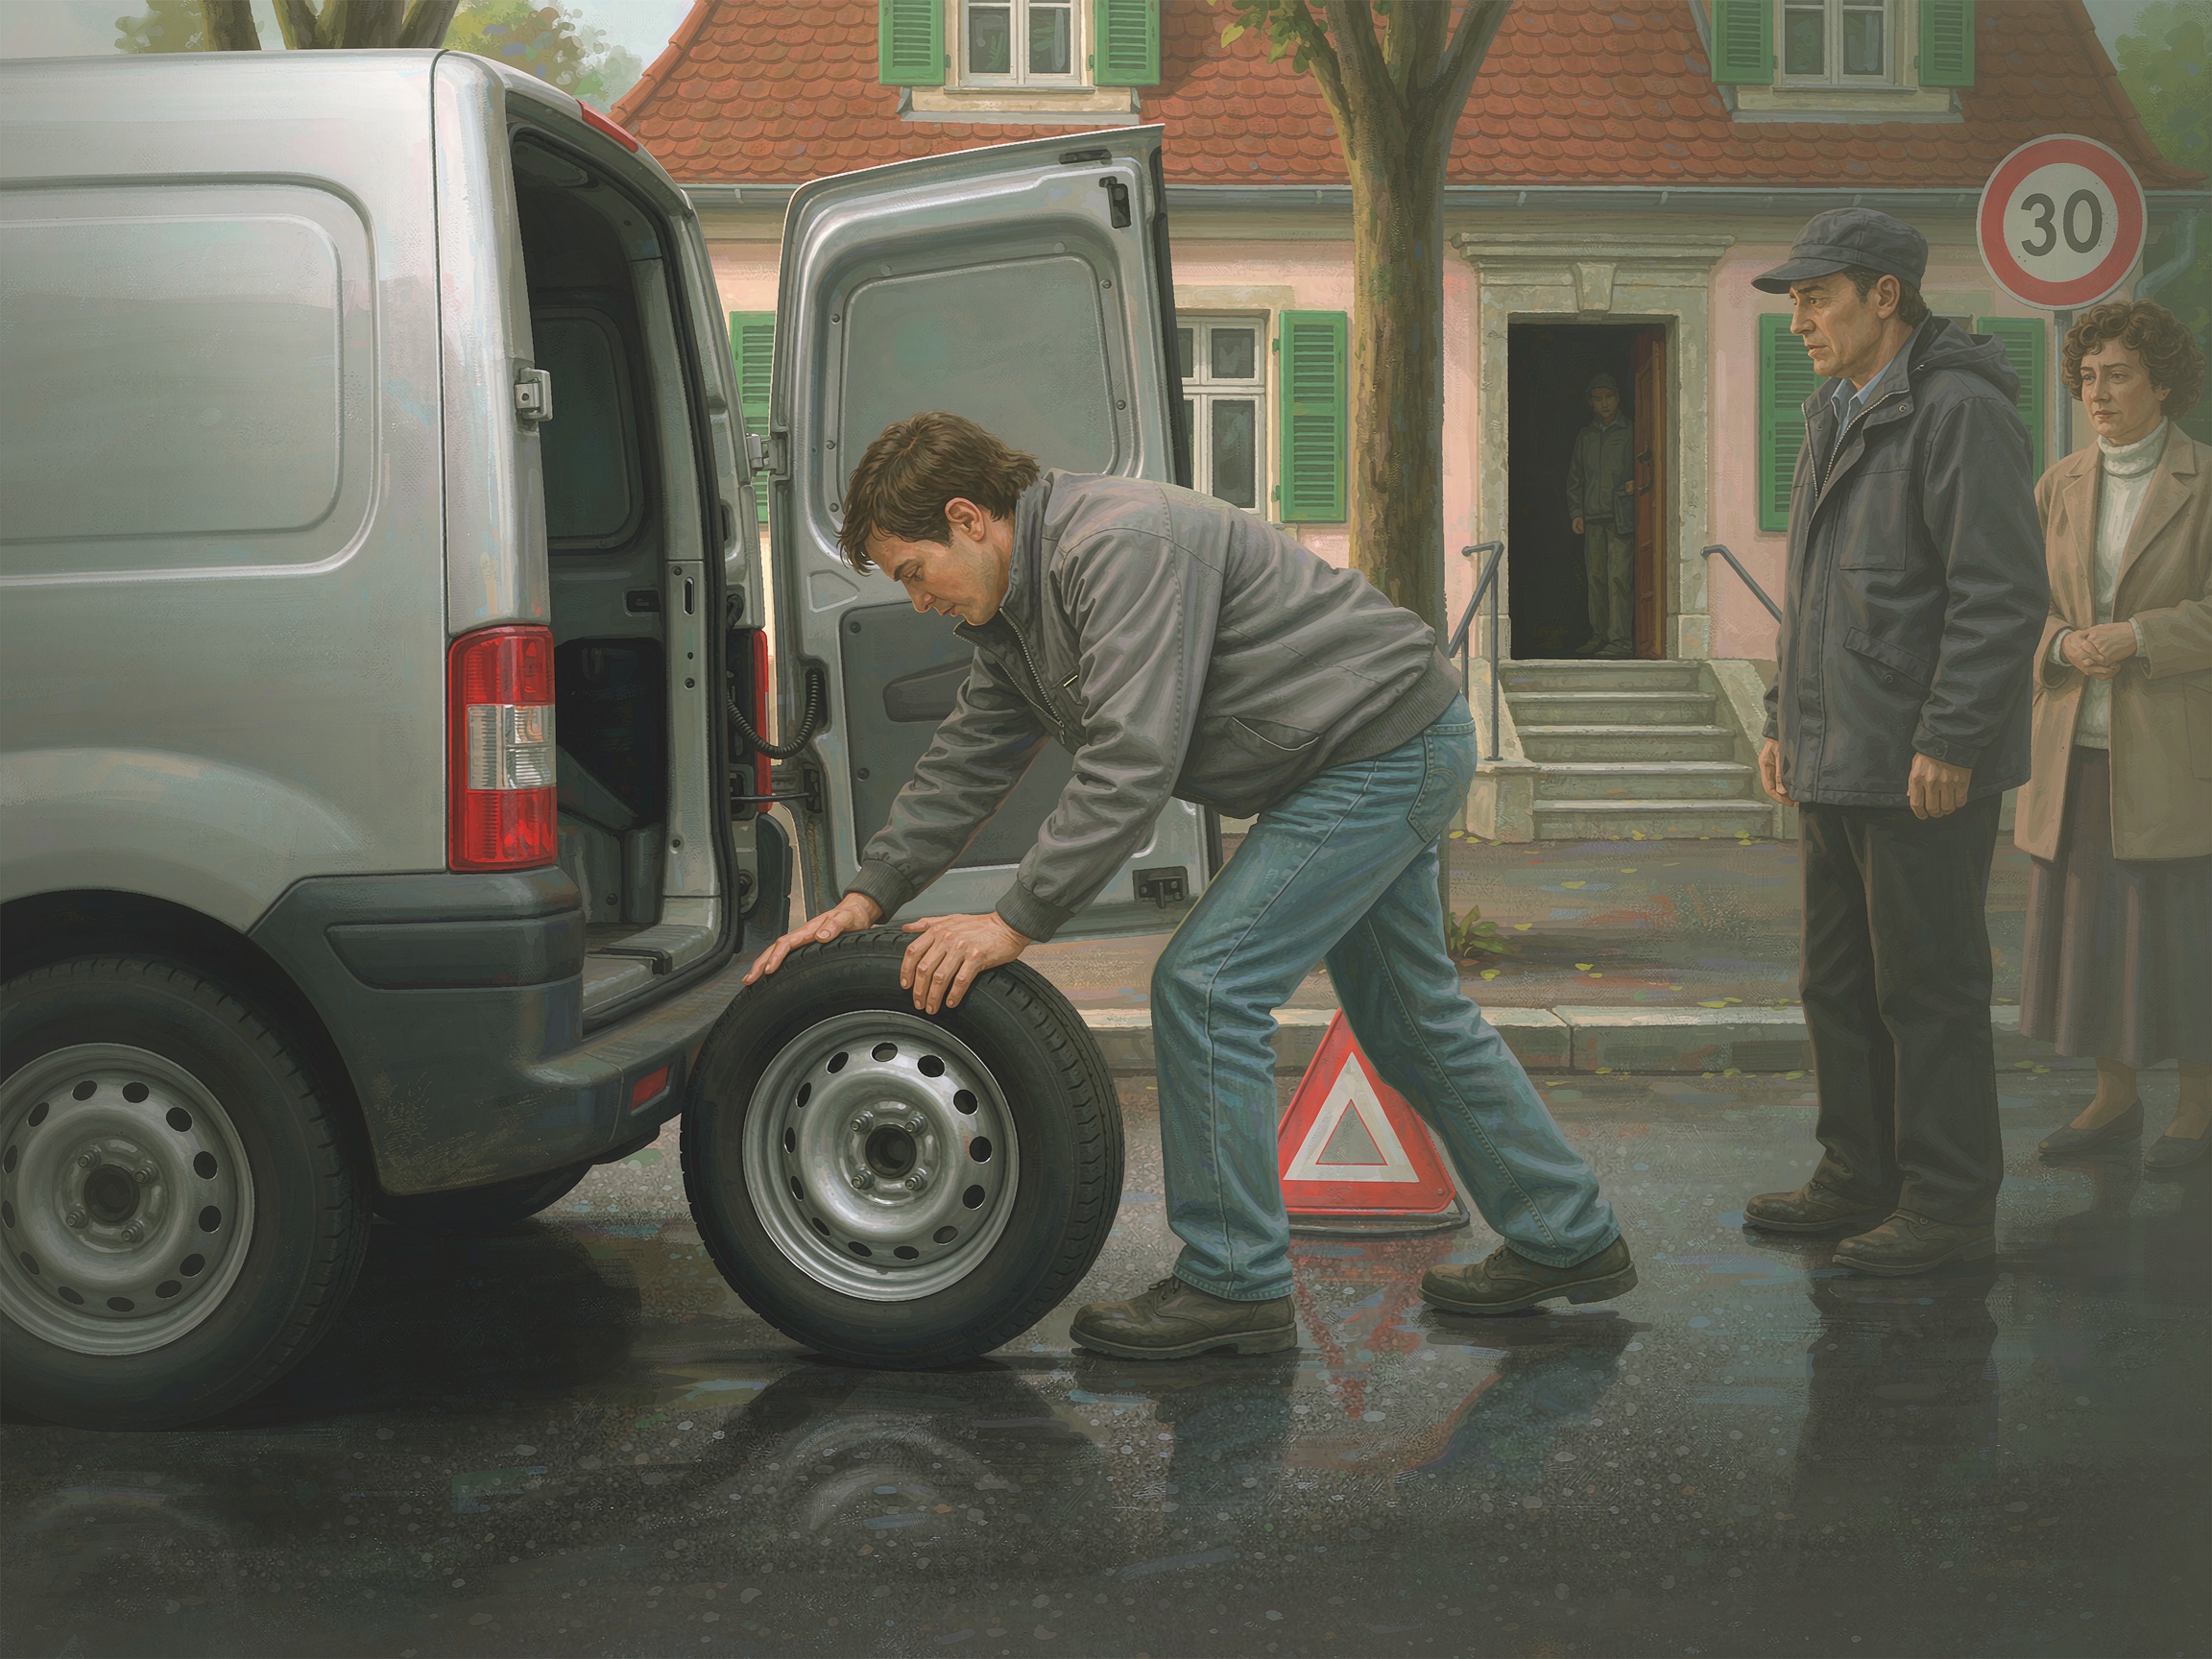
Remove the Flat Tire
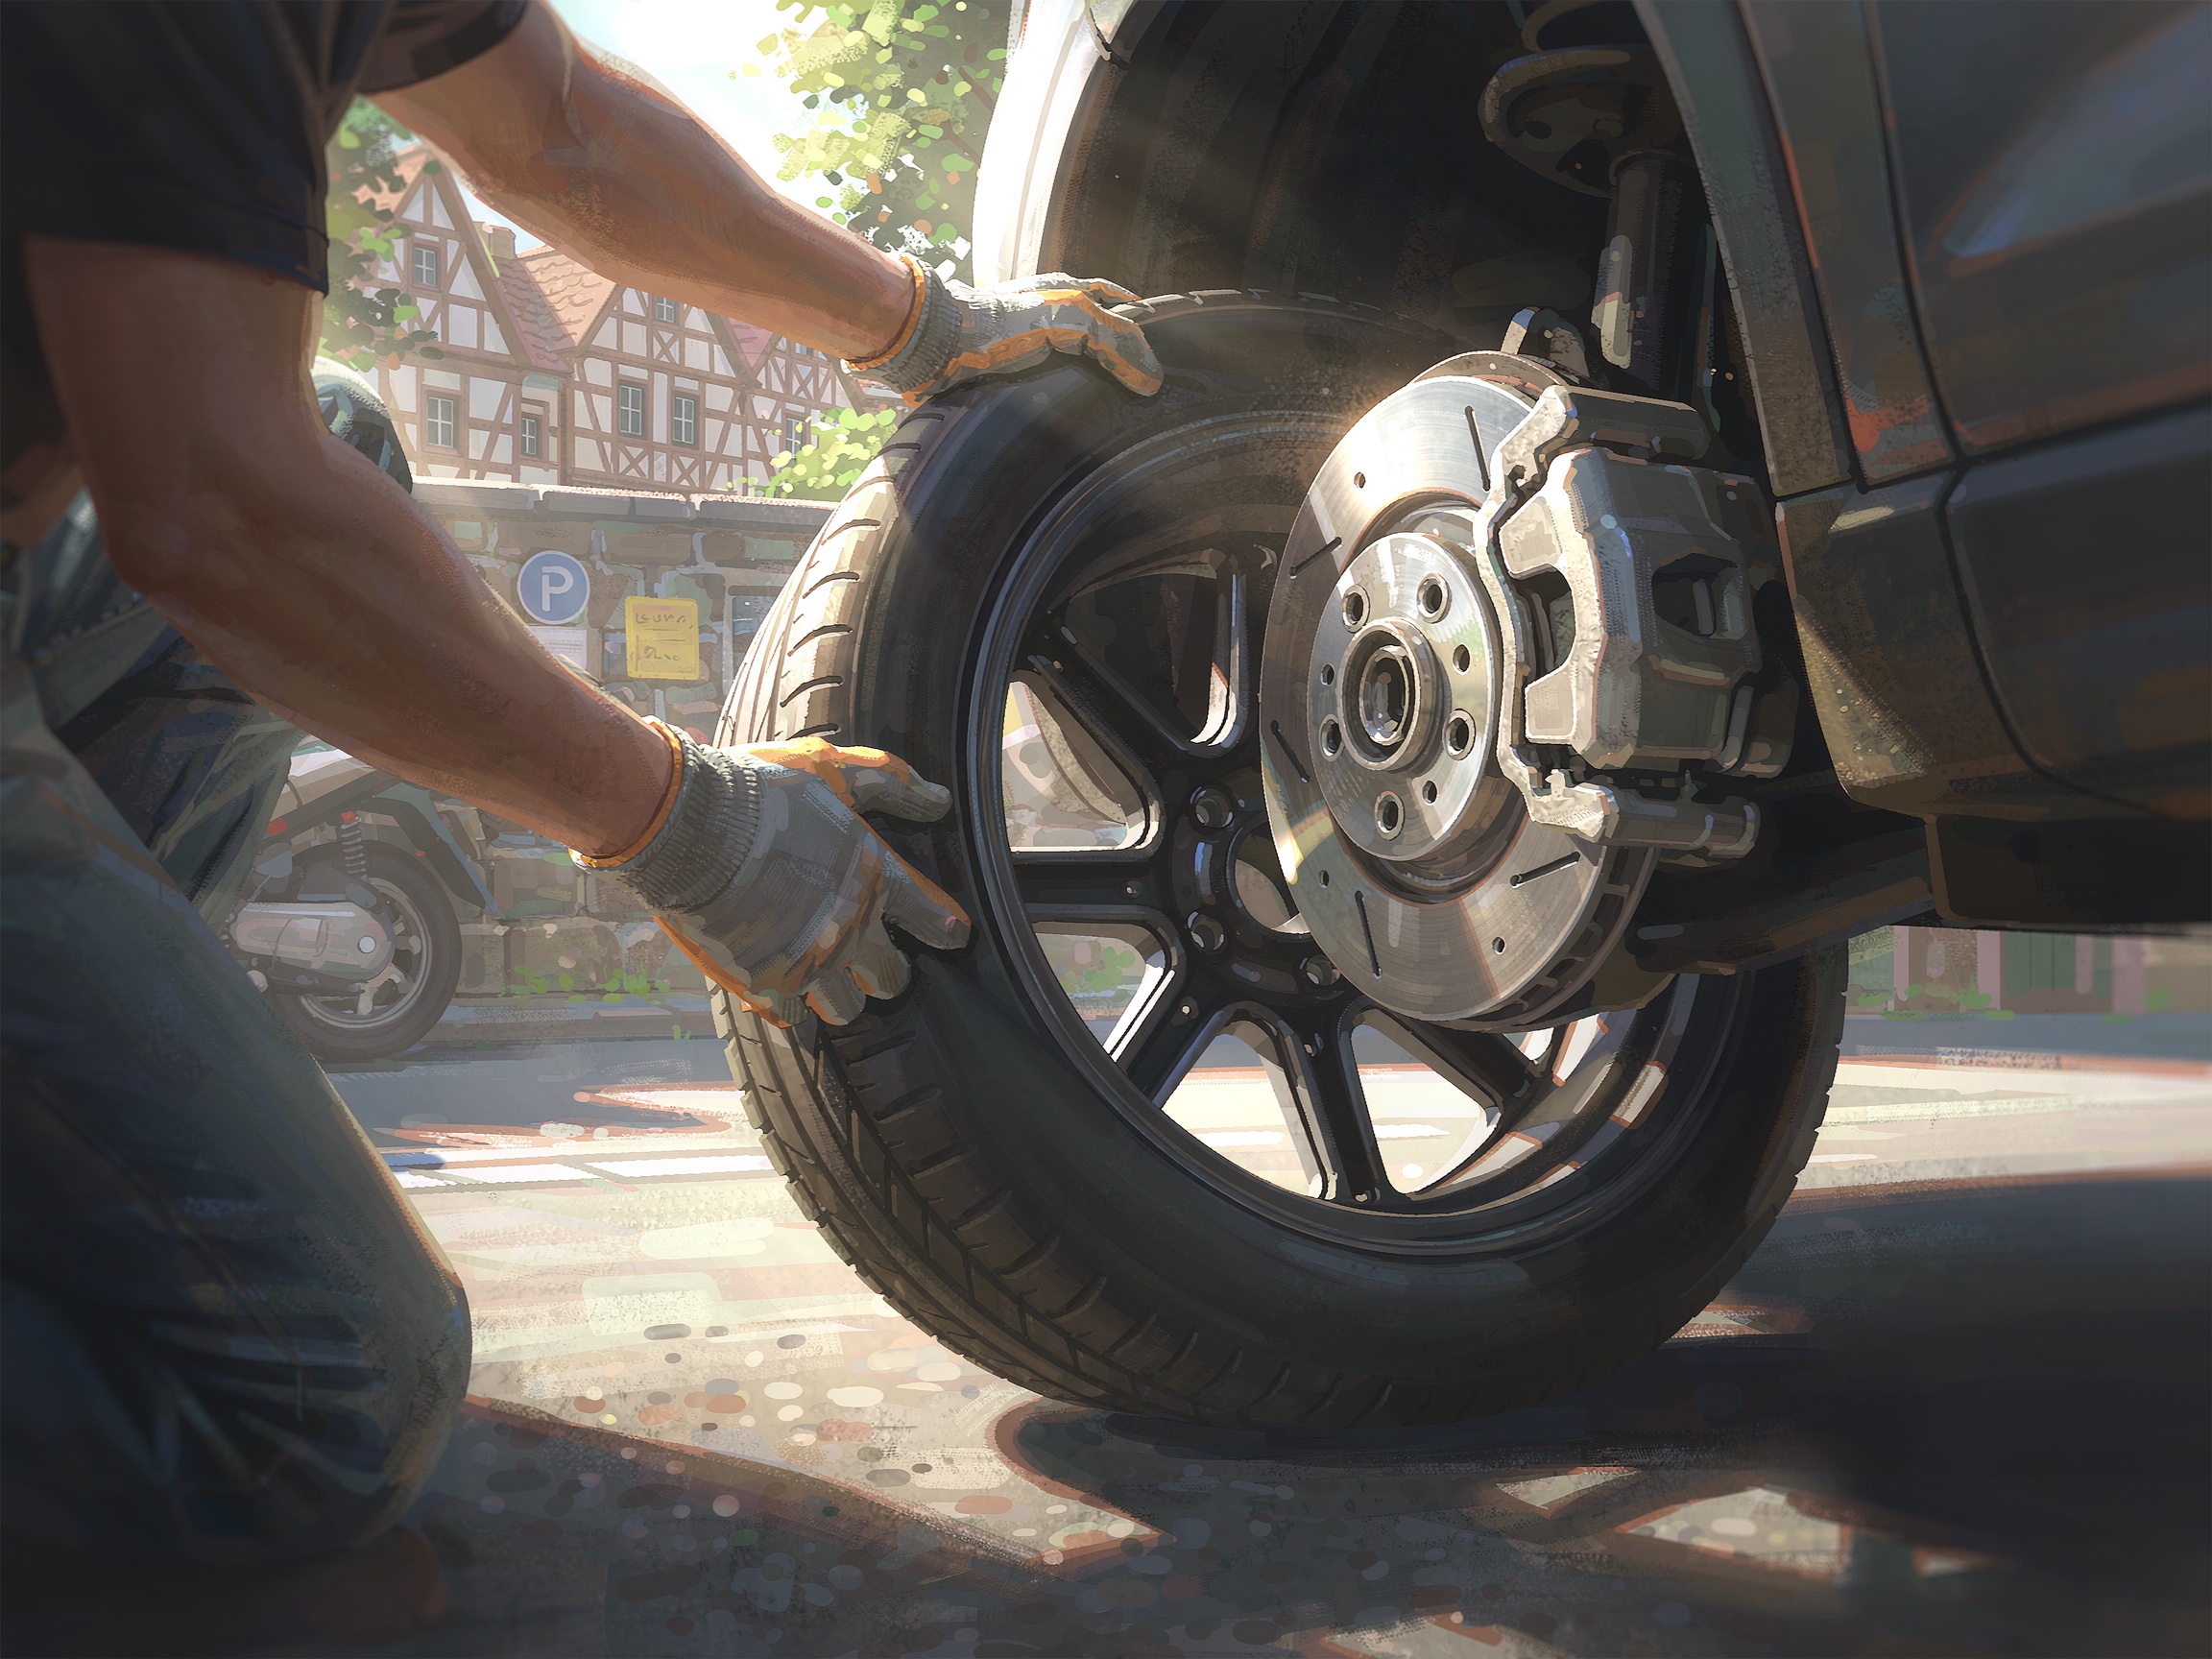
Pull the flat tire straight off the wheel studs. If it is stuck, wiggle it gently or tap the back with your fist. Never kick the tire.
-
10
Mount the Spare
Align the spare tire's rim with the wheel studs and push it onto the studs until it is centered and flush against the brake rotor or drum.
-
11
Hand-Tighten Lug Nuts
Thread the lug nuts onto the studs by hand in a star or crisscross pattern. This ensures even tightening. Do not use the wrench yet.
-
12
Lower the Vehicle
Pump or crank the jack to slowly lower the vehicle back to the ground. Lower it until the tire just touches the ground — keep the jack in place for now.
-
13
Tighten Lug Nuts
Using the lug wrench, tighten the lug nuts in a star or crisscross pattern. Tighten them firmly but not so hard that you damage the studs.
-
14
Fully Lower and Remove Jack
Completely lower the vehicle to the ground and remove the jack. The vehicle should be resting firmly on all four tires.
-
15
Fully Tighten Lug Nuts
Using the lug wrench, tighten all lug nuts as firmly as possible. If your vehicle has a torque wrench, consult the manual for the recommended torque specification.
-
16
Remove Wheel Wedges
Remove the wheel wedges or heavy objects you placed earlier. Stow them in the vehicle.
-
17
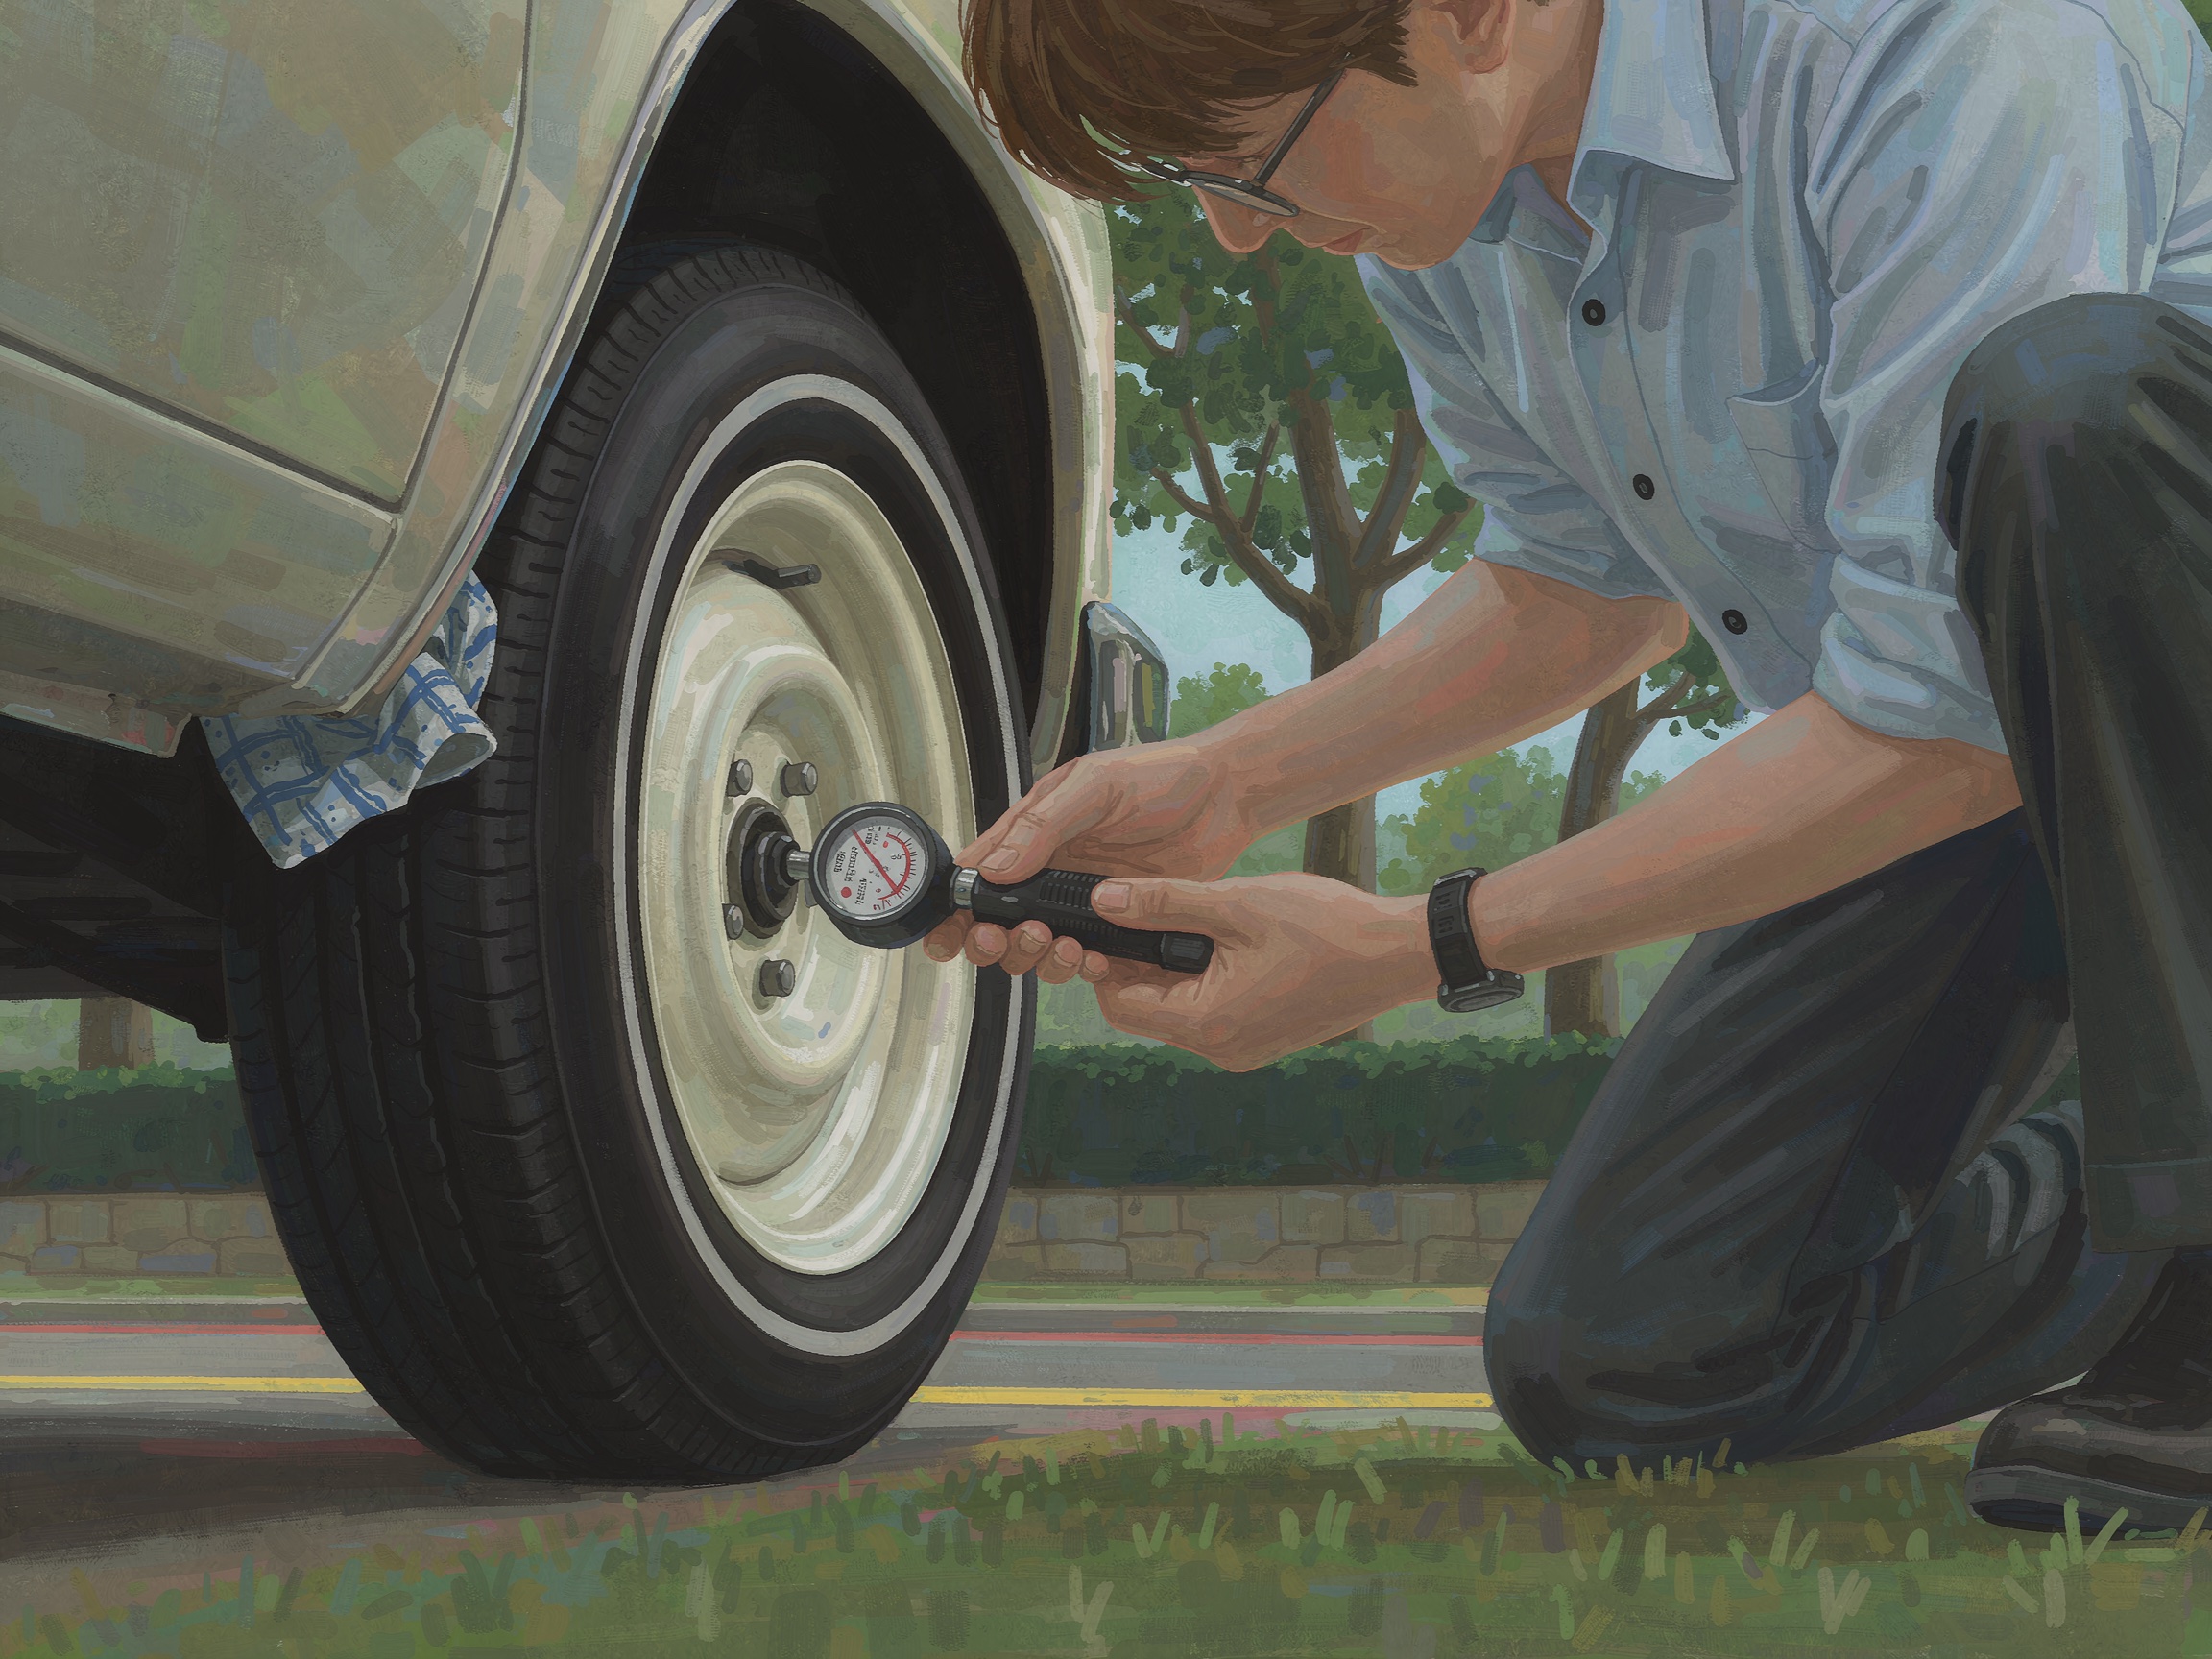
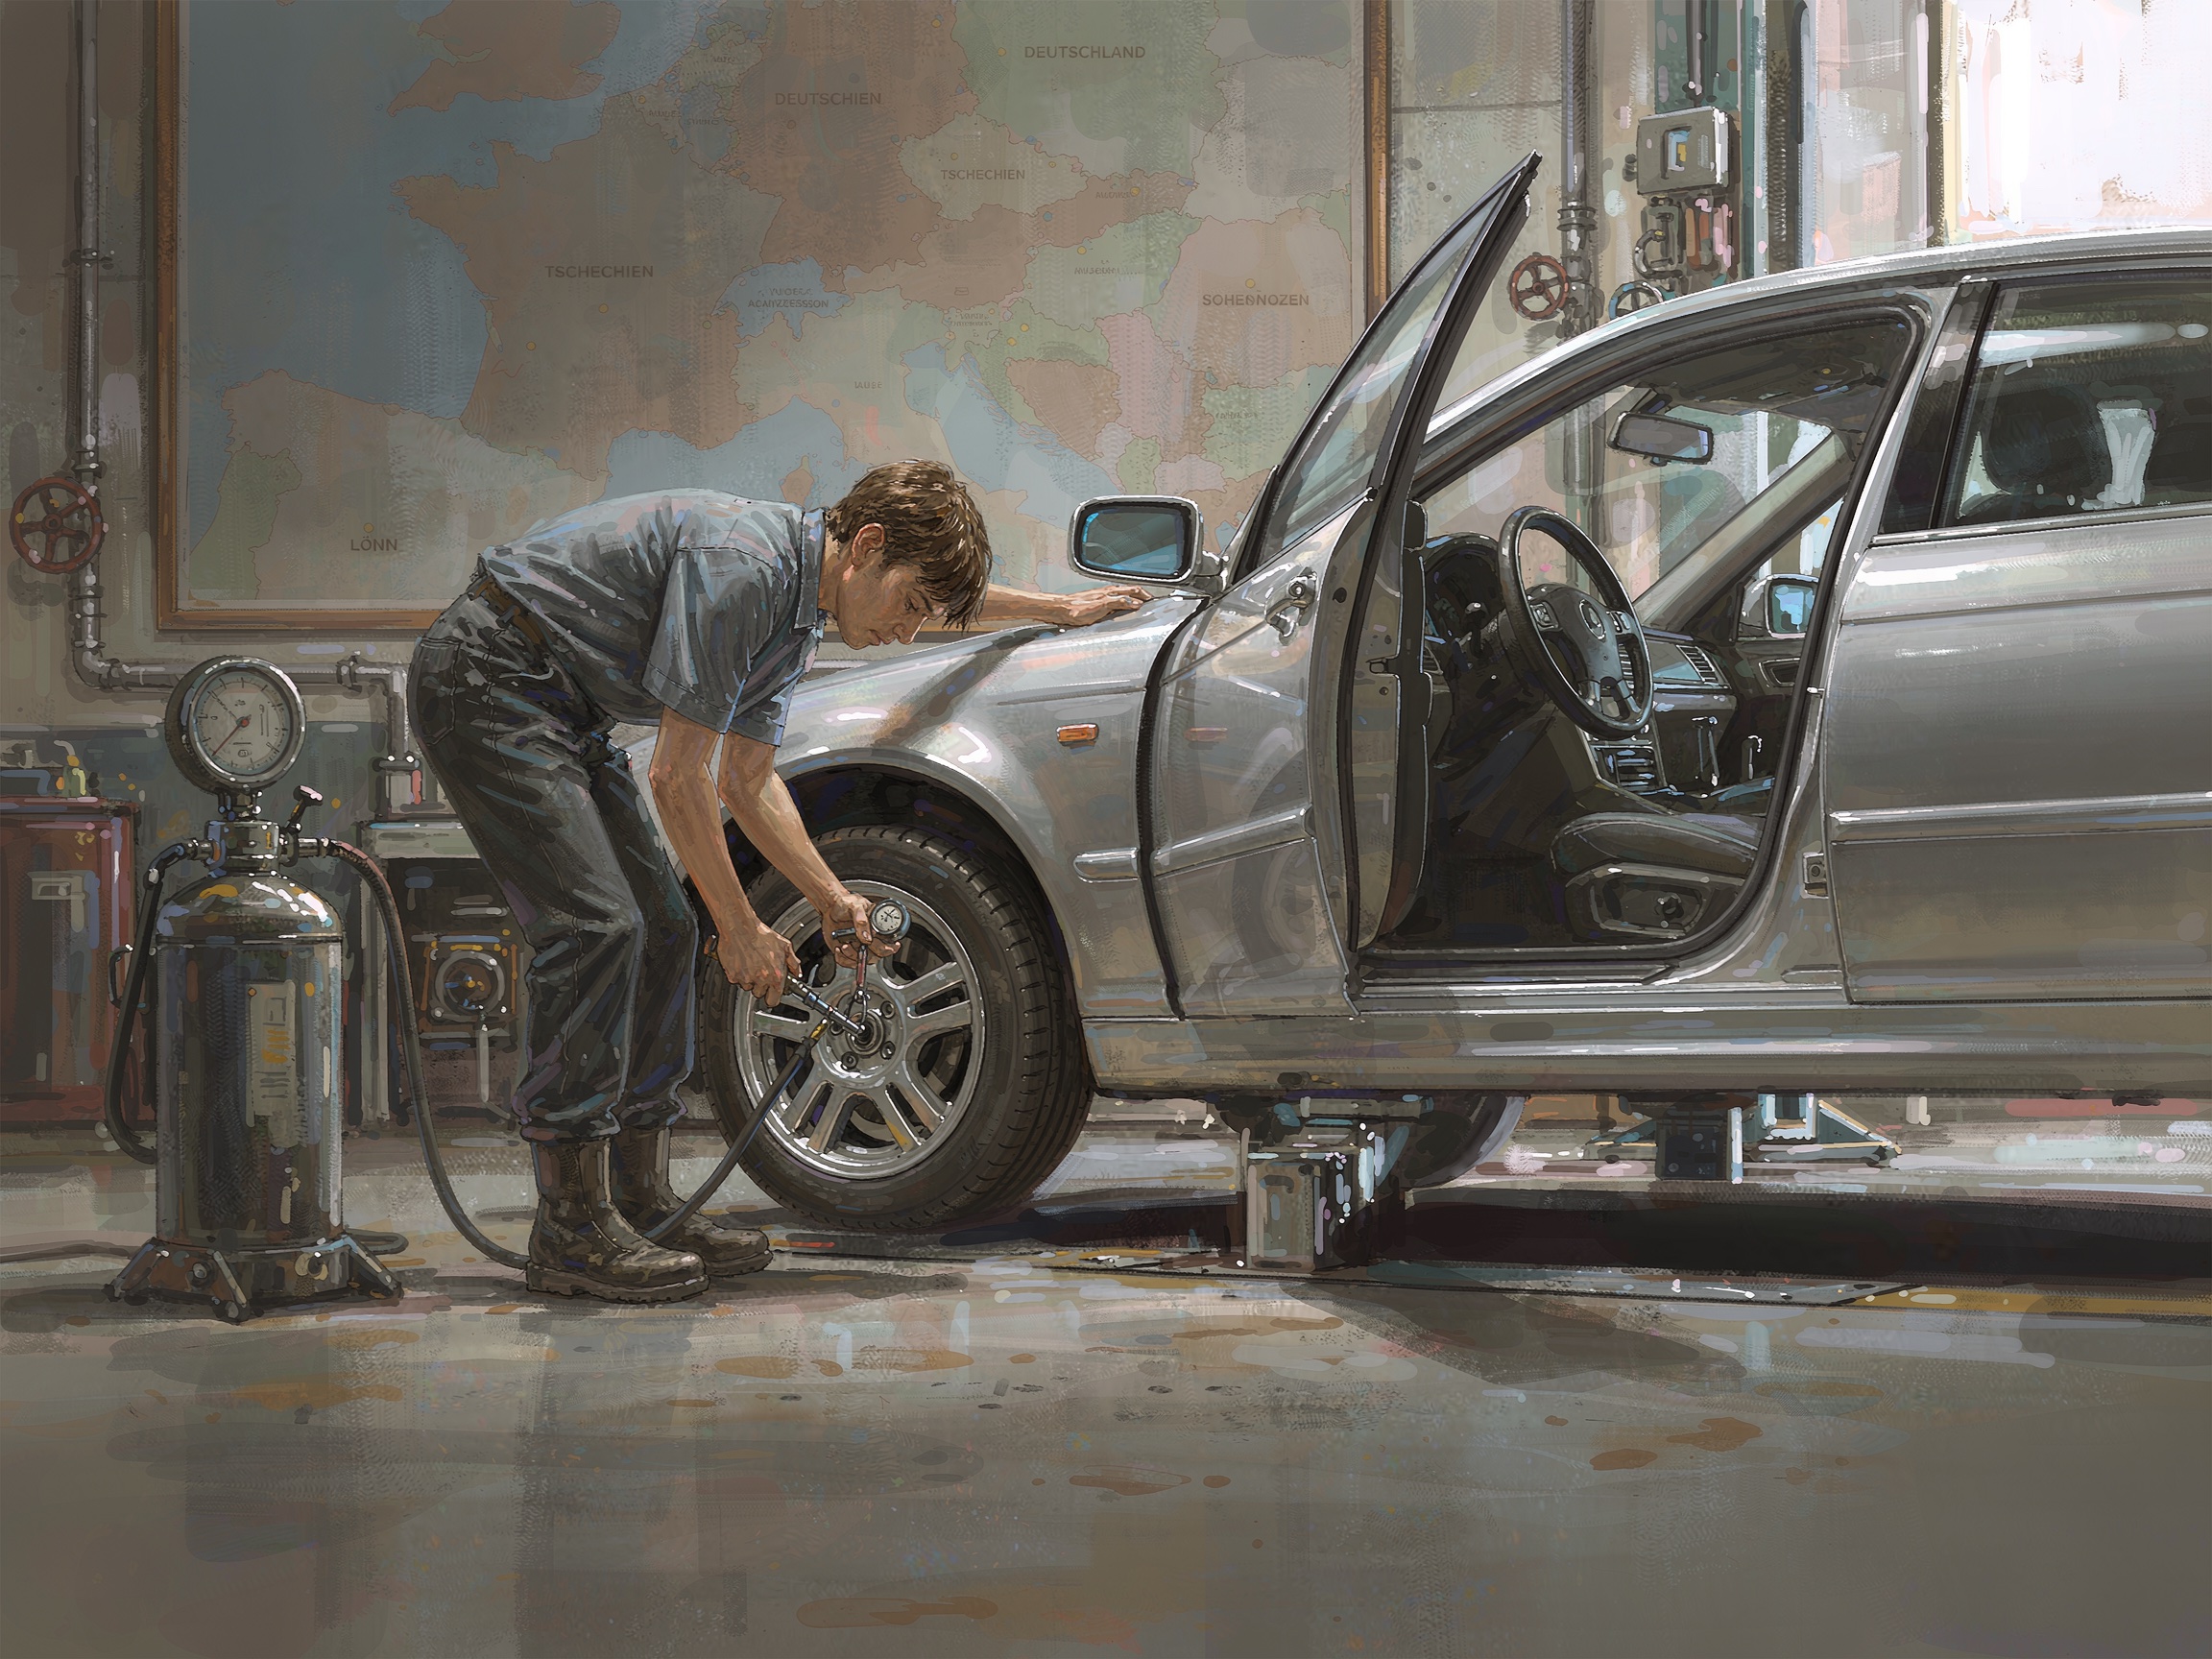
Check Tire Pressure
Use a tire pressure gauge to check the spare tire's pressure. Many spares are underinflated — inflate to the recommended PSI if needed.
-
18
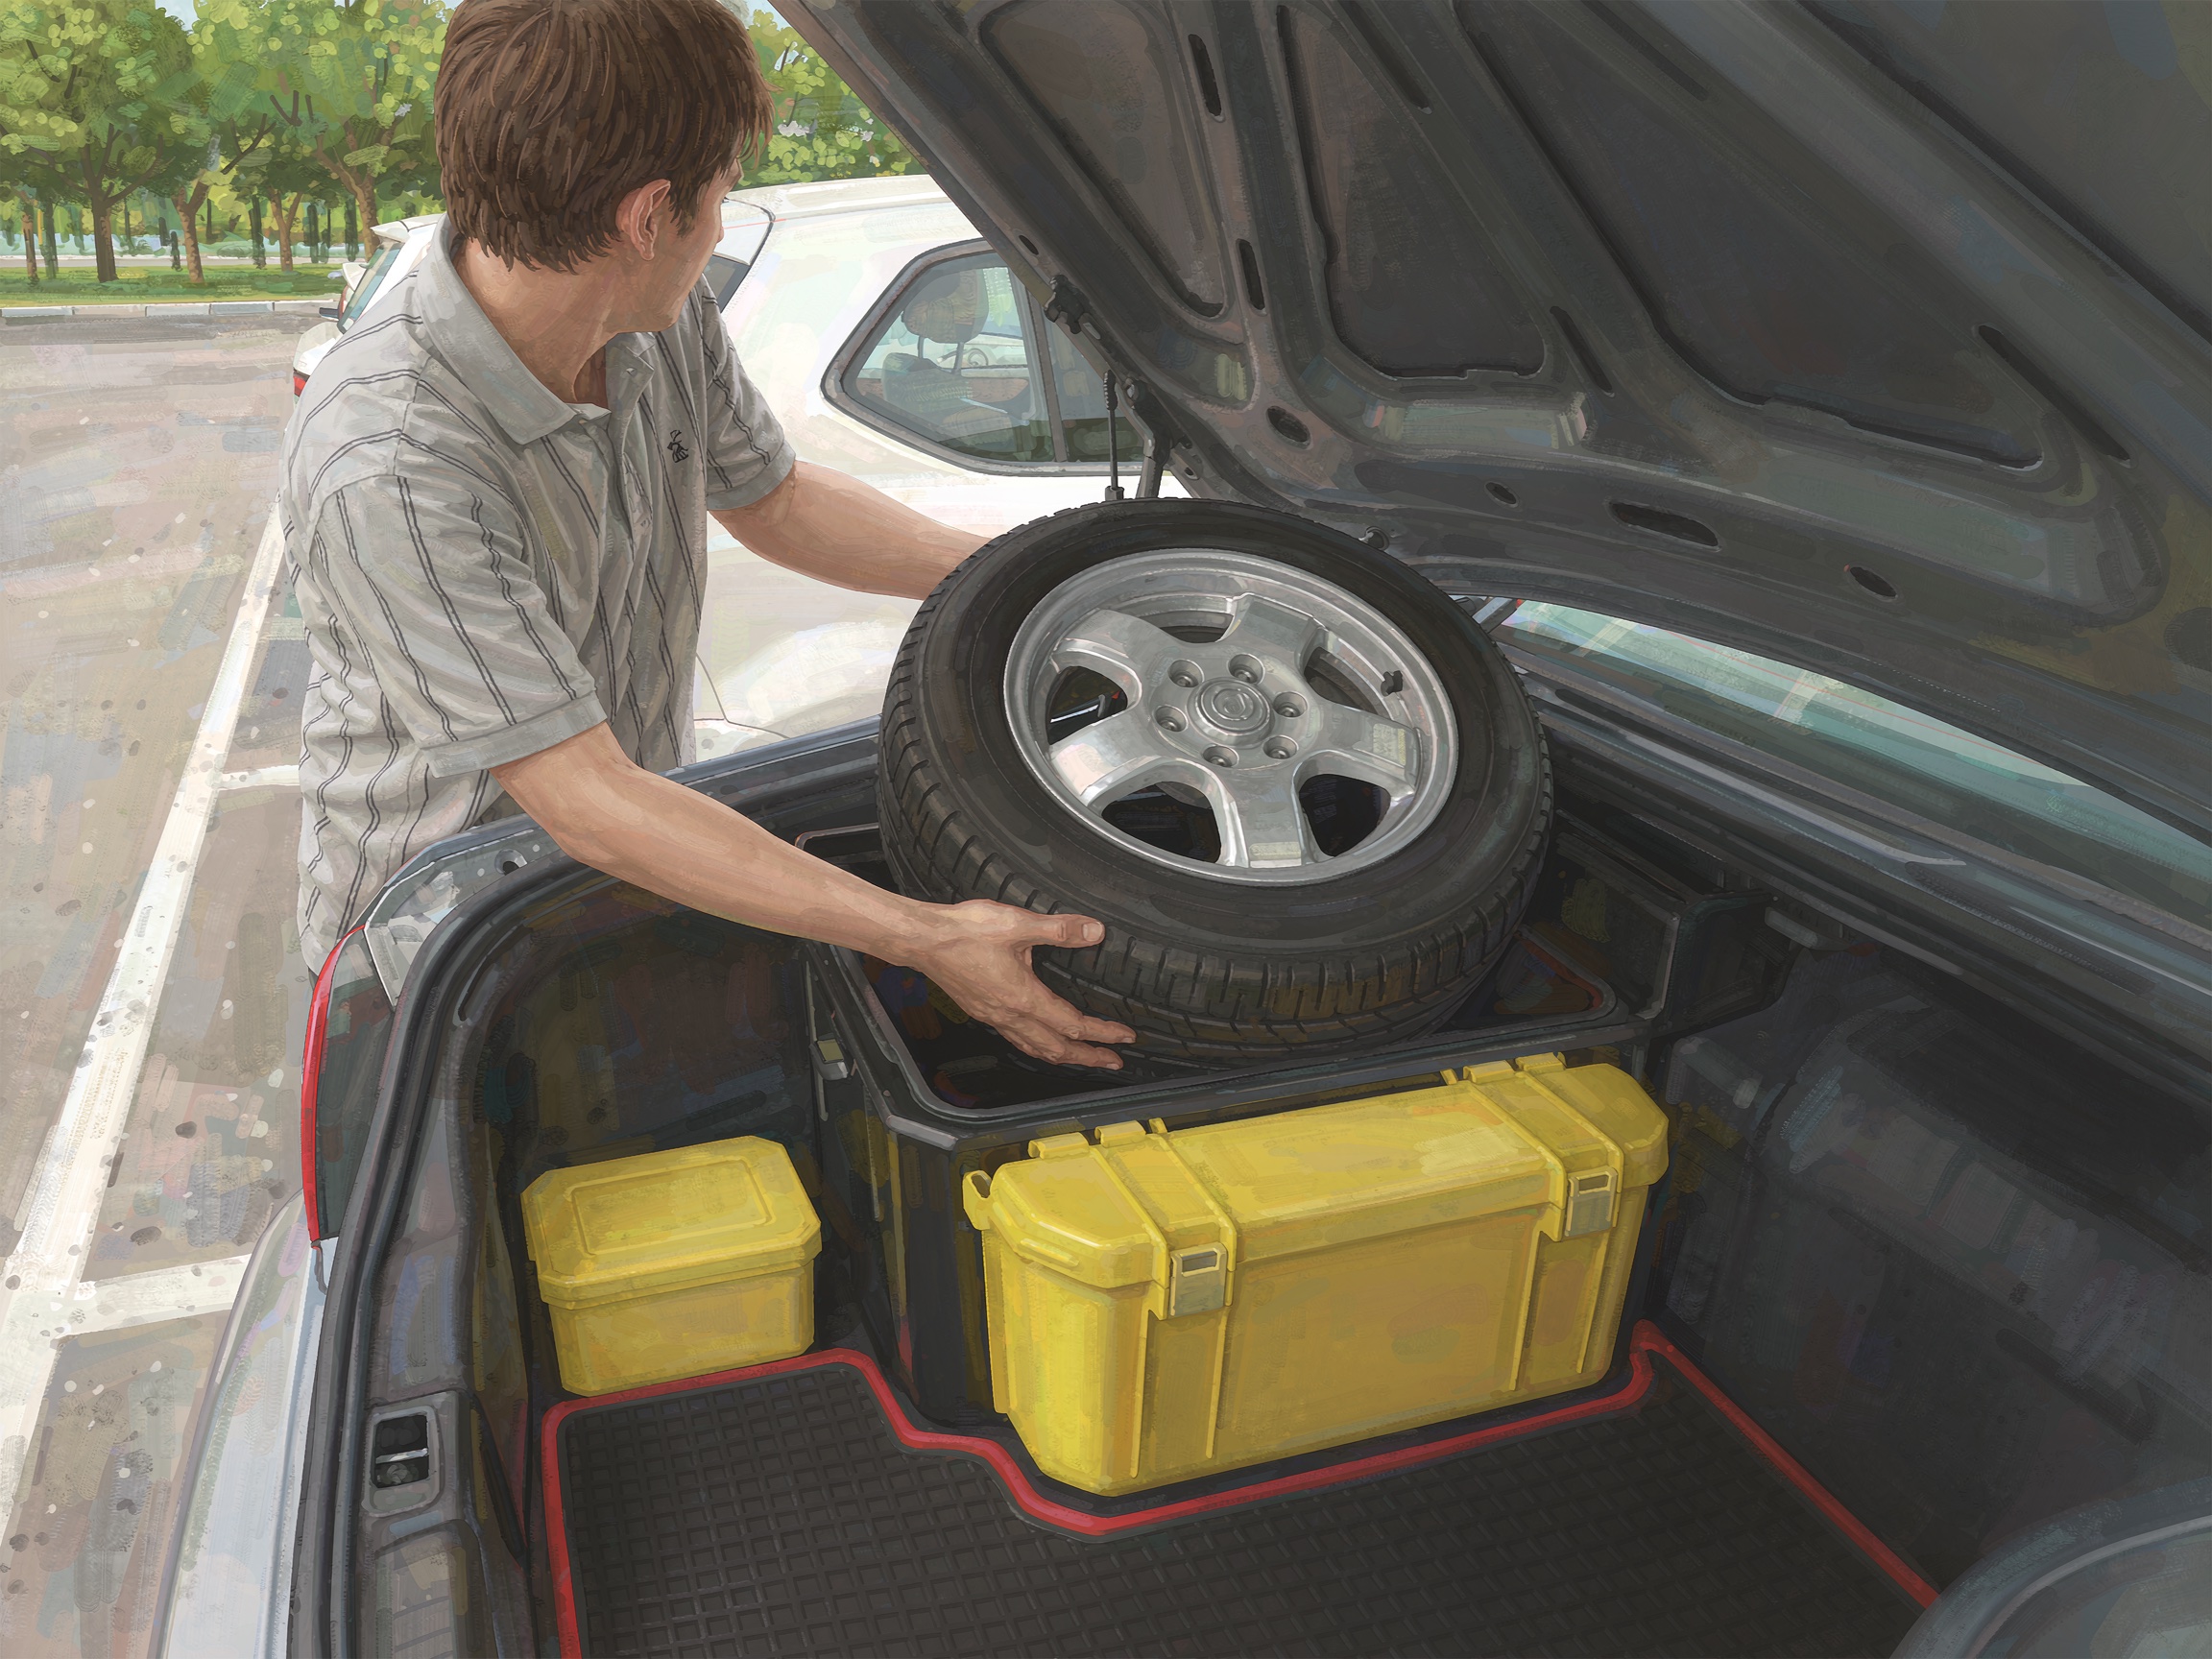
Stow the Flat Tire
Place the flat tire in the designated storage location — usually under the floor mat in the trunk or mounted on the back of the vehicle. Secure it so it doesn't roll around.
-
19
Stow the Jack and Tools
Return the jack, lug wrench, and wheel wedges to their designated storage locations in the vehicle.
-
20
Test Drive Carefully
Drive slowly for the first few miles. Avoid highway speeds, sharp turns, and hard braking. The spare tire may have a speed and distance limit.
-
21
Check Lug Nuts Again
After driving 25 miles, stop and check that all lug nuts are still tight. Re-tighten if necessary — this is a critical safety step.
-
22
Visit a Tire Shop
Spare tires are temporary solutions. Visit a tire shop to repair or replace the flat tire and check the condition of all four tires.
-
23
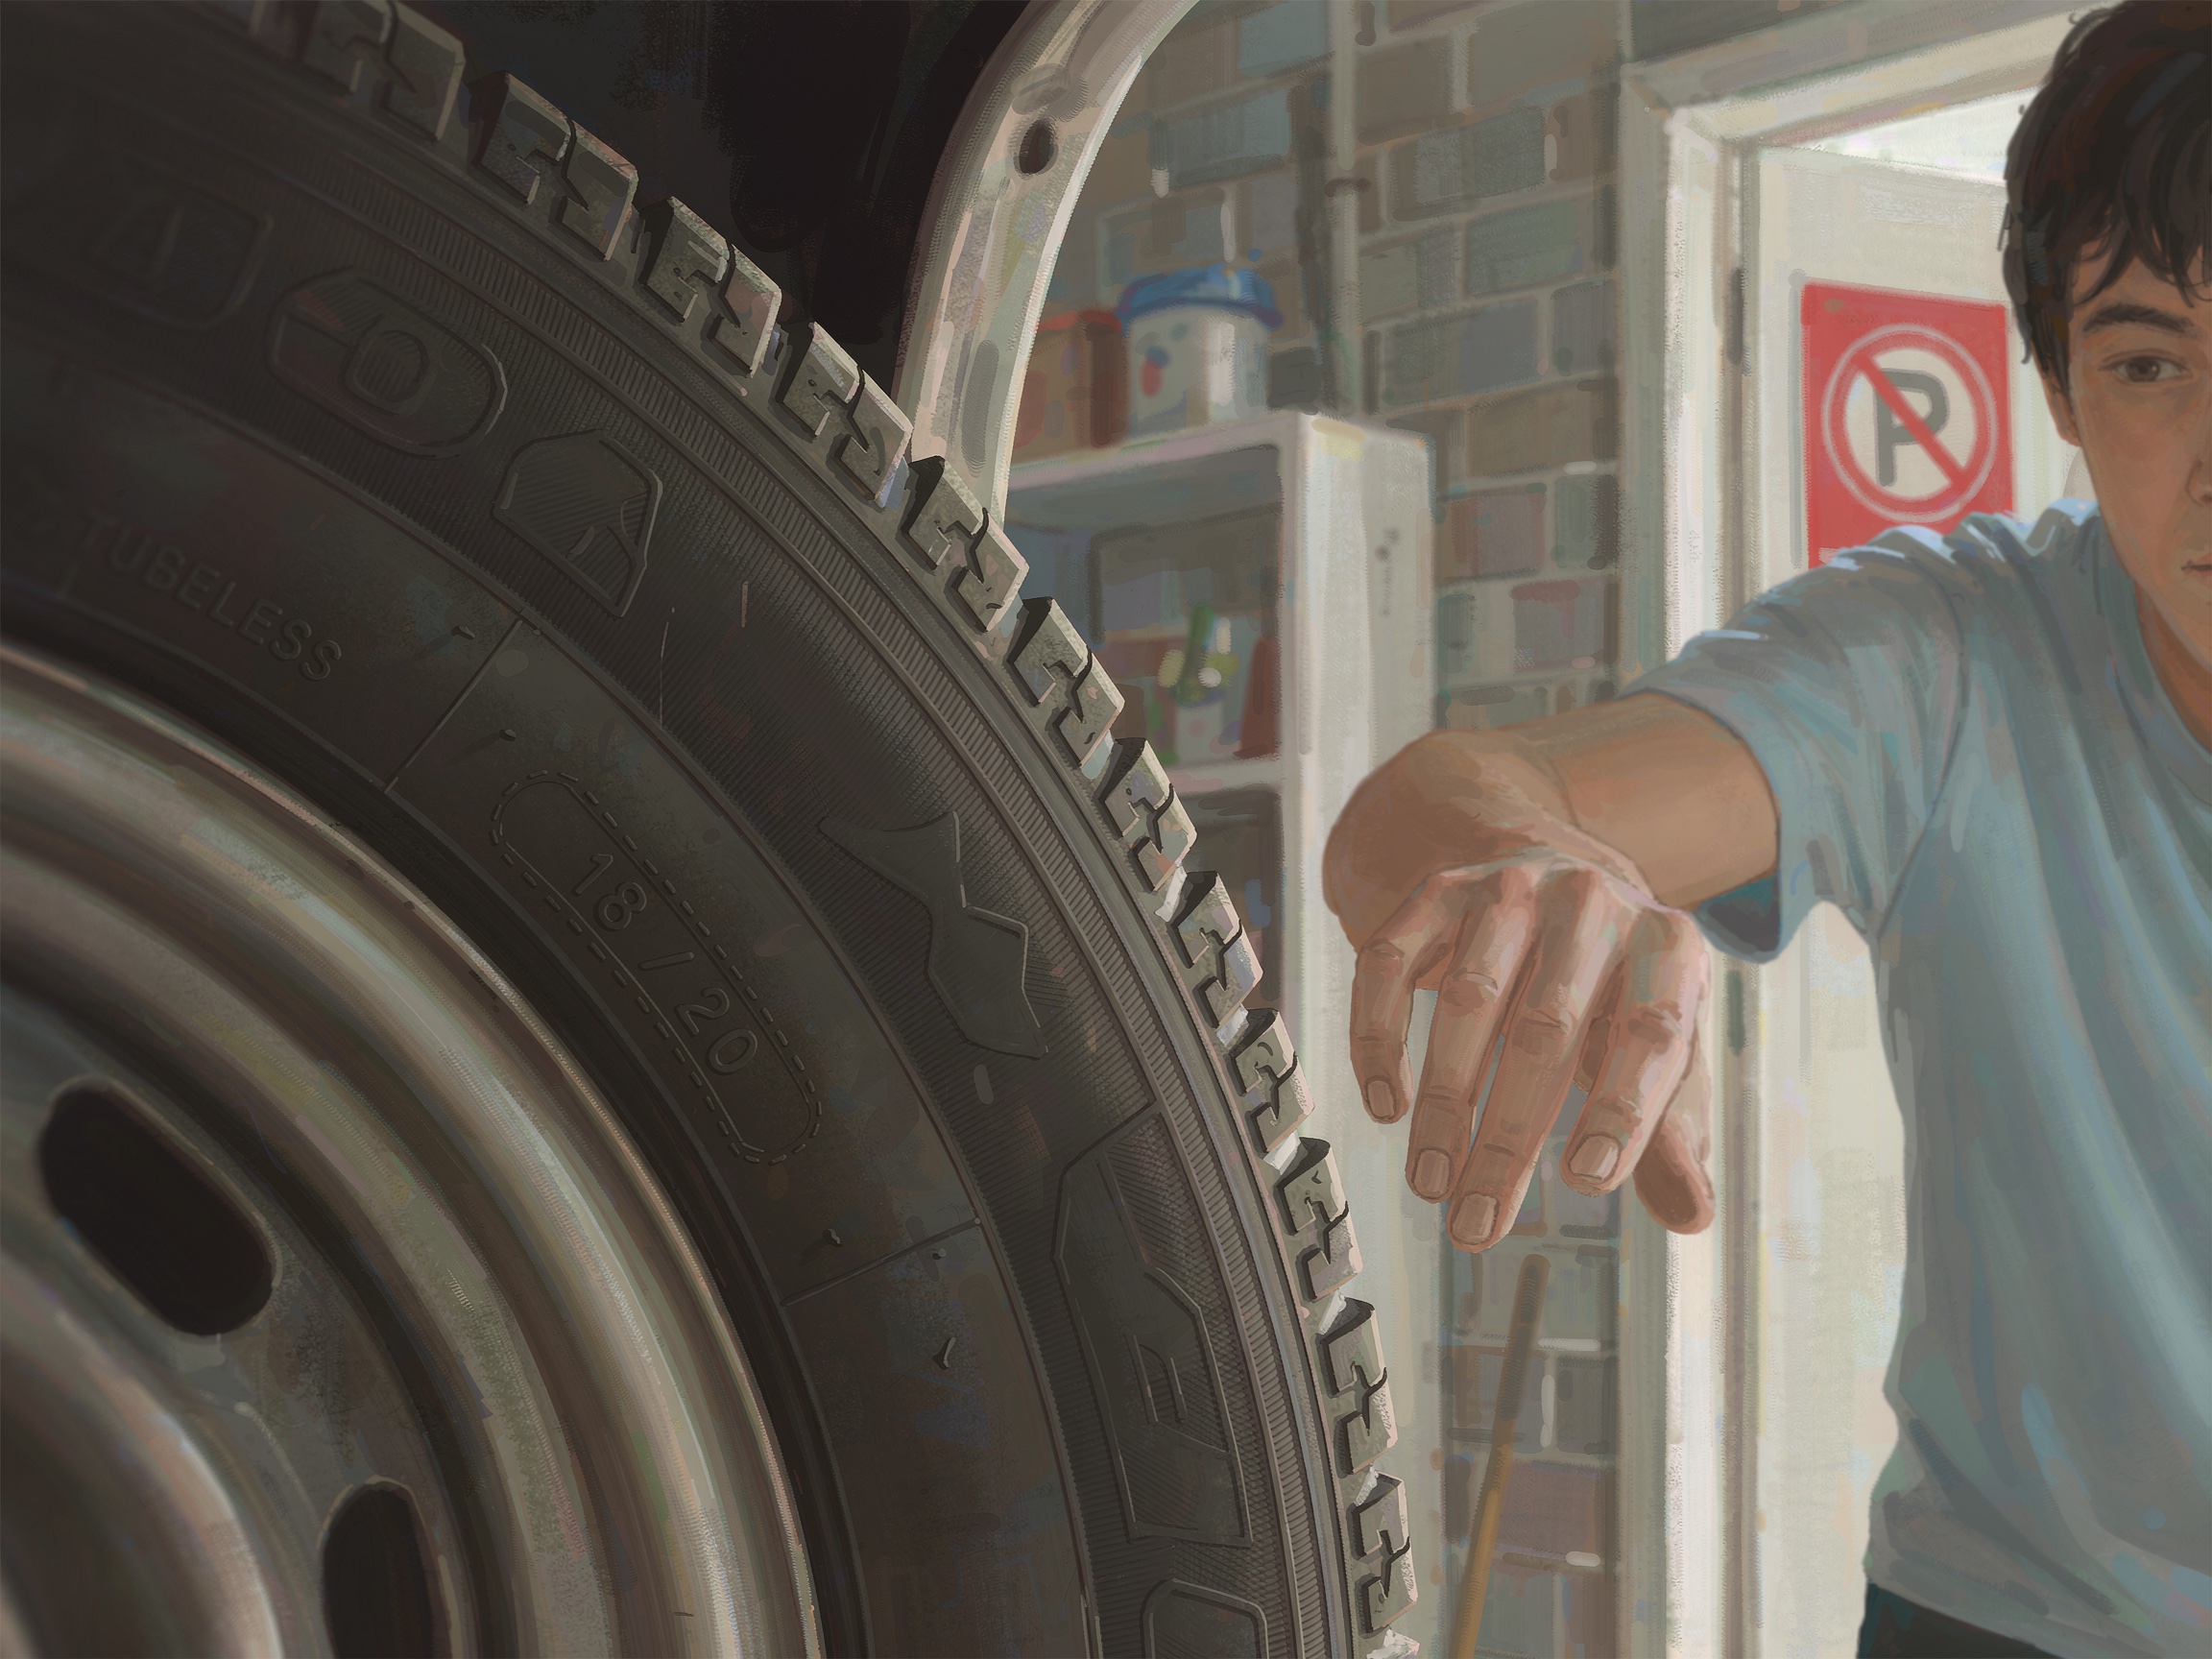
Check Spare Tire Age
Spare tires degrade over time even if unused. Check the manufacturing date on the sidewall — replace if older than 6-7 years.
-
24
Learn Regular Maintenance
Check tire pressure monthly, rotate tires every 5,000-7,500 miles, and inspect tread depth regularly to prevent flats.
-
25
Practice the Procedure
Practice changing a tire at home on a dry day before you need to do it on the road. Familiarity with the process reduces stress during an actual emergency.










Tips
- Always loosen lug nuts before lifting the vehicle
- Tighten lug nuts in a star pattern for even pressure
- Check lug nut tightness after the first 25 miles of driving
- Spare tires are temporary — replace or repair the flat promptly
Warnings
- Never place any part of your body under the vehicle while it is supported only by a jack
- Do not use the jack on a slope or soft surface — find a flat, hard surface
- Do not exceed the spare tire's speed or distance limits