How to Build Your Own Gaming PC
A complete guide to assembling a high-performance gaming PC from individual components, including compatibility, installation, and first boot.
Things You'll Need
- Motherboard
- CPU
- CPU cooler
- RAM
- GPU
- Power supply
- Case
- SSD
- Thermal paste
- Screwdriver
Steps
-
1
Plan Your Build
Research and select compatible components. Use PC building websites to check compatibility. Determine your budget and prioritize the GPU for gaming performance.
-
2
Gather Tools and Workspace
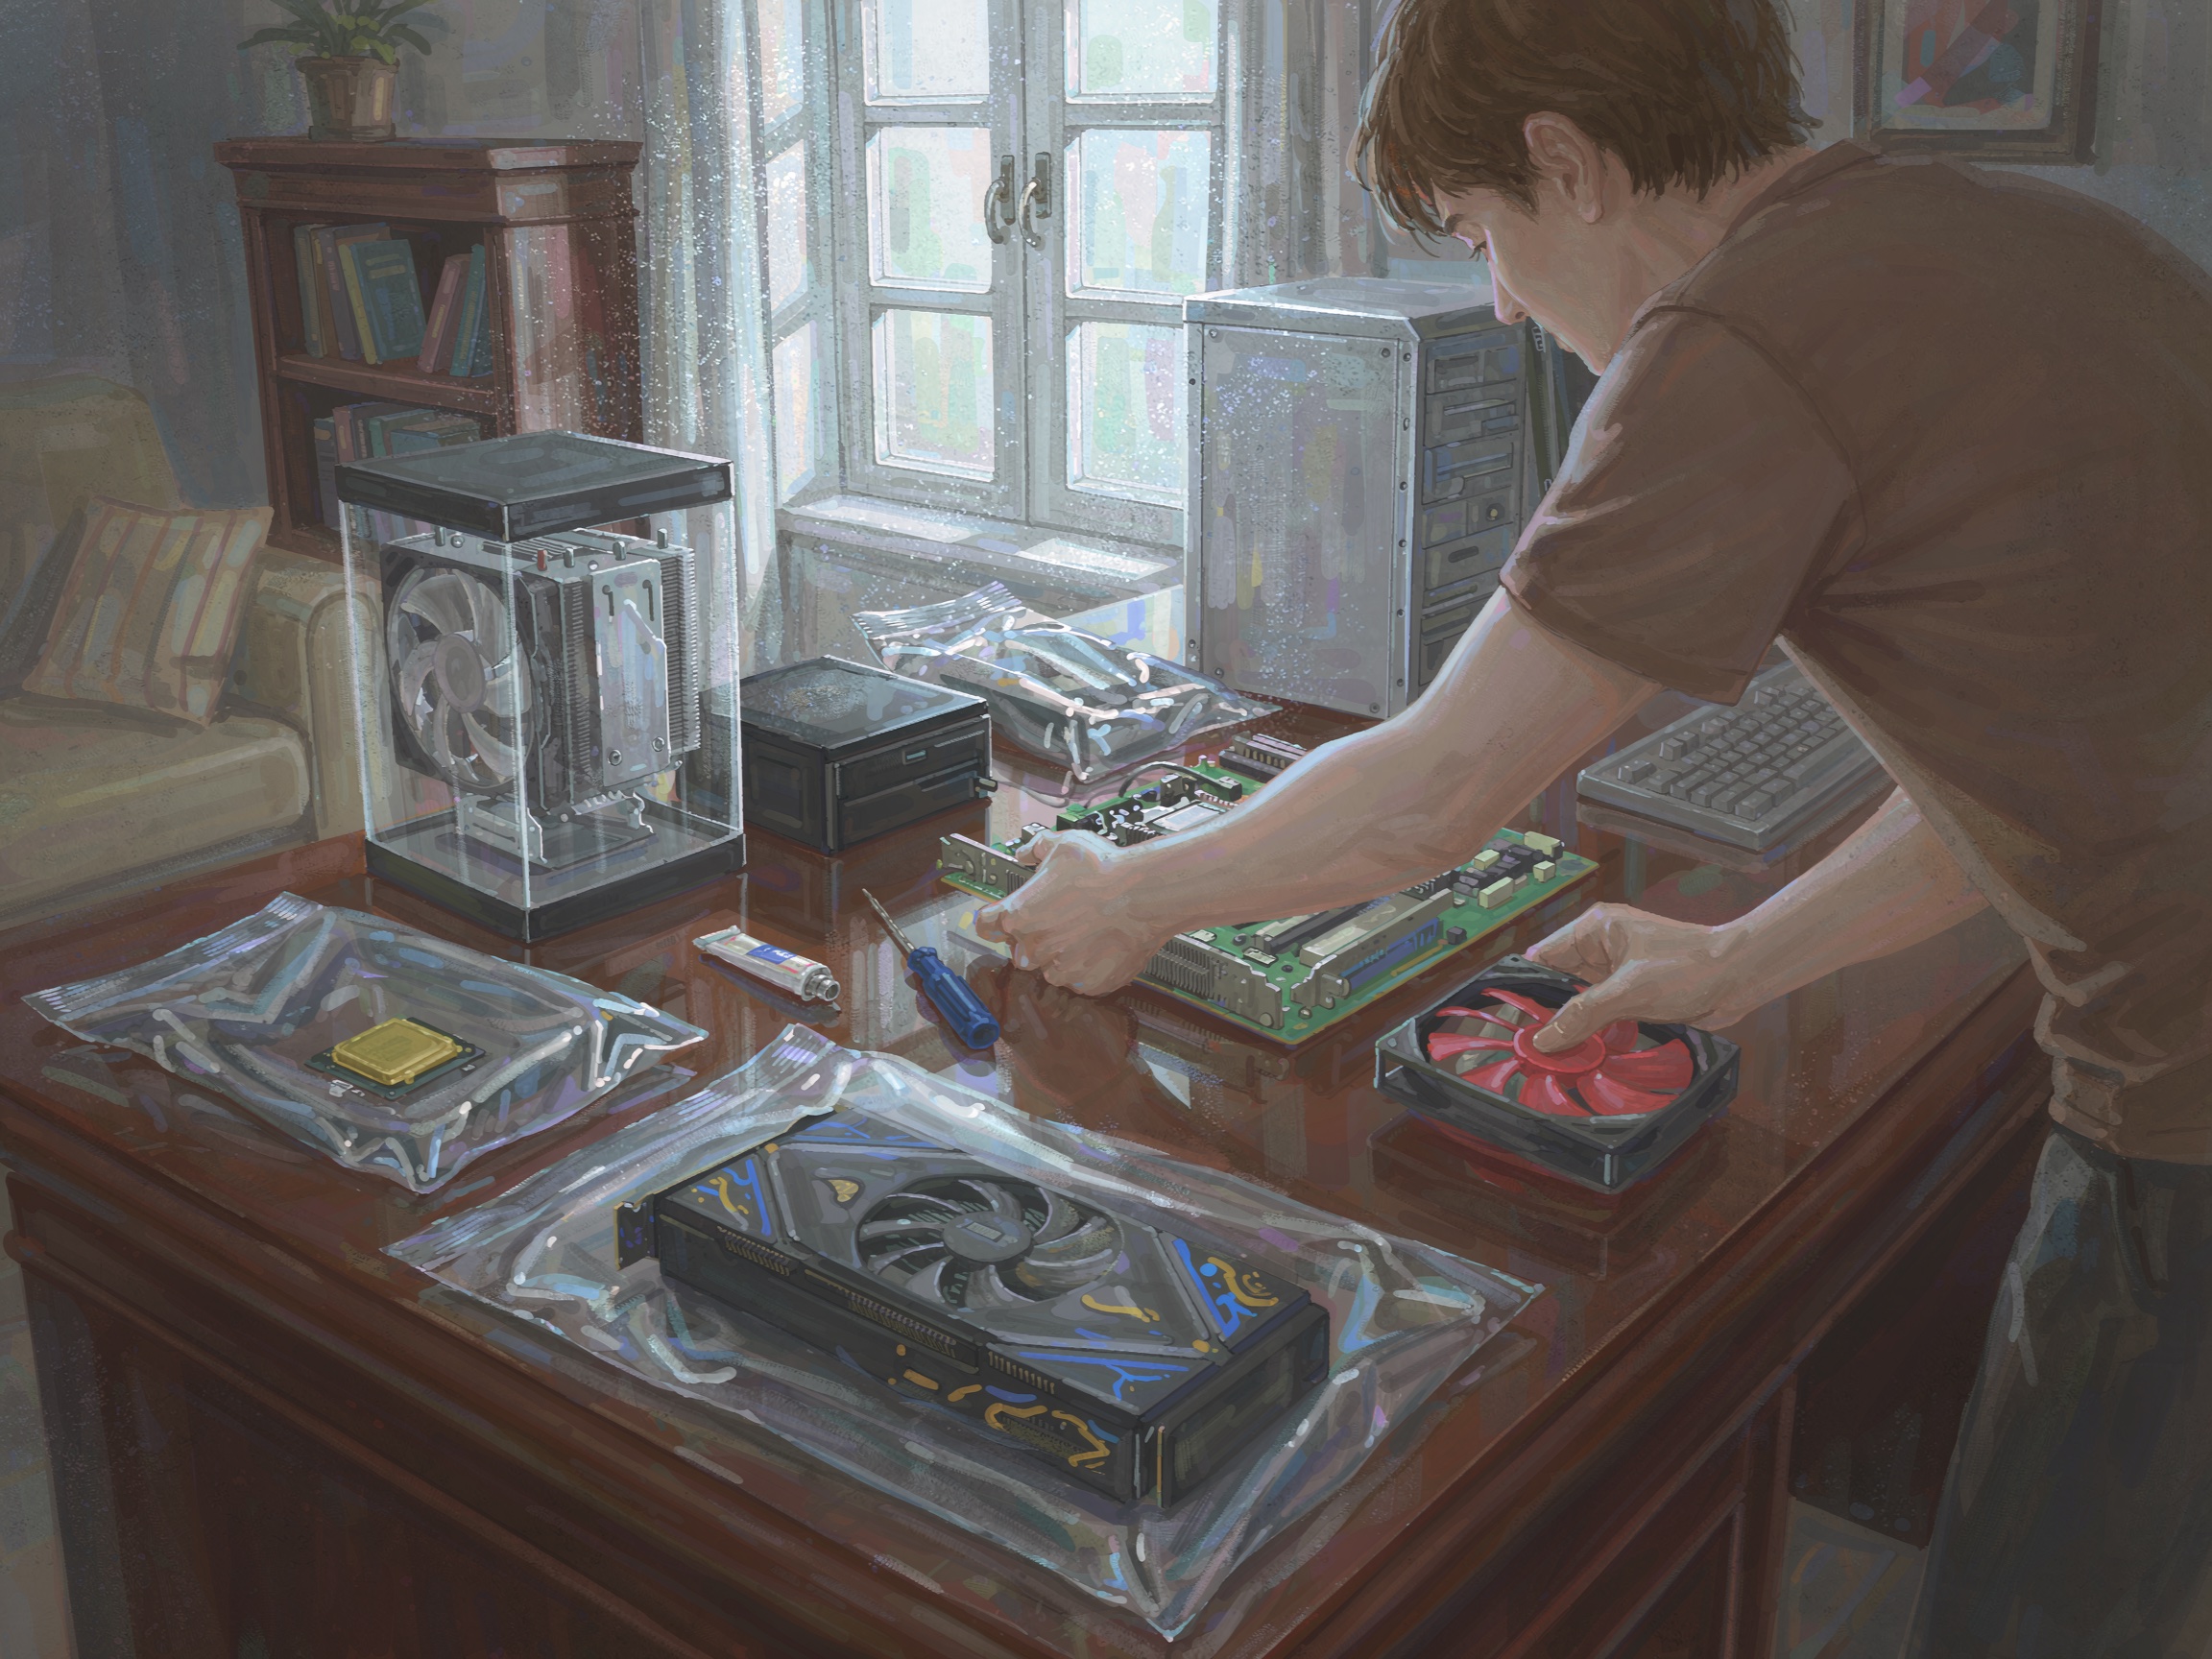
Get a Phillips screwdriver, thermal paste, and a large flat surface. Work in a well-lit, dust-free area. Keep all components in their anti-static bags until needed.
-
3
Prepare the Case
Remove the side panels of your case. Install the motherboard standoffs if not already installed. Install the power supply if your case has a bottom-mount design.
-
4
Install the CPU
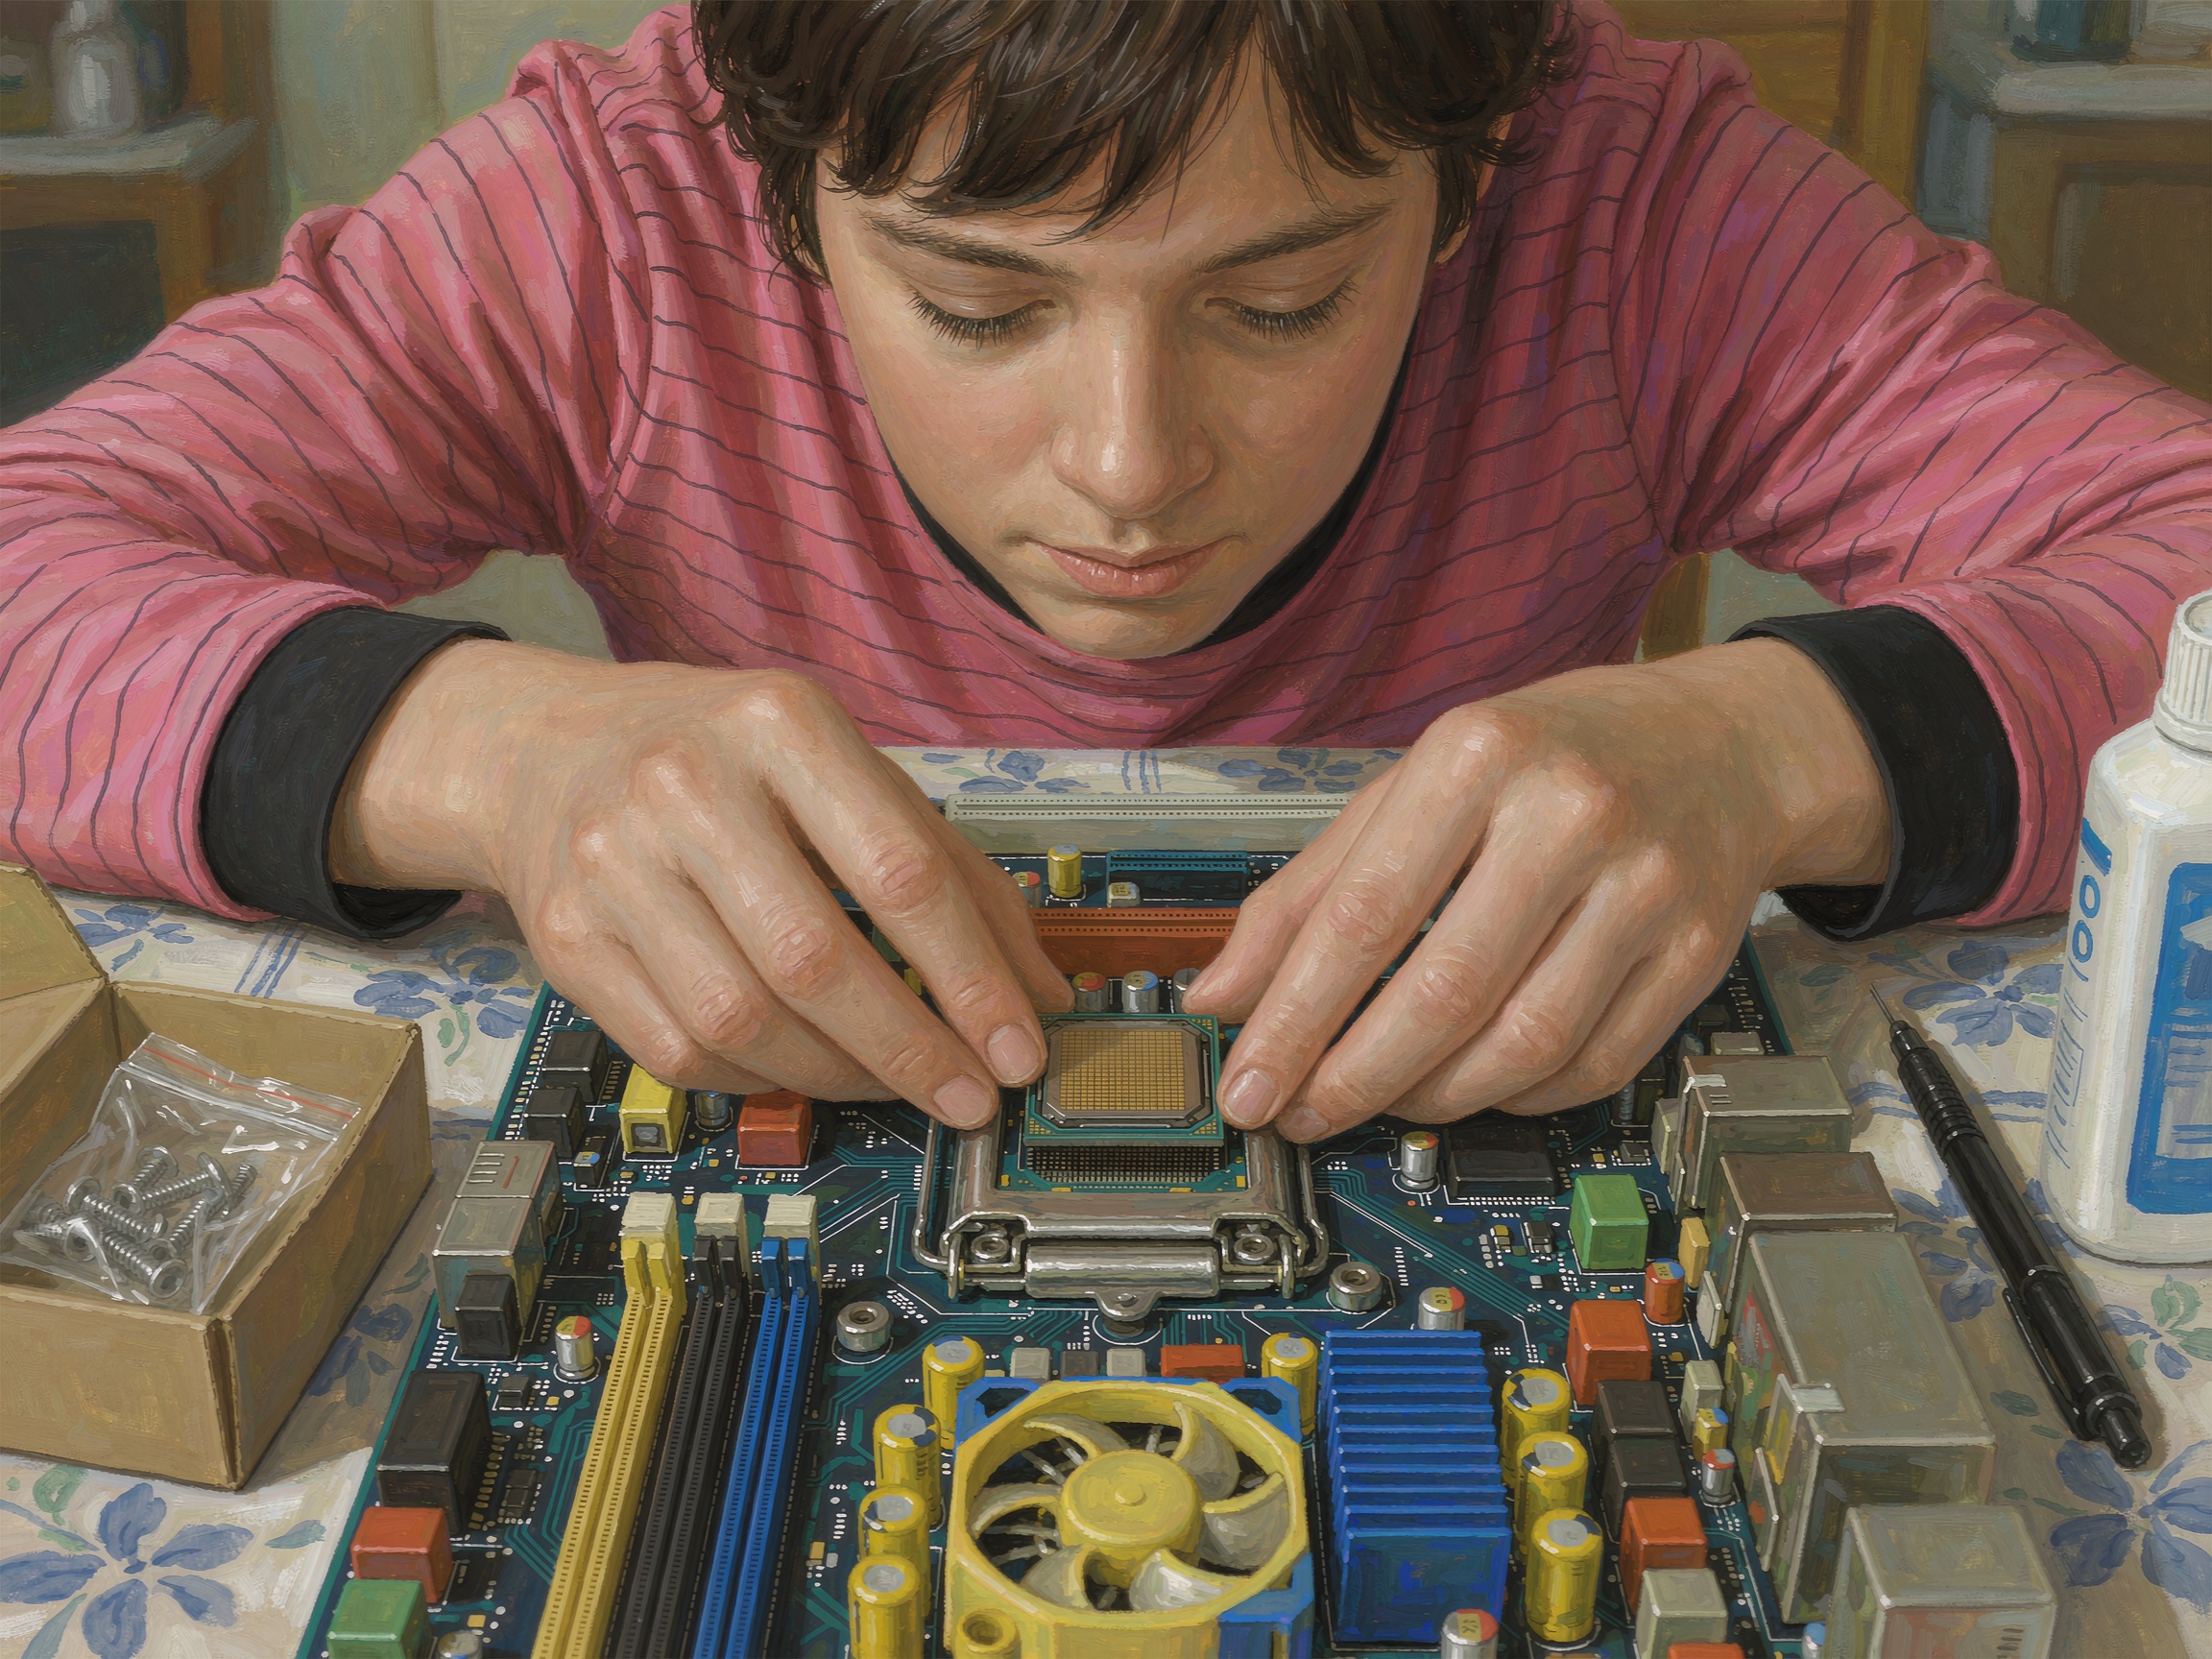
Open the motherboard's CPU socket lever, align the CPU triangle with the socket triangle, and gently place it in. Close the lever. Never force the CPU — it only goes in one way.
-
5
Install the CPU Cooler
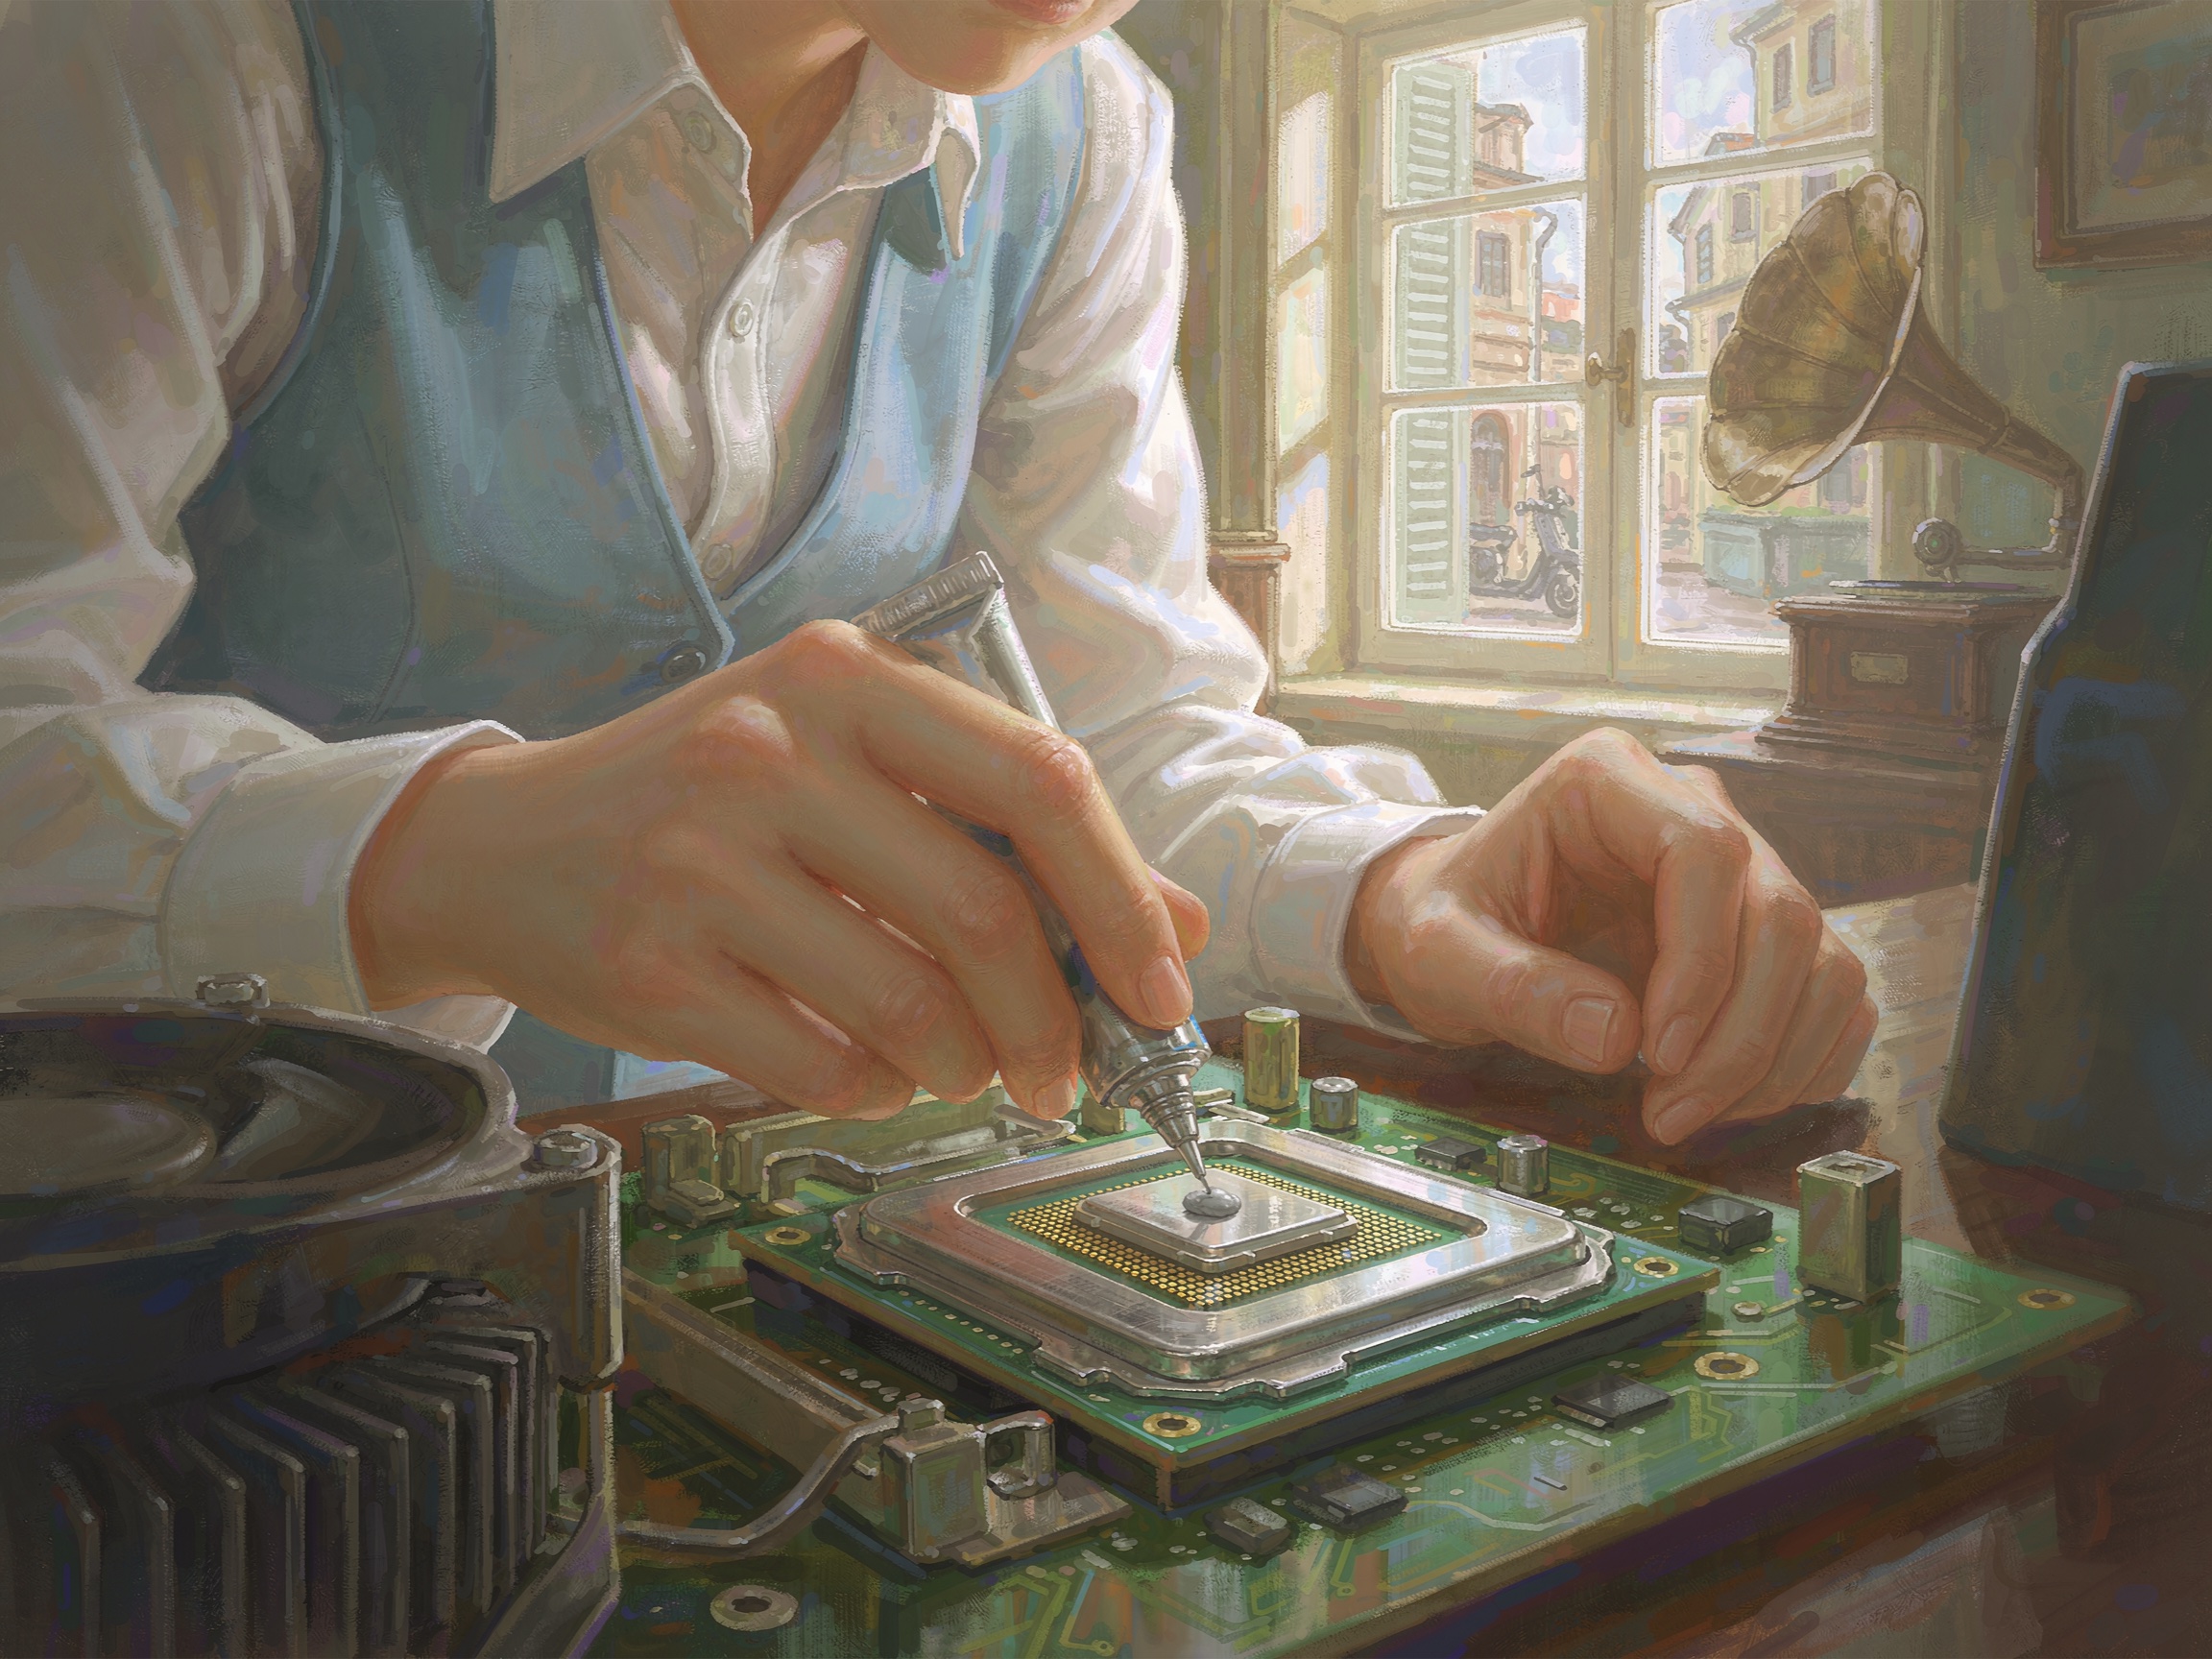
Apply a pea-sized drop of thermal paste to the CPU center if your cooler doesn't have pre-applied paste. Mount the cooler following its instructions and connect the fan cable.
-
6
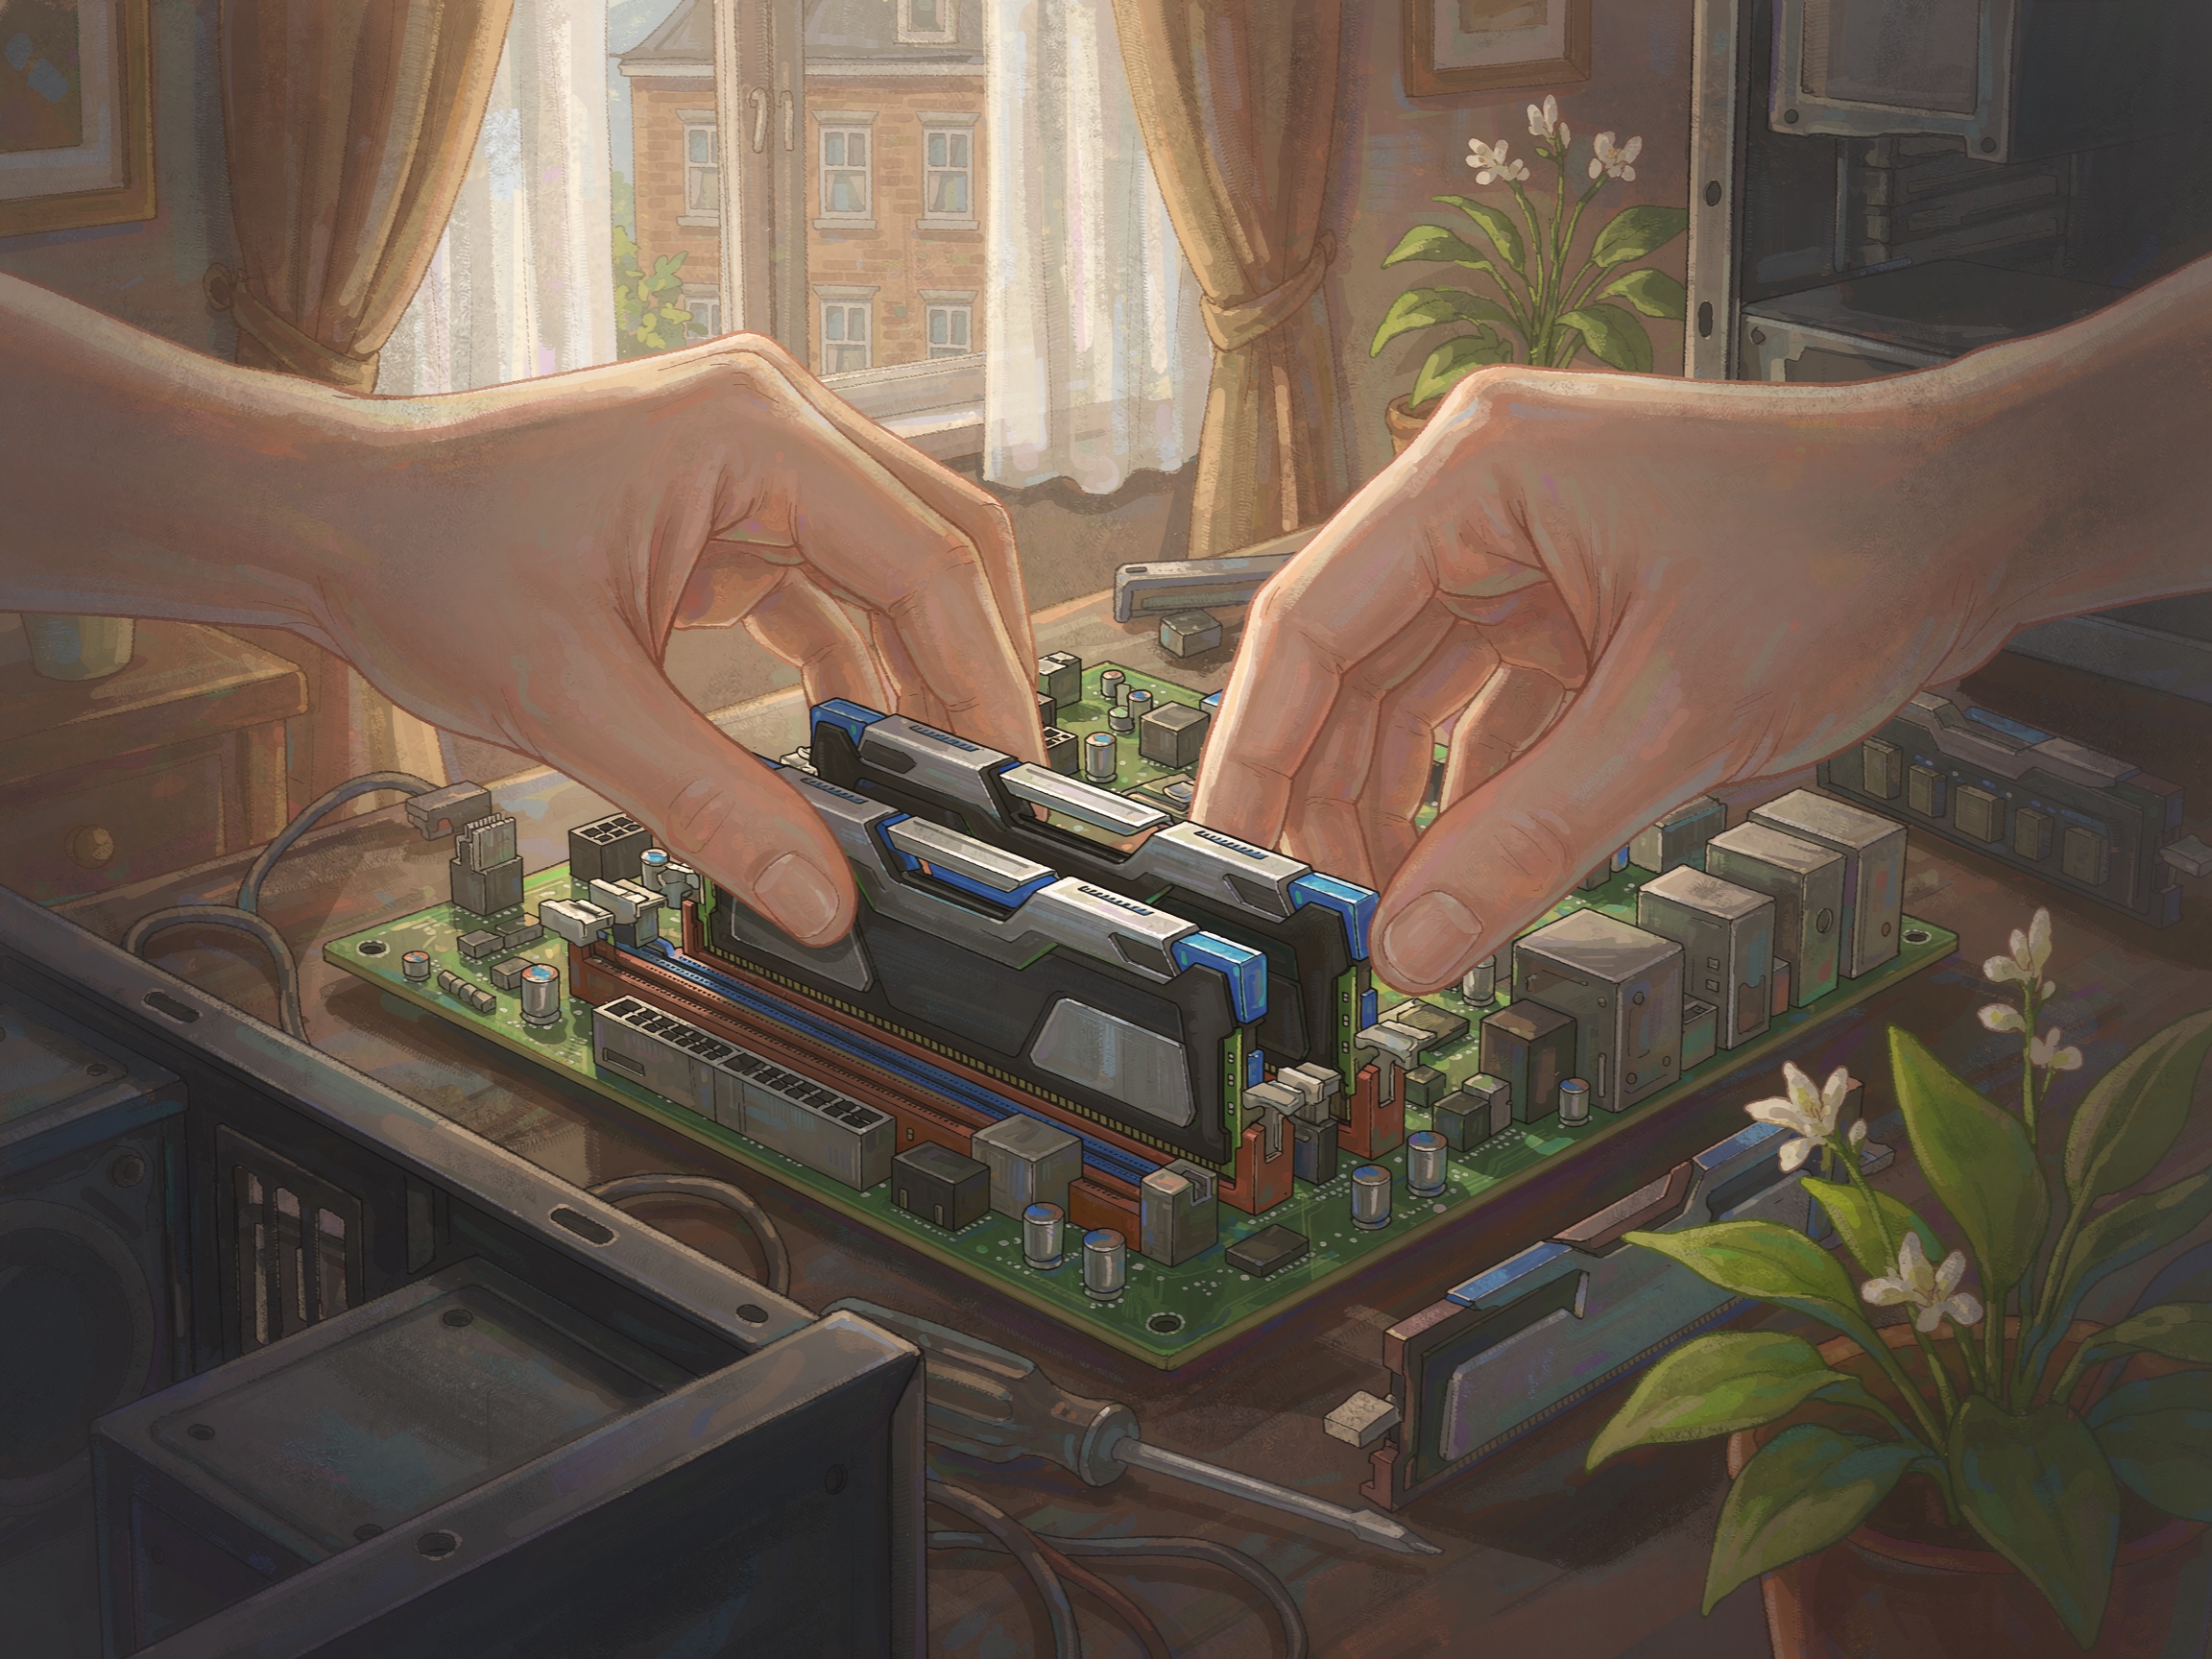
Install the RAM
Open the RAM slot clips, align the notch on the RAM stick with the notch on the slot, and press firmly until it clicks. Install in pairs for dual-channel performance.
-
7
Install the Motherboard
Place the motherboard into the case, aligning the I/O ports with the rear panel cutout and standoffs. Screw it in place with screws through the standoffs.
-
8
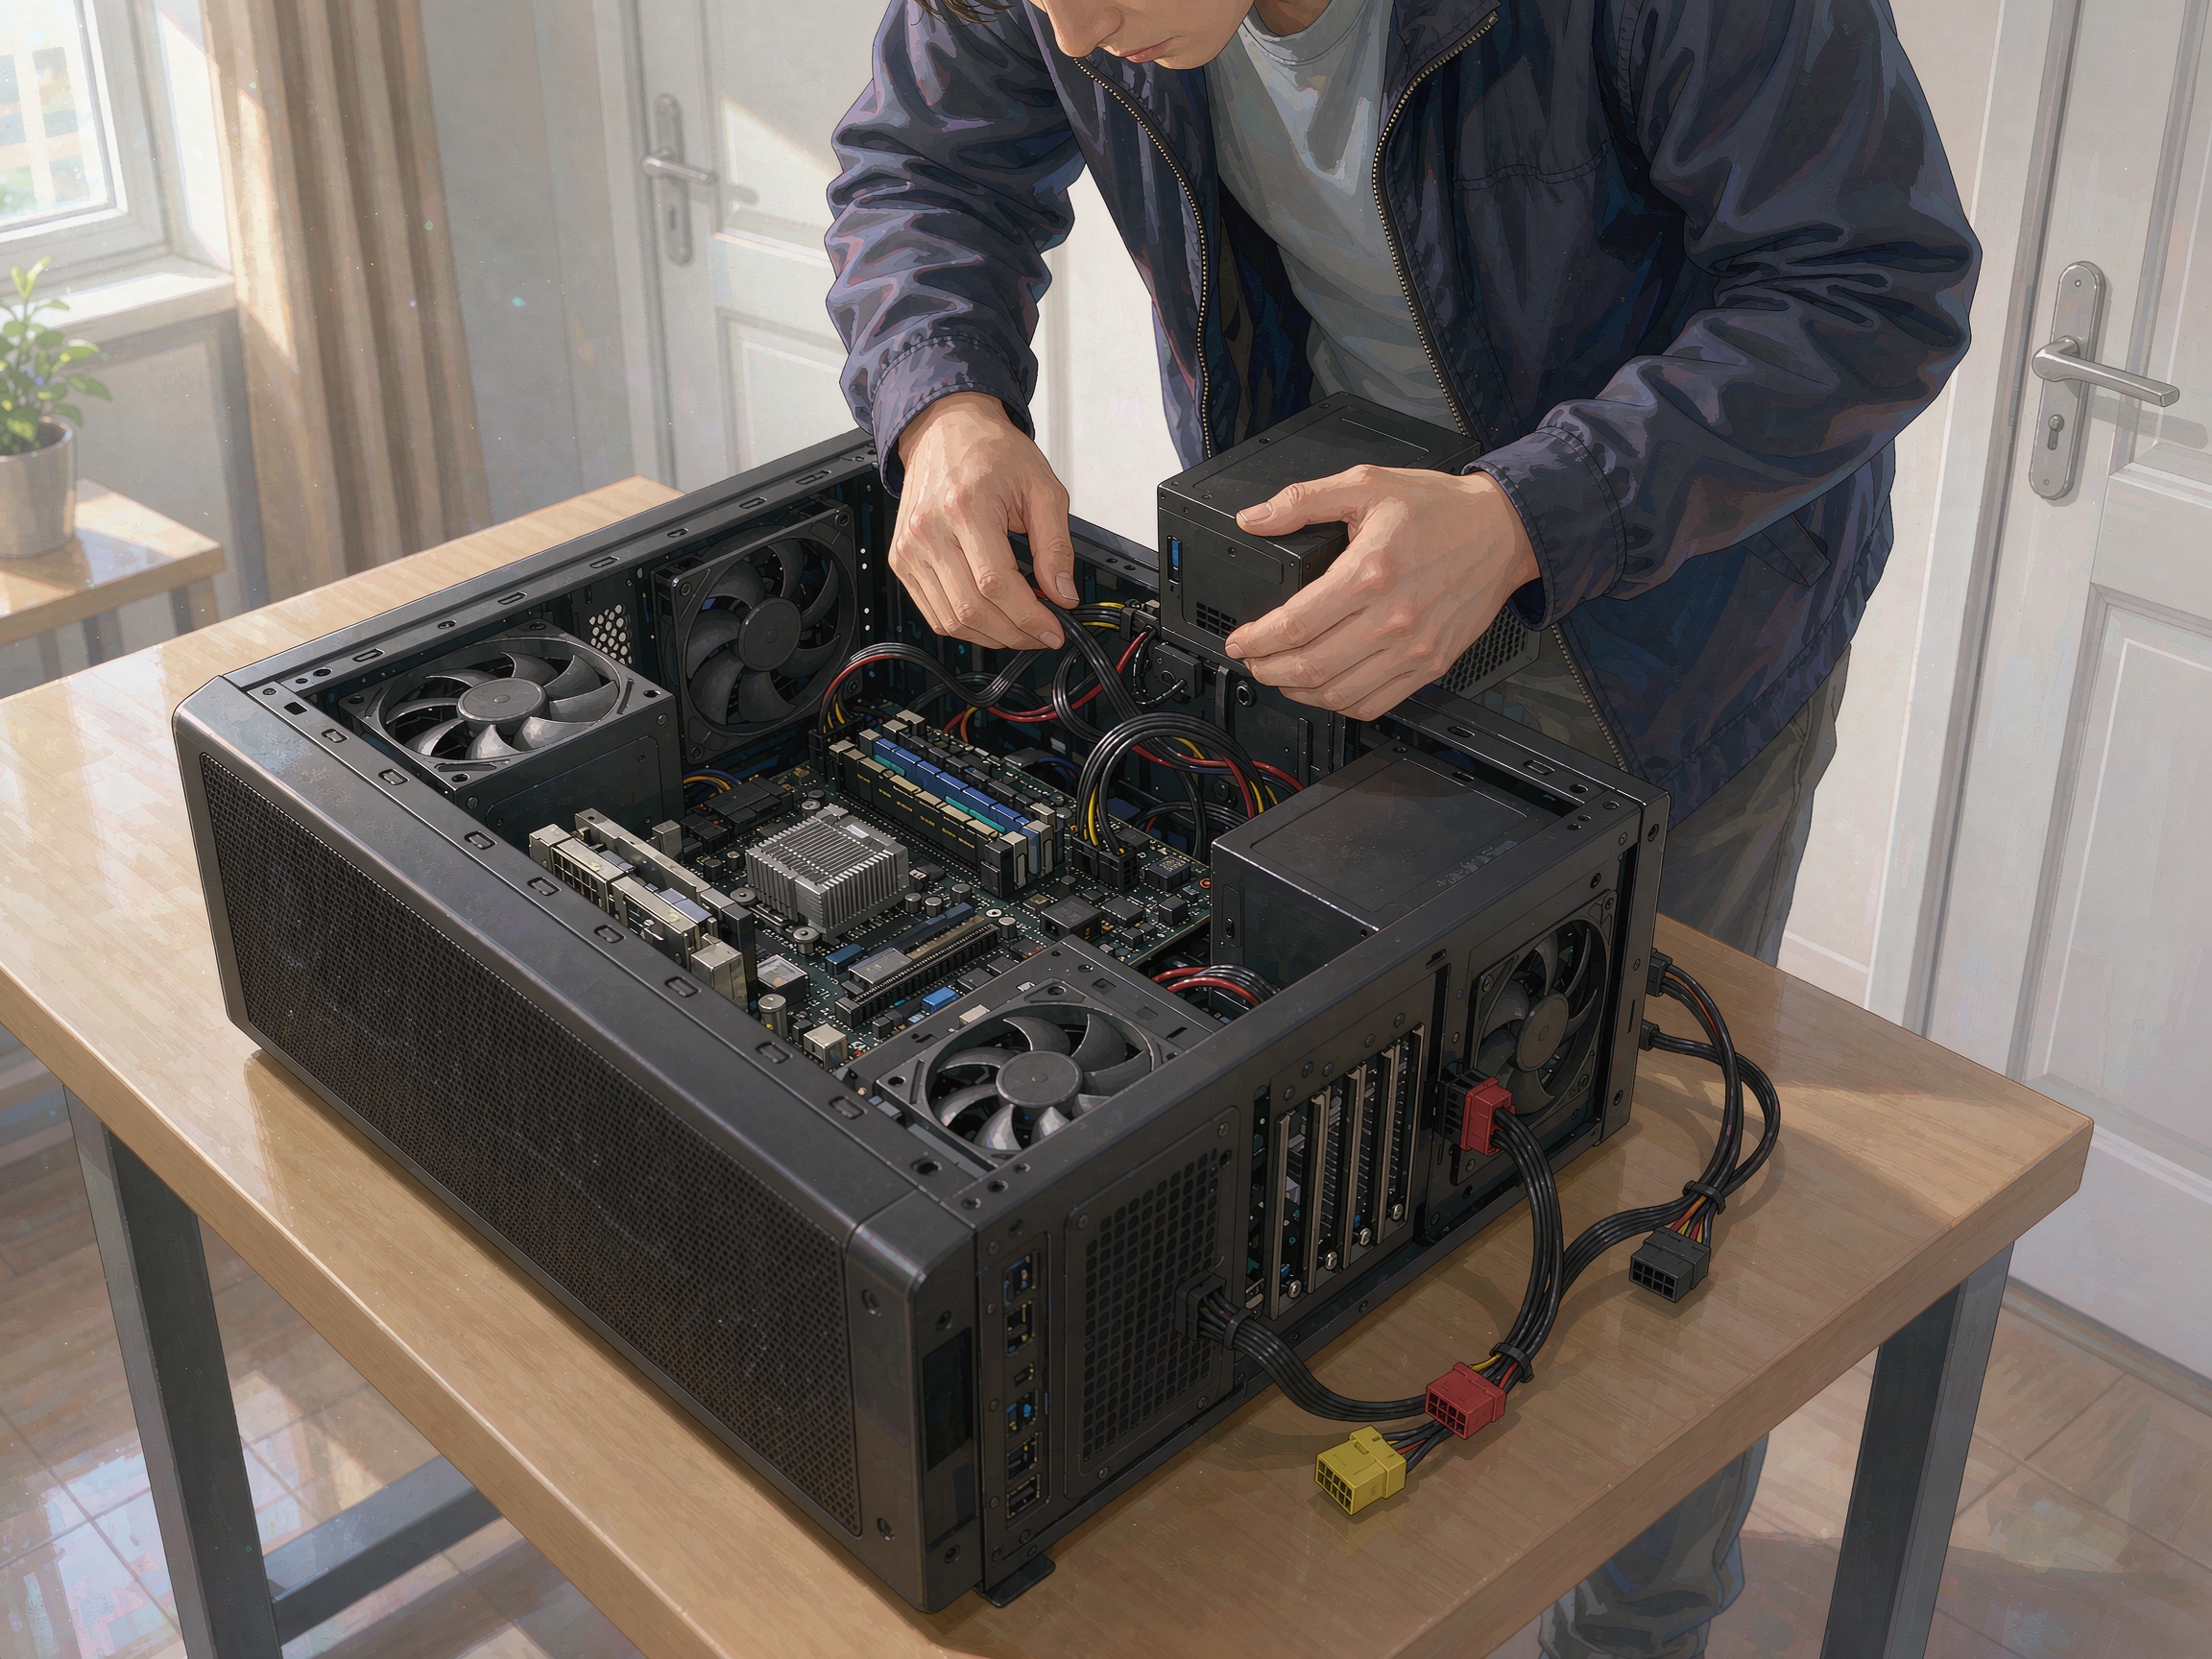
Install the Power Supply
Route cables from the power supply through the back of the case. Connect the 24-pin motherboard cable, 8-pin CPU cable, and PCIe cables for the GPU.
-
9
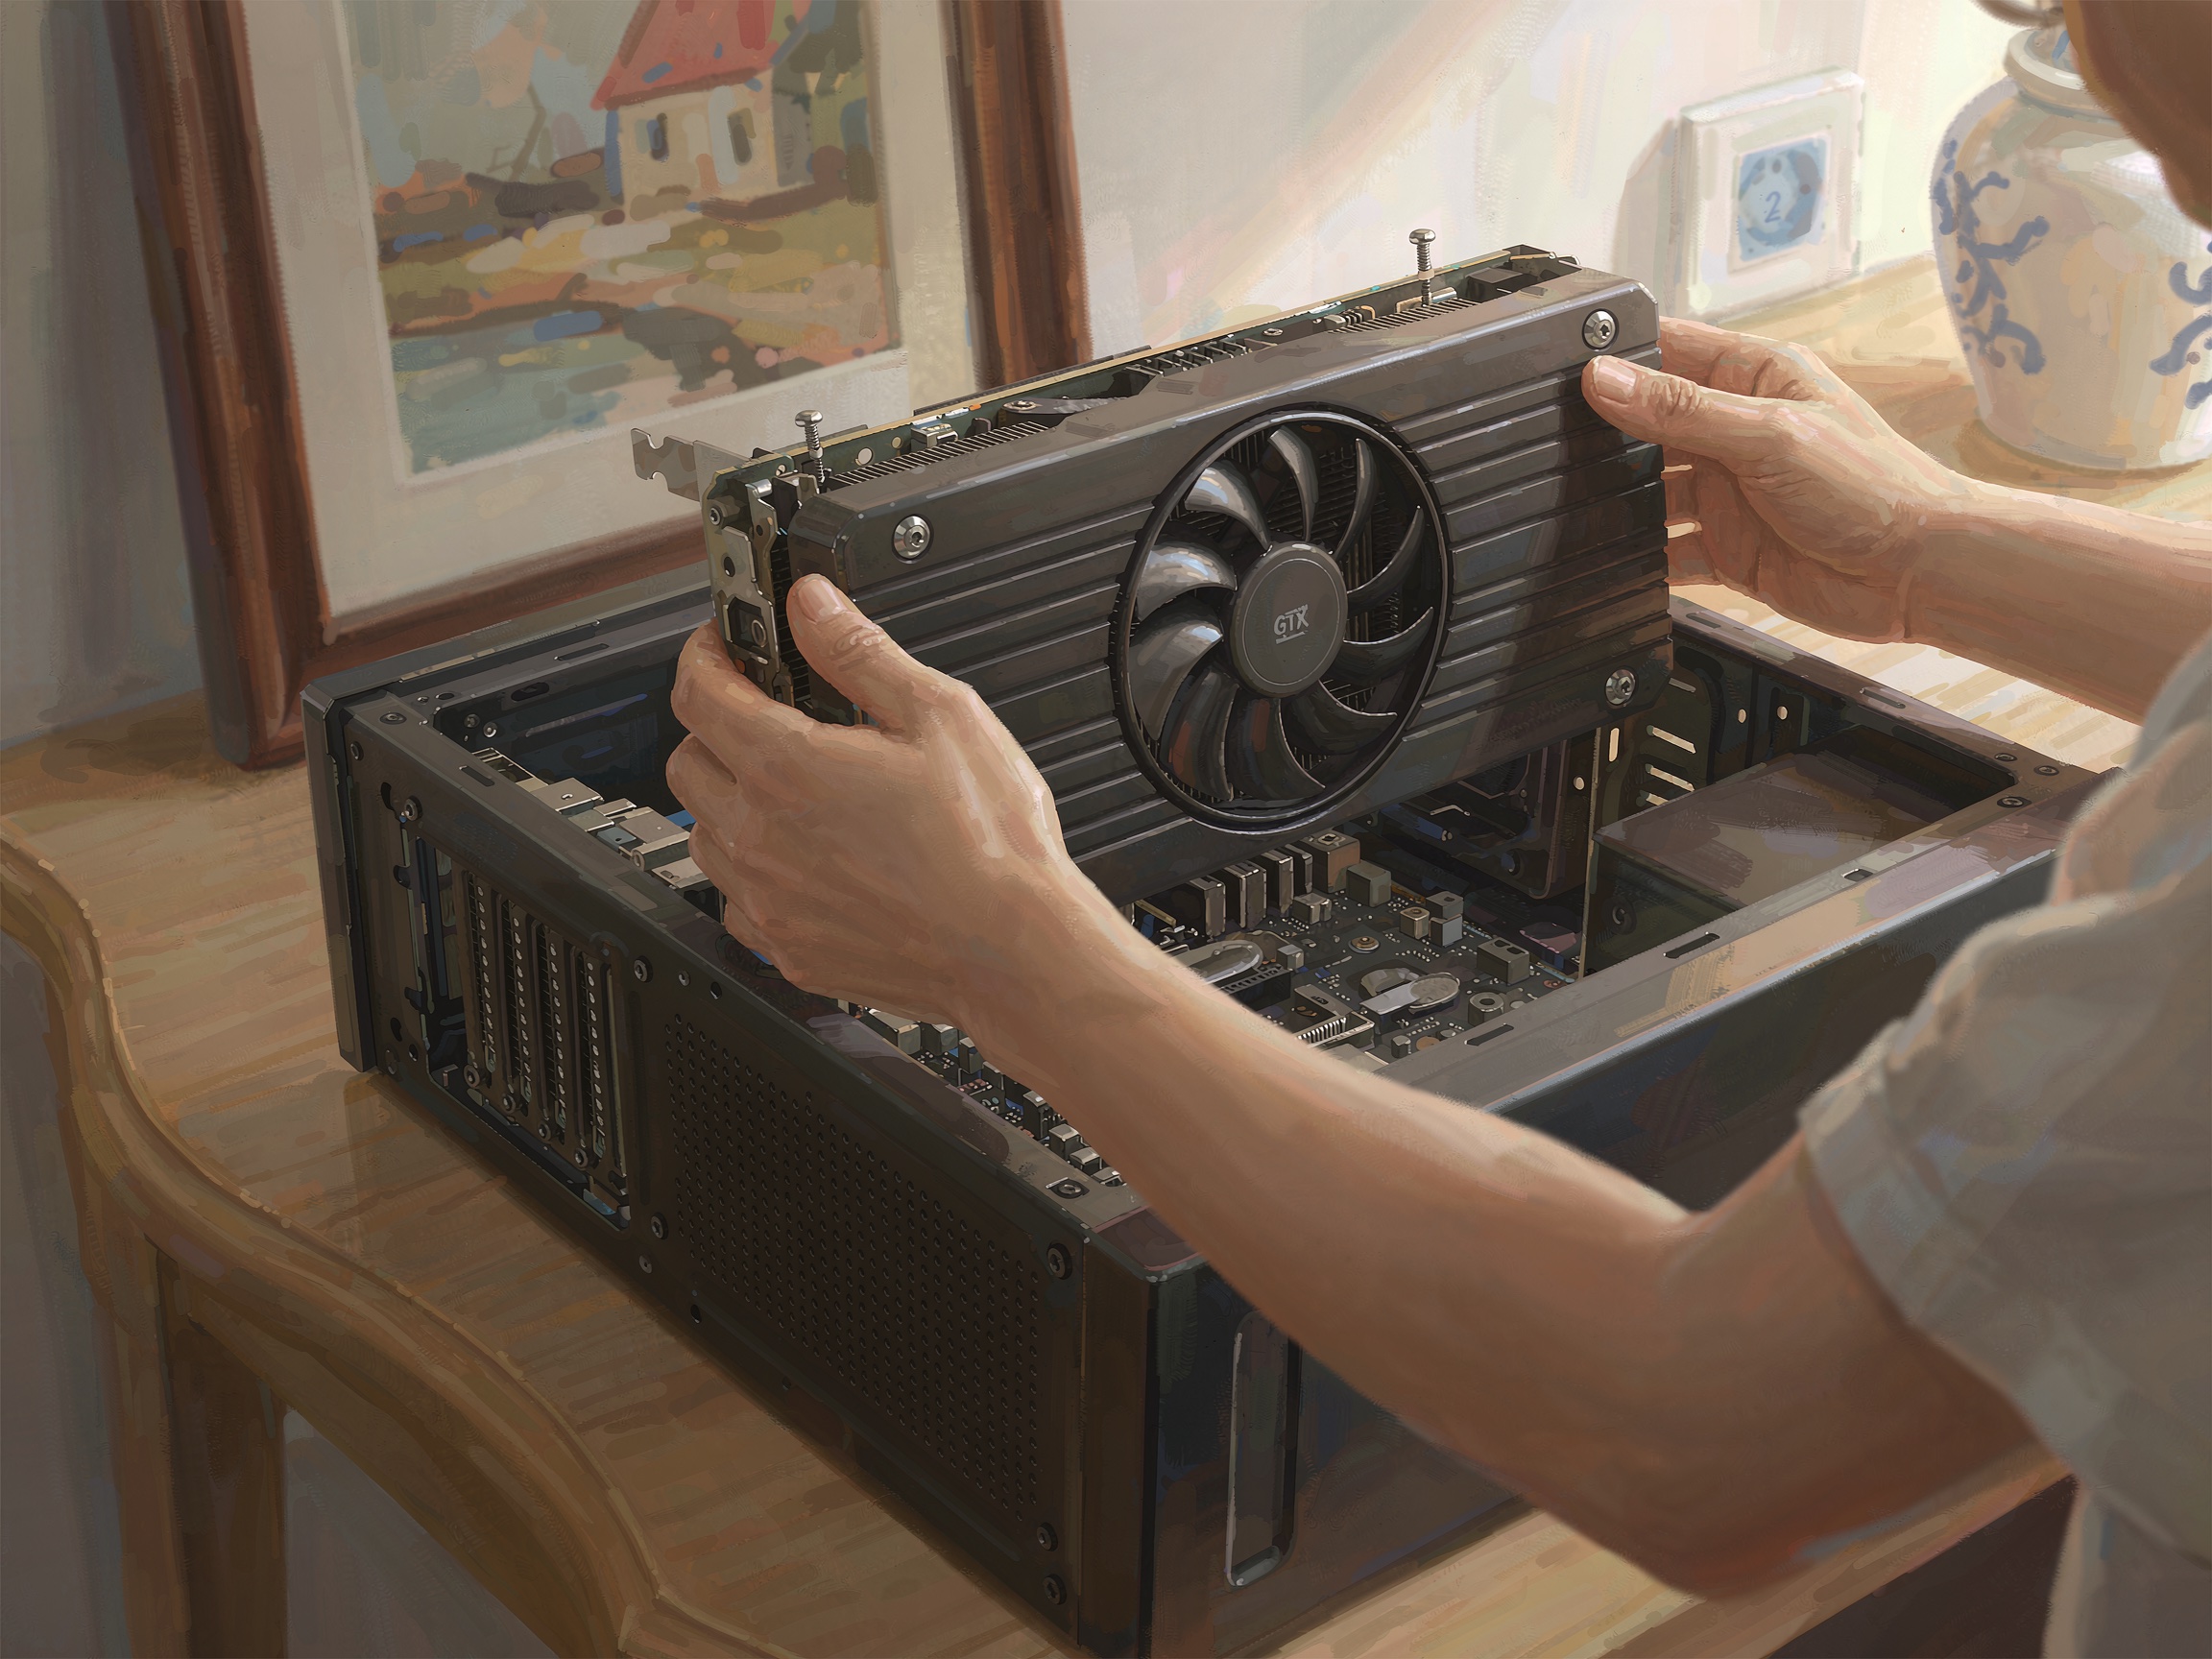
Install the GPU
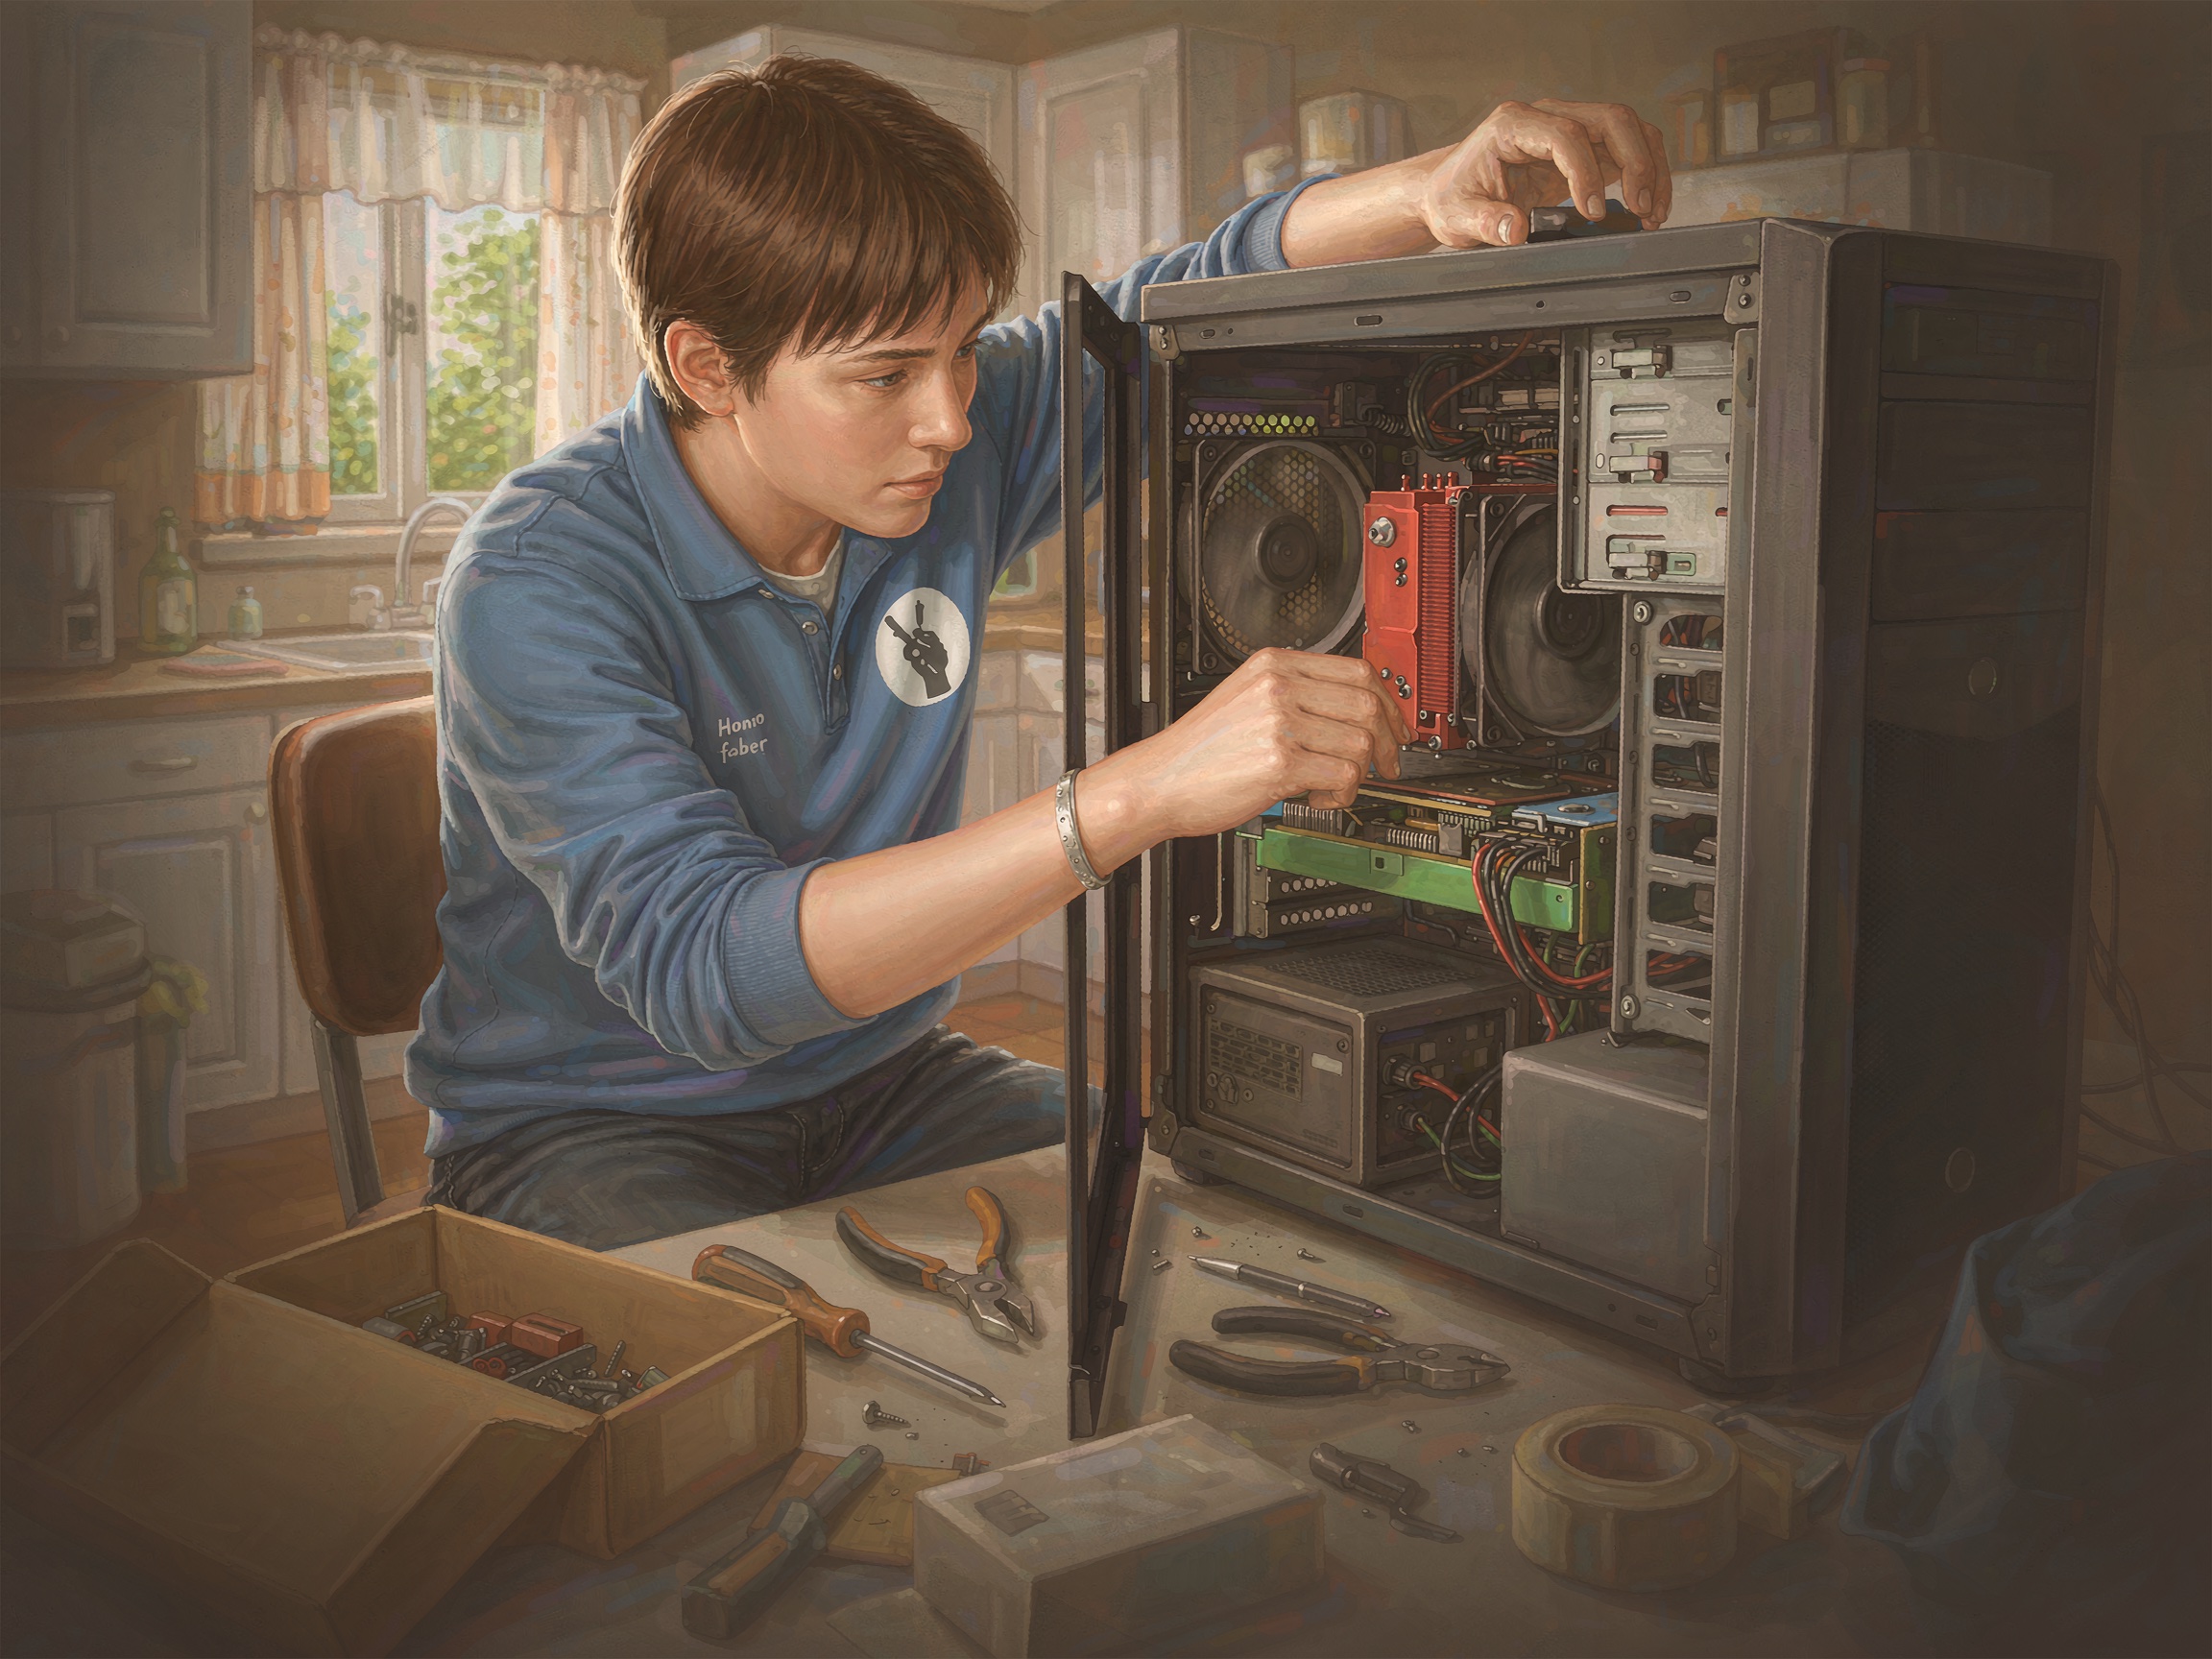
Remove the appropriate PCIe slot covers, insert the GPU into the slot until it clicks, and secure it with screws. Connect the required power cables from the PSU.
-
10
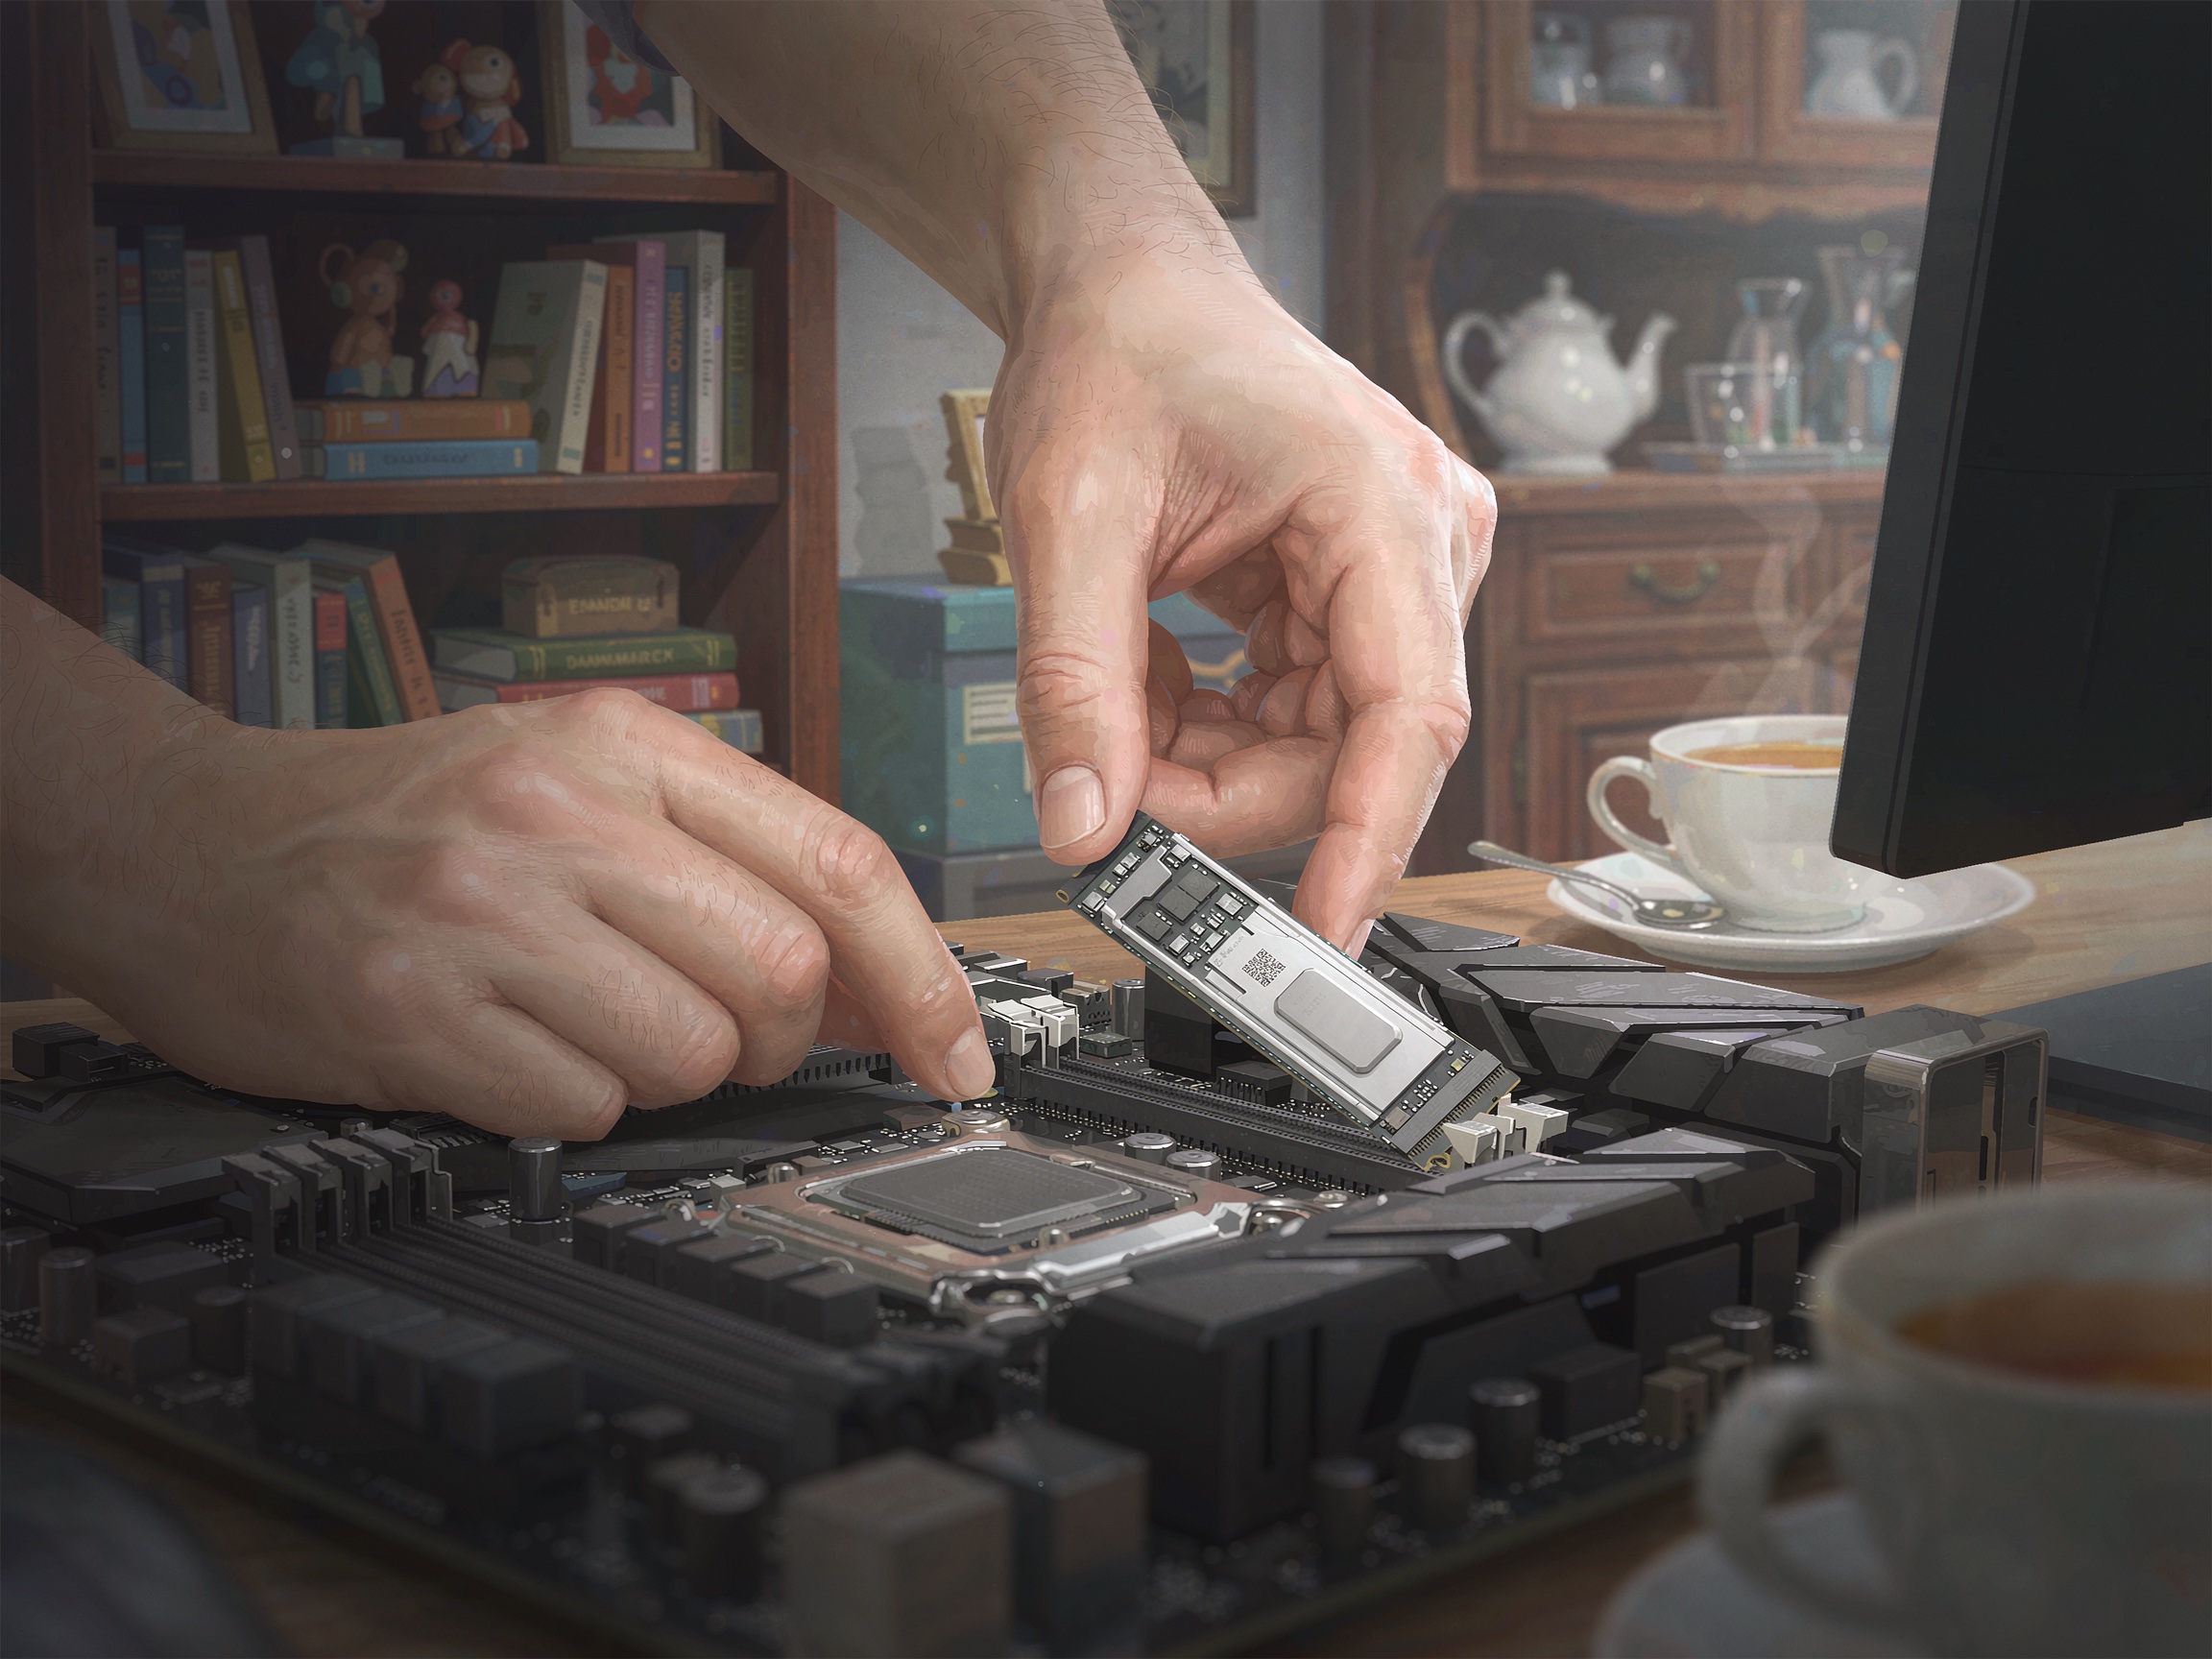
Install the SSD
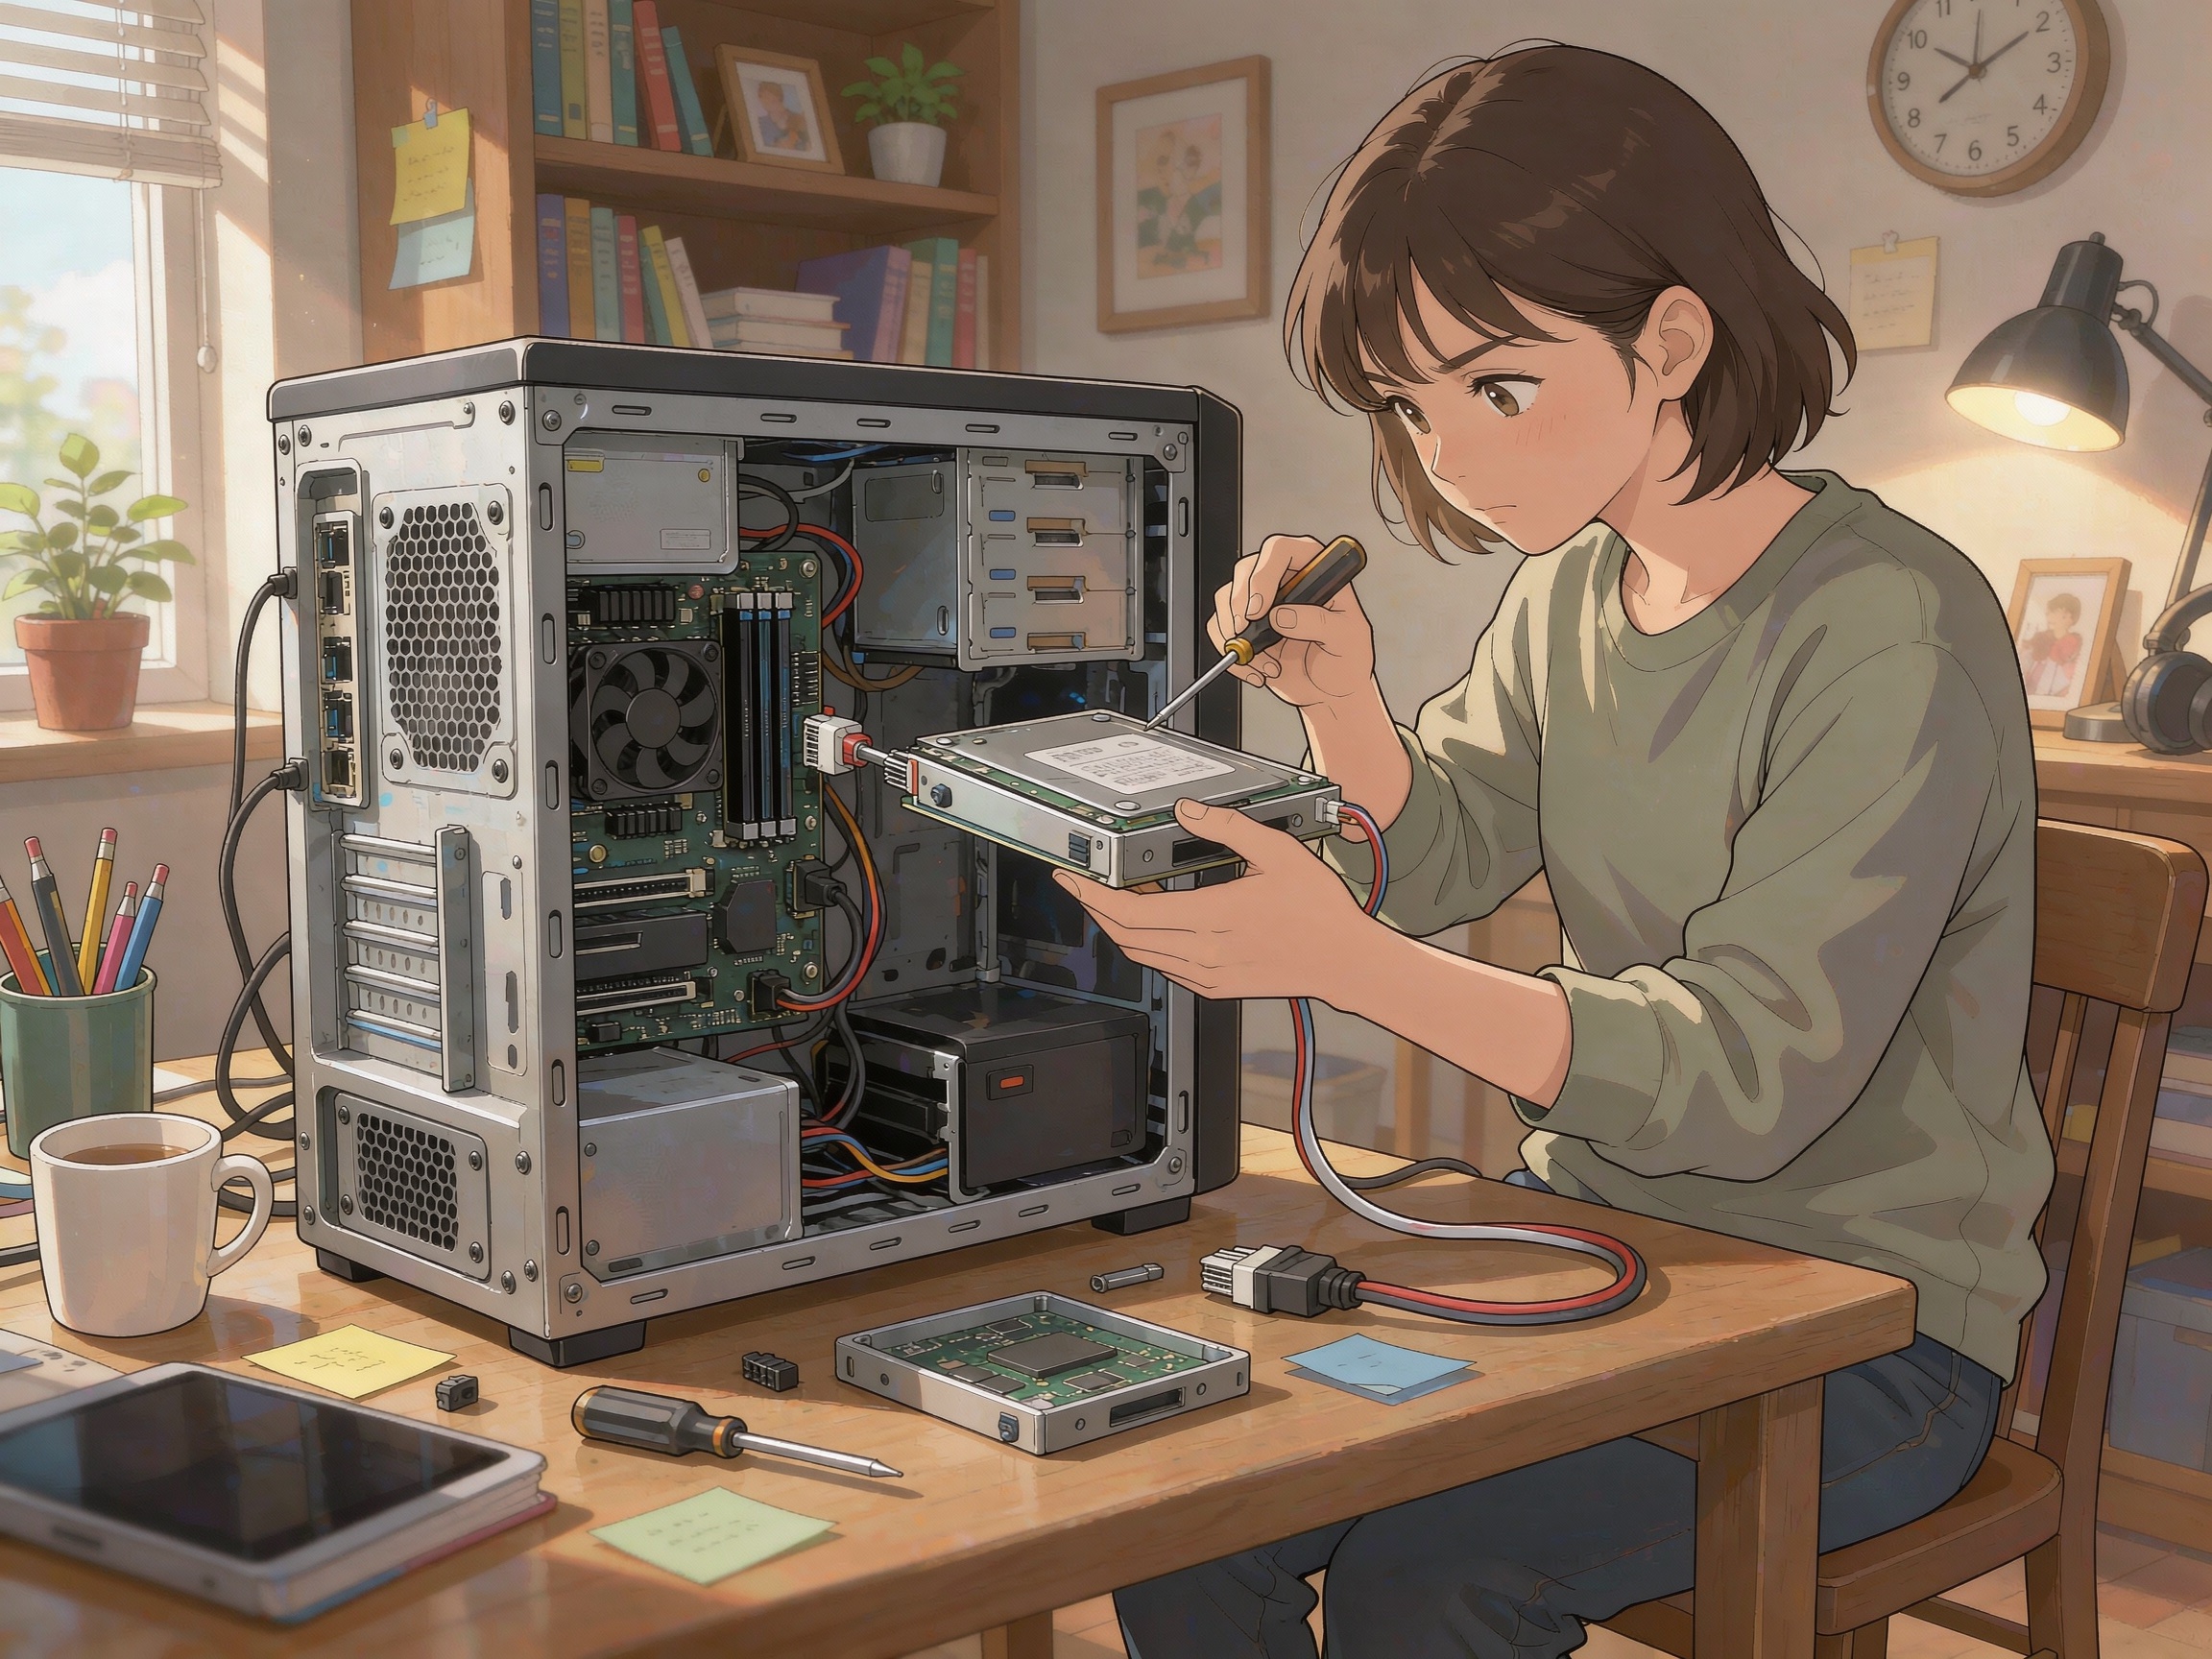
Mount the SSD in a M.2 slot on the motherboard or in a drive bay. Screw it in place and connect the SATA cable if using a 2.5-inch drive.
-
11
Install Storage Drives
Mount additional HDDs or SSDs in the case's drive bays. Connect SATA data and power cables from the PSU.
-
12
Connect Case Cables
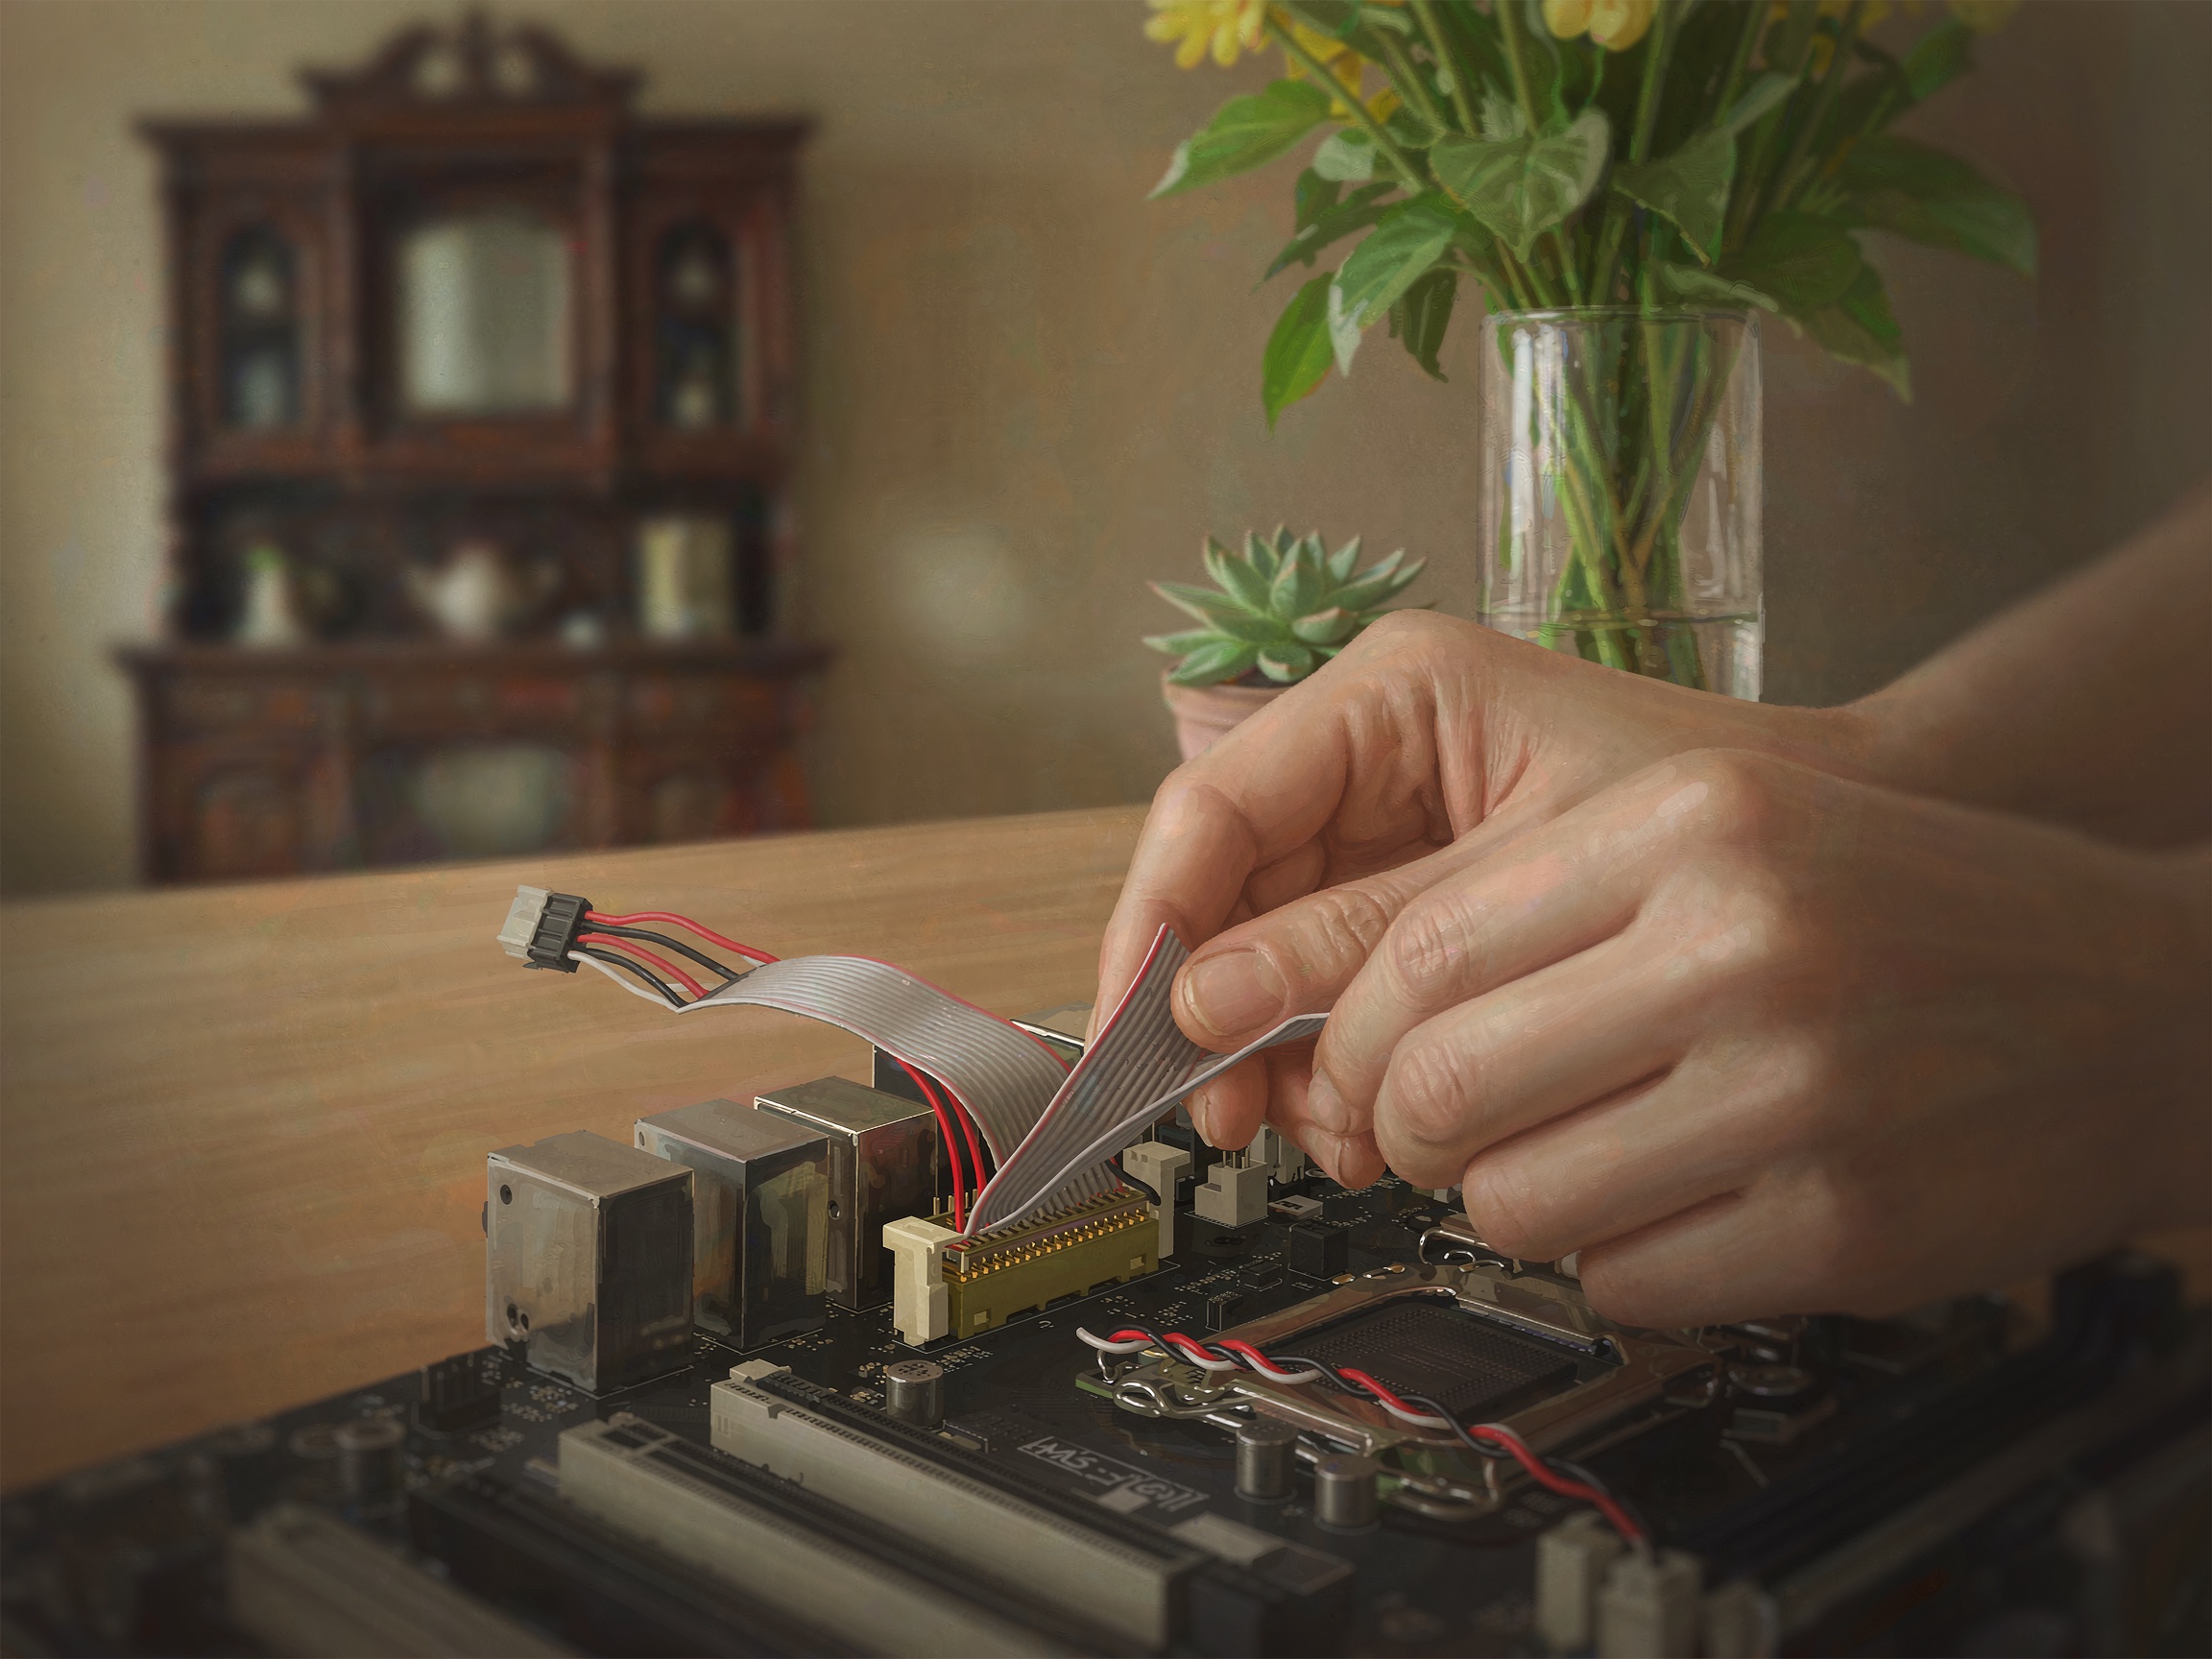
Connect front panel connectors — power button, reset button, USB ports, audio jacks — to the motherboard pins. Refer to the motherboard manual for pin locations.
-
13
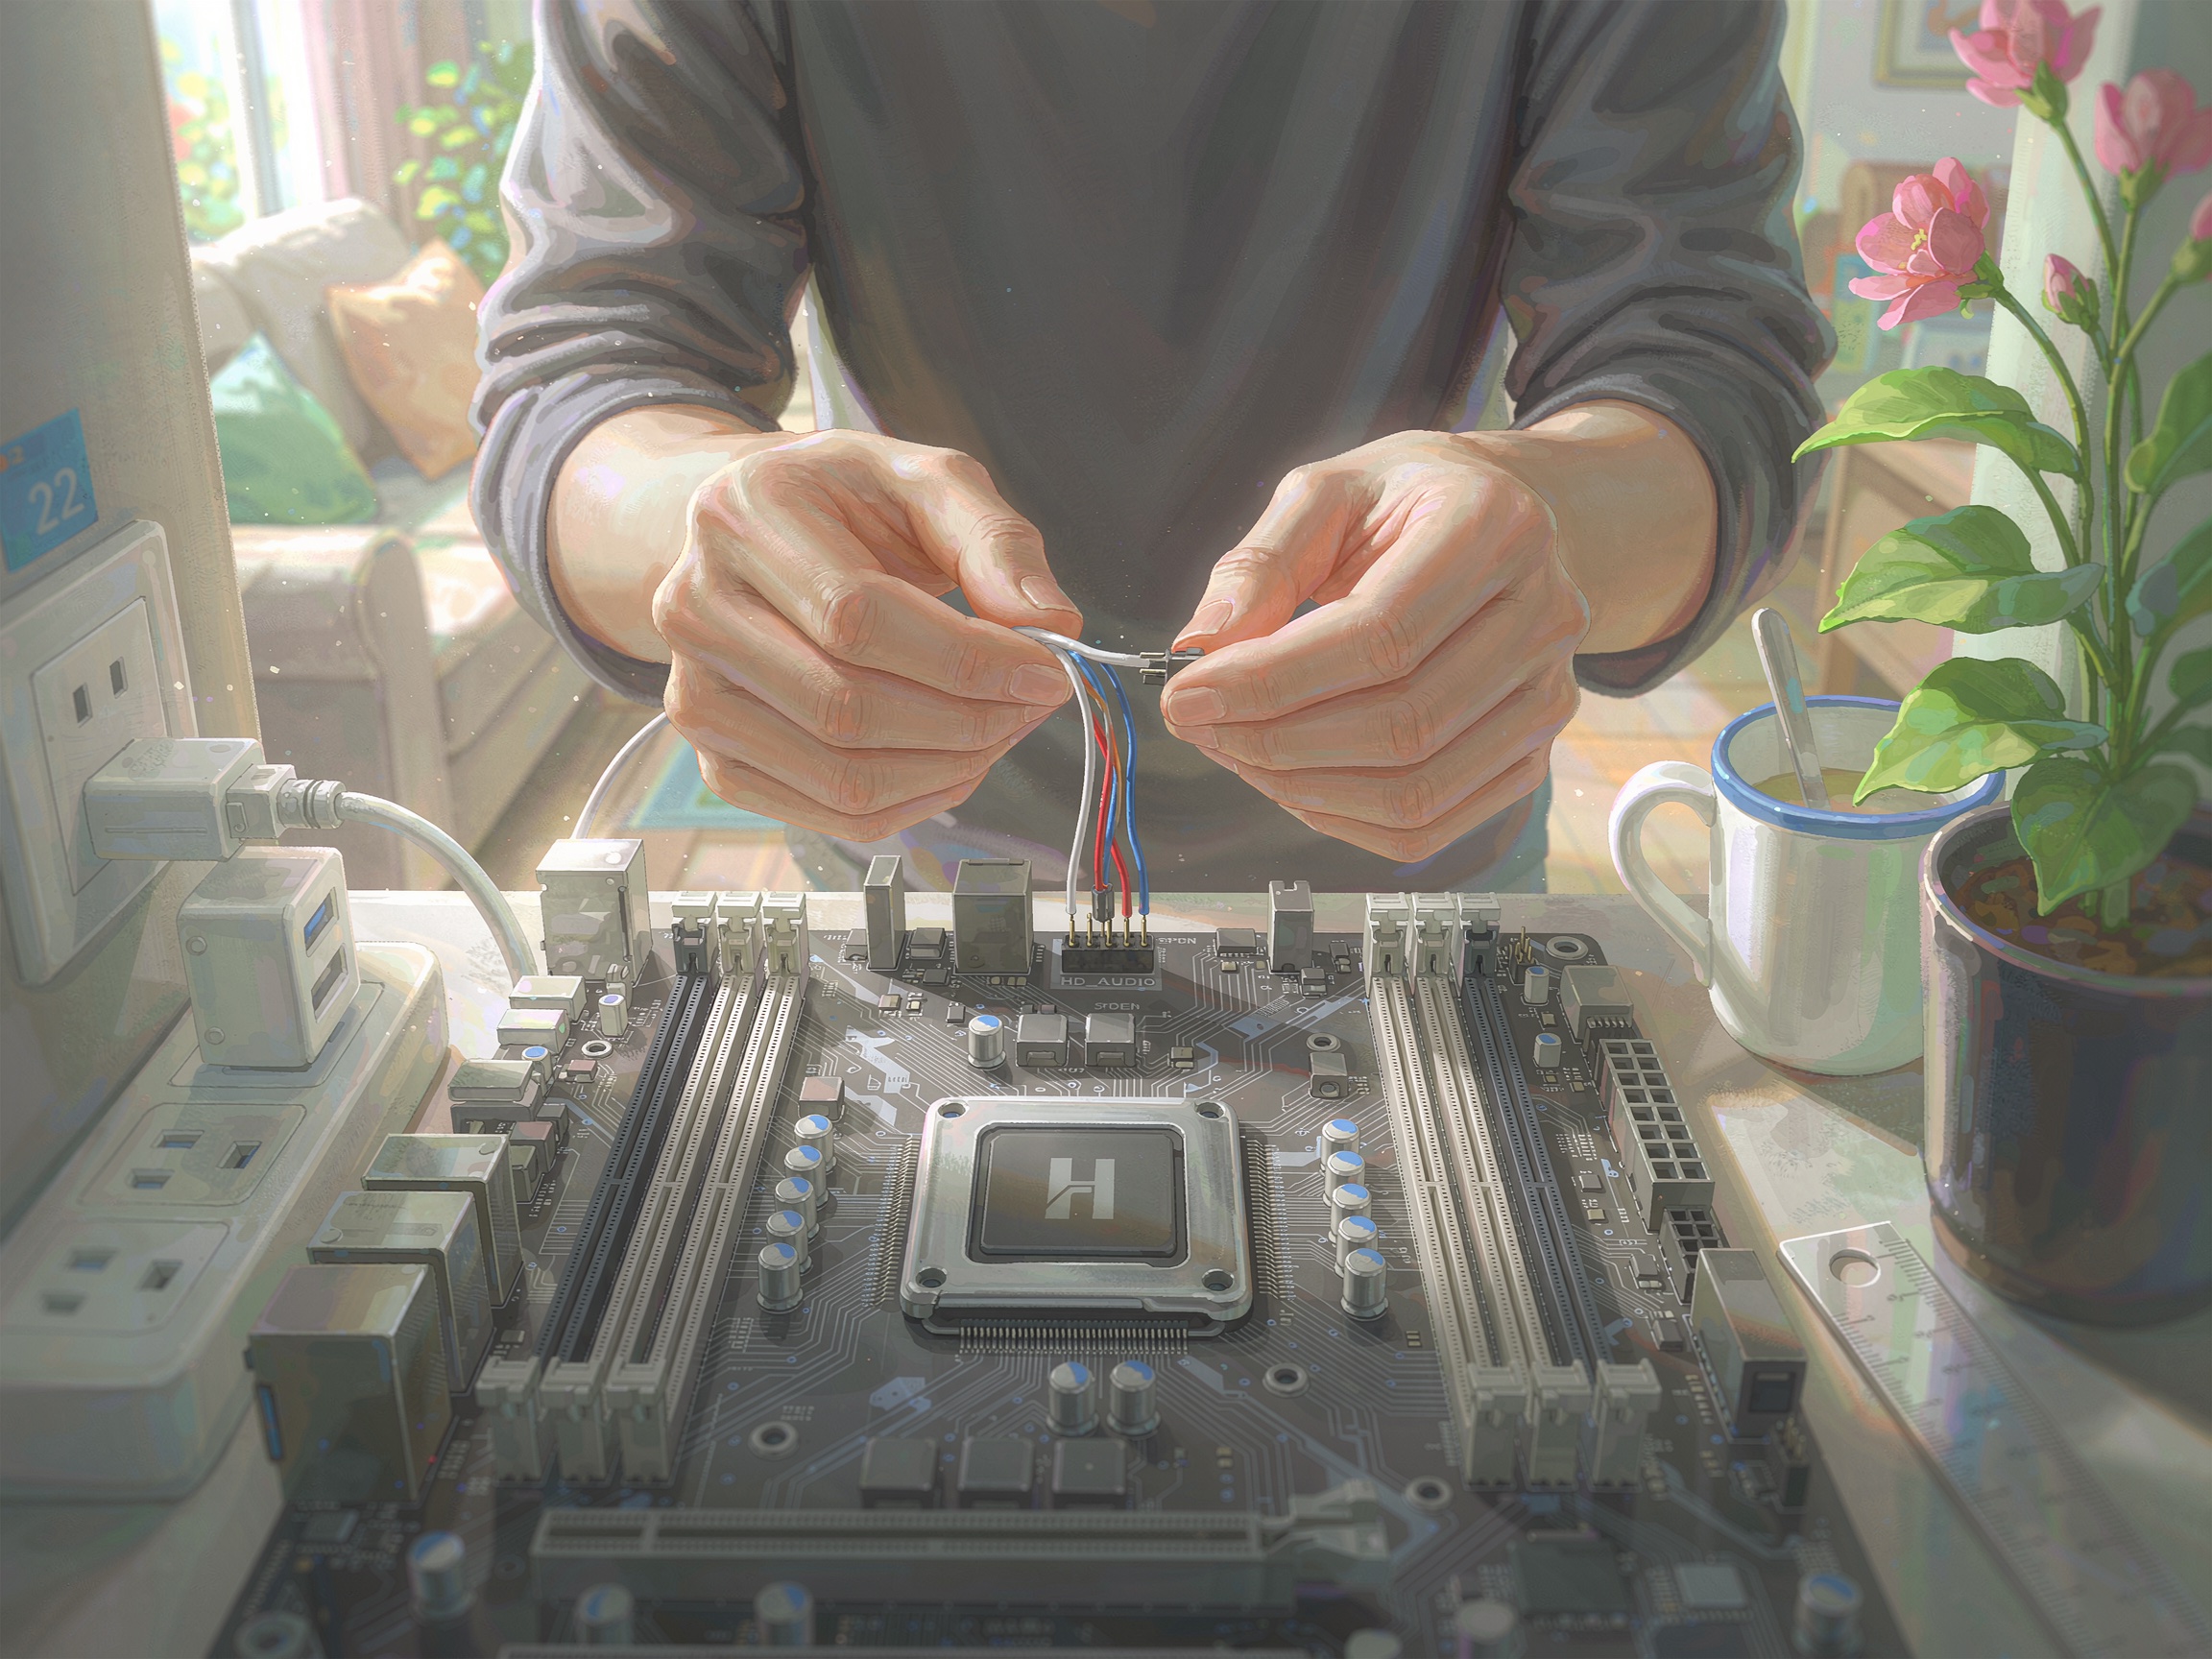
Install the Front Panel Audio
Connect the front panel audio cable to the appropriate header on the motherboard, usually labeled HD_AUDIO or AUDIO.
-
14
Install Fans
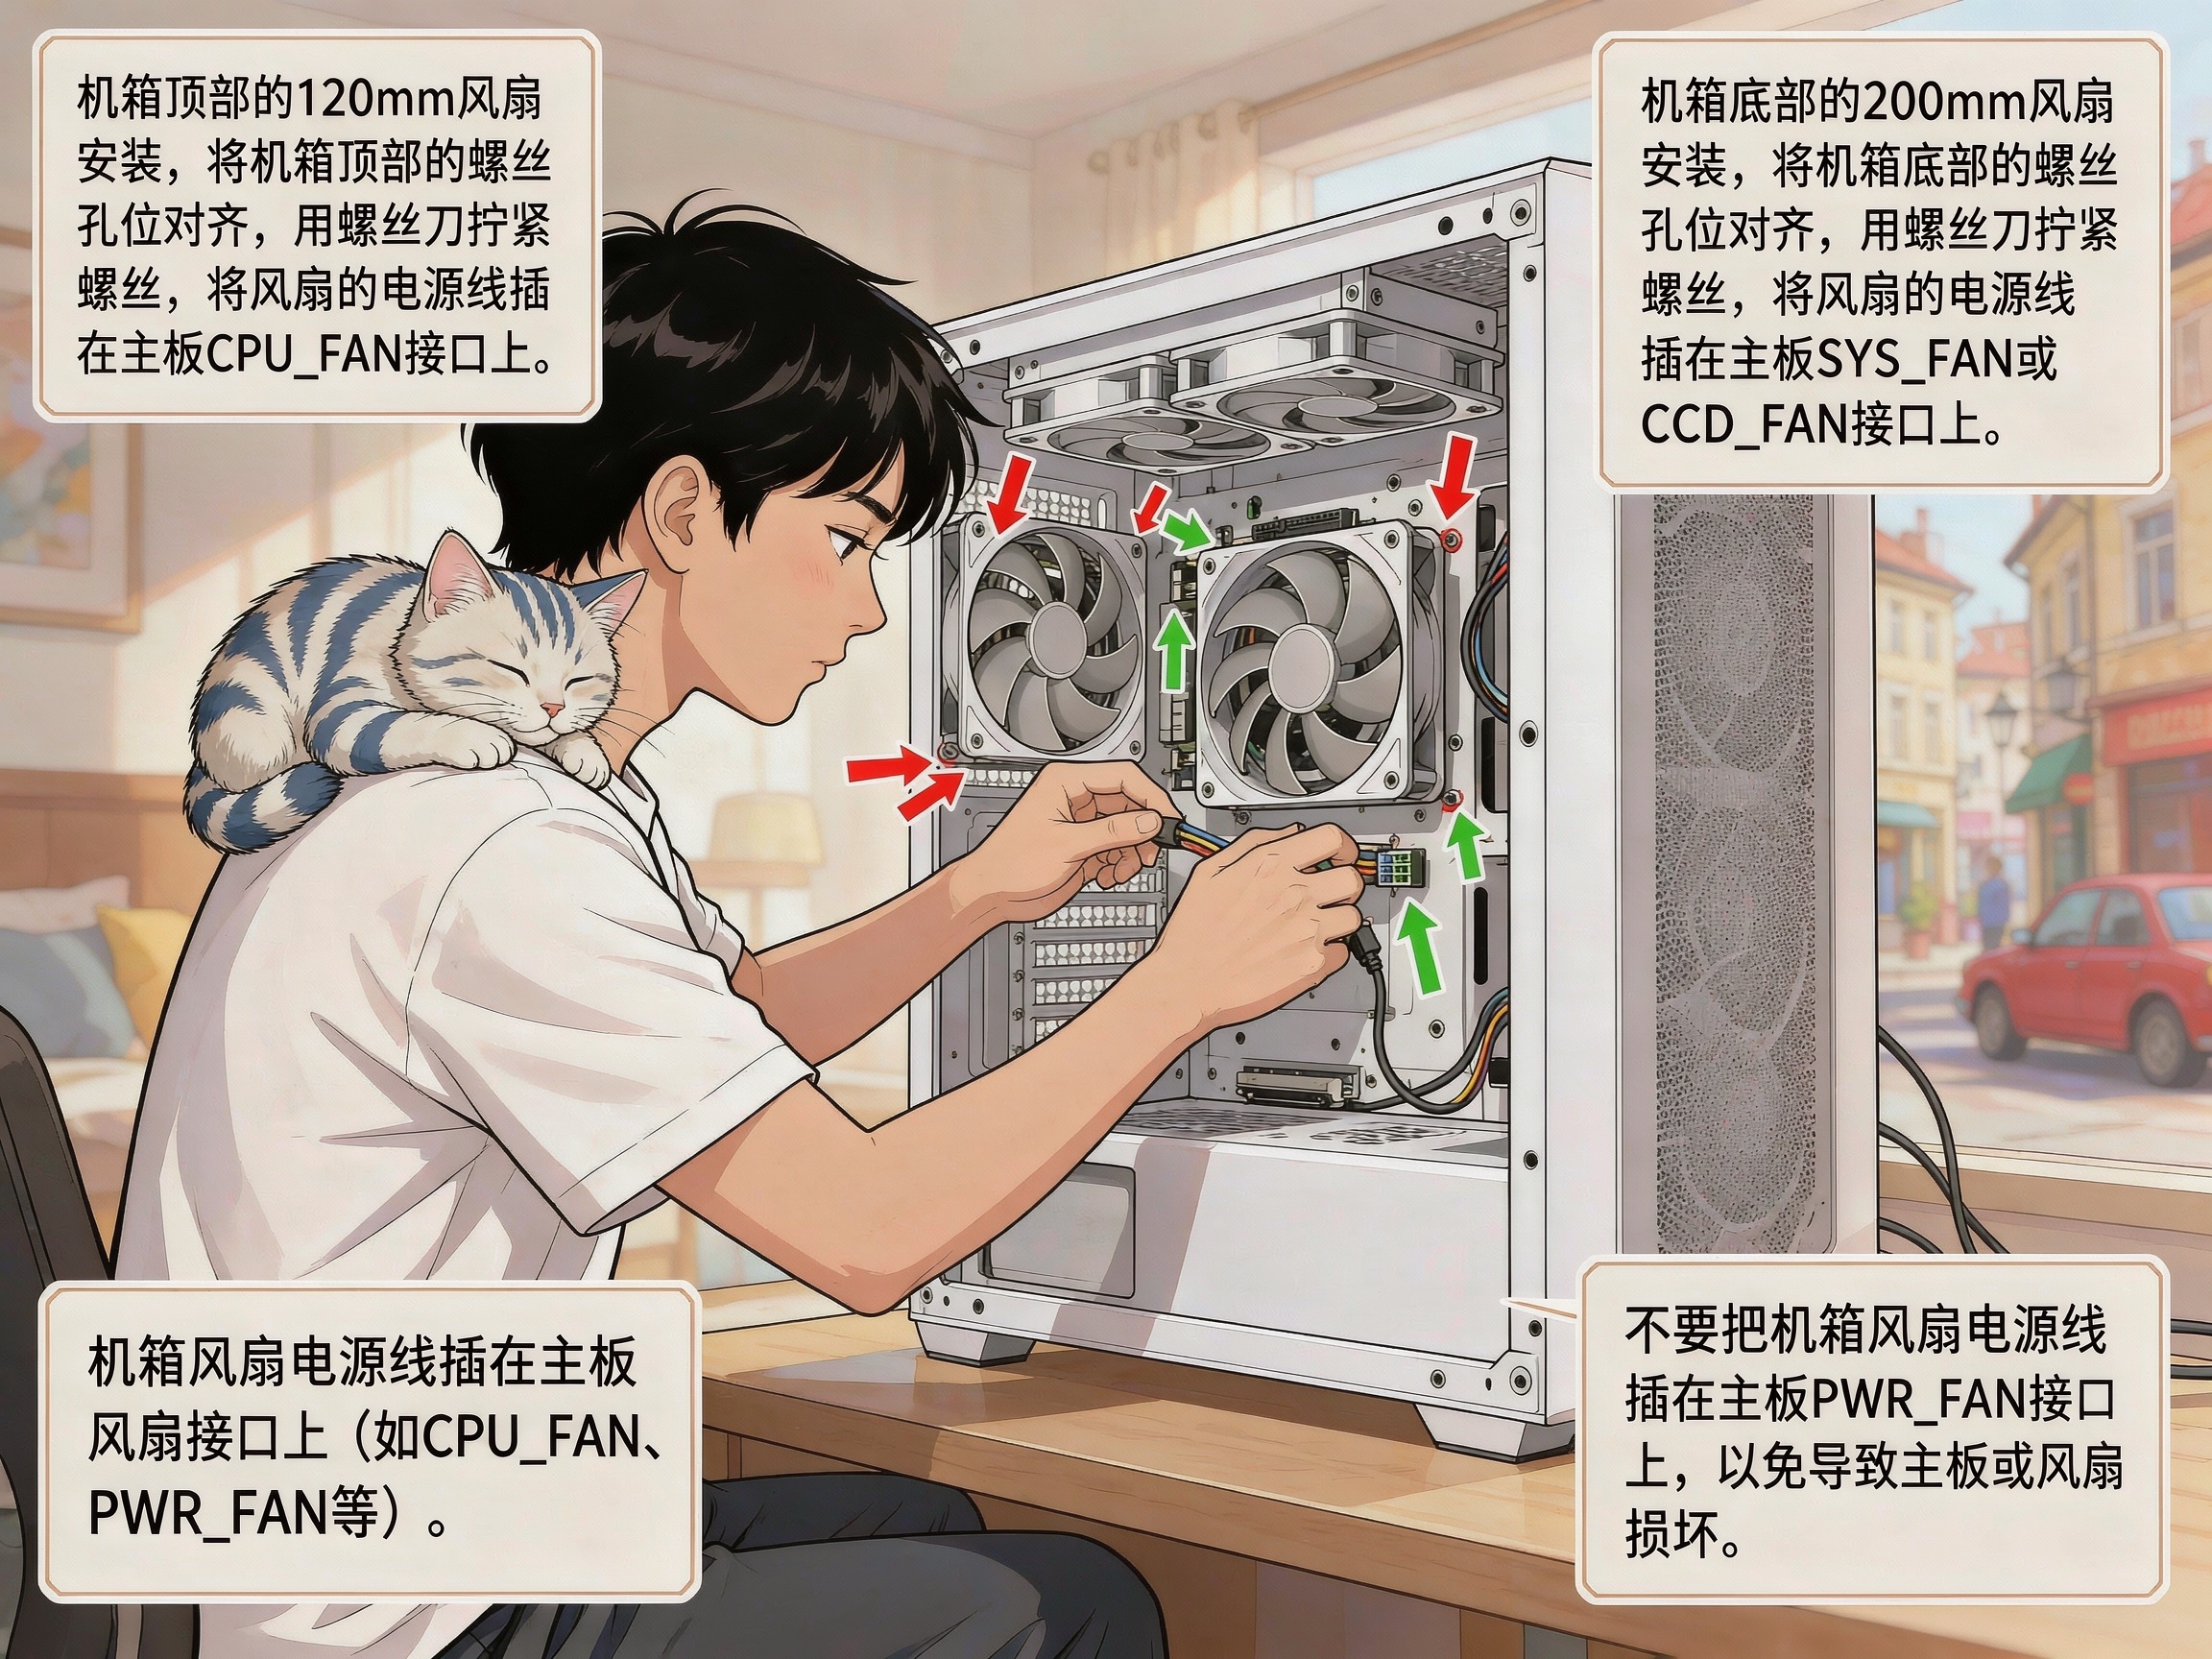
Mount case fans in the front, top, and rear positions. Connect them to the motherboard's fan headers or to the PSU using adapter cables.
-
15
Manage Cables
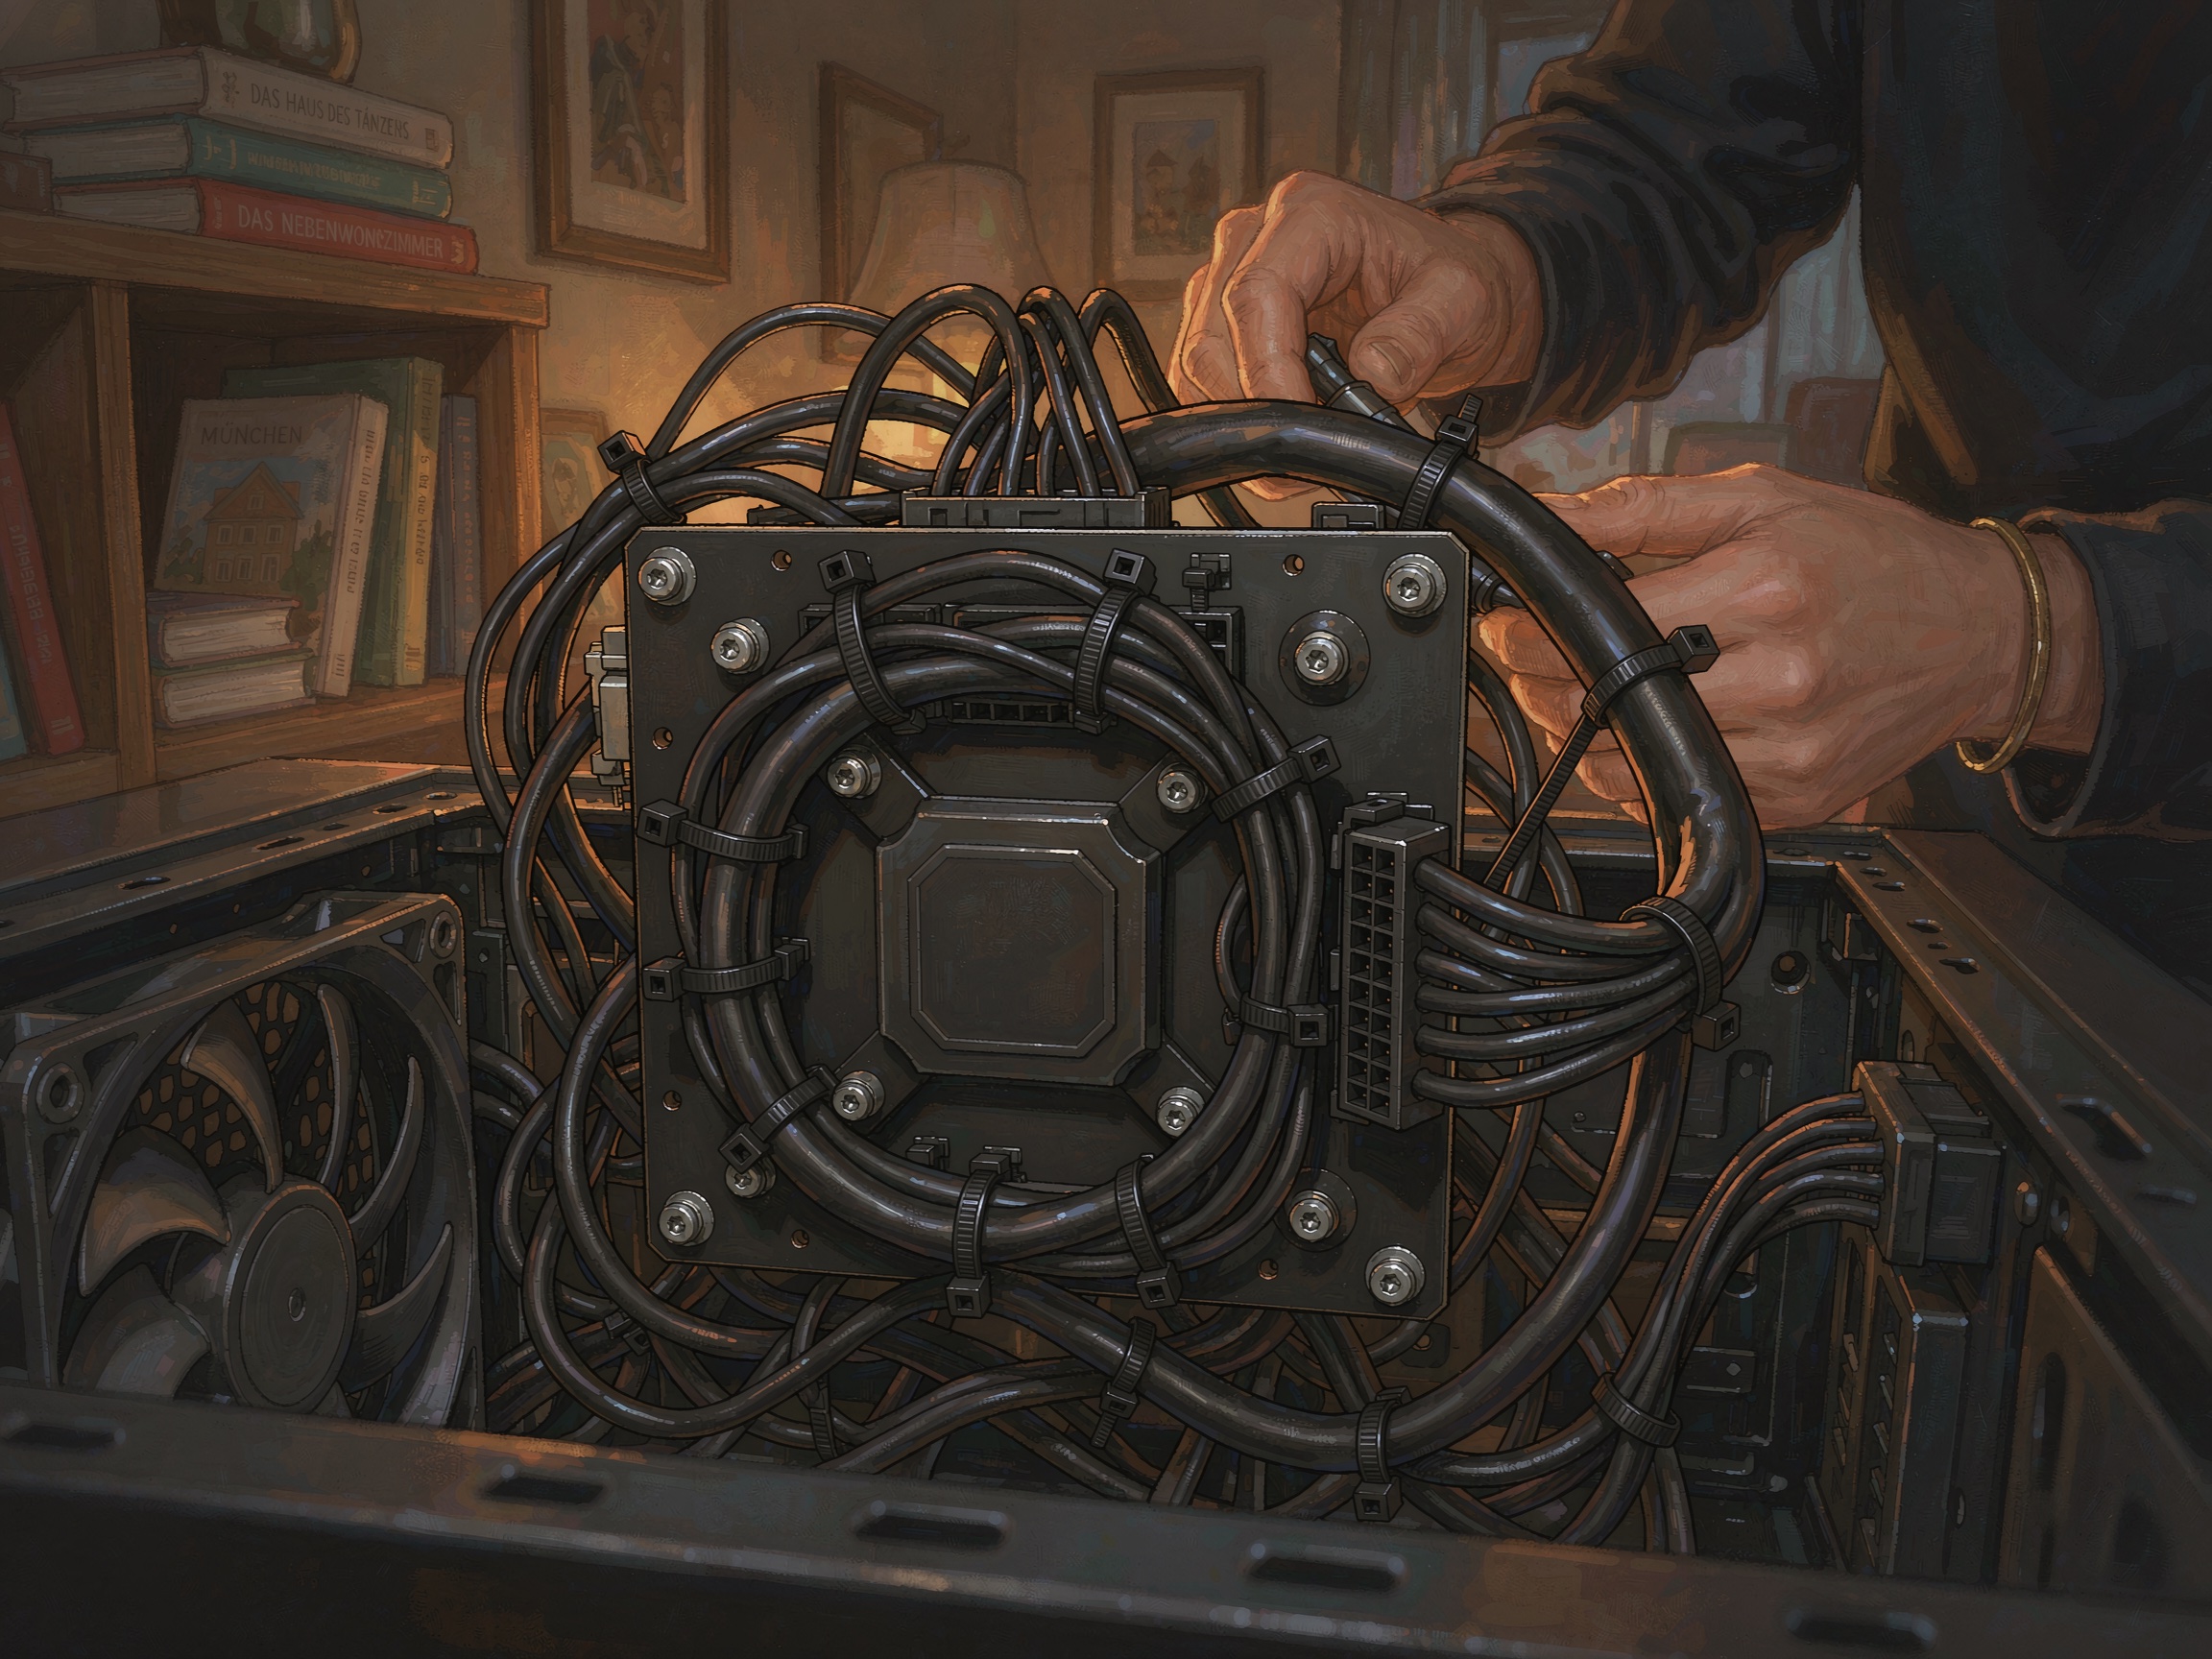
Use cable ties and routing channels to organize cables behind the motherboard tray. Good cable management improves airflow and makes the build look clean.
-
16
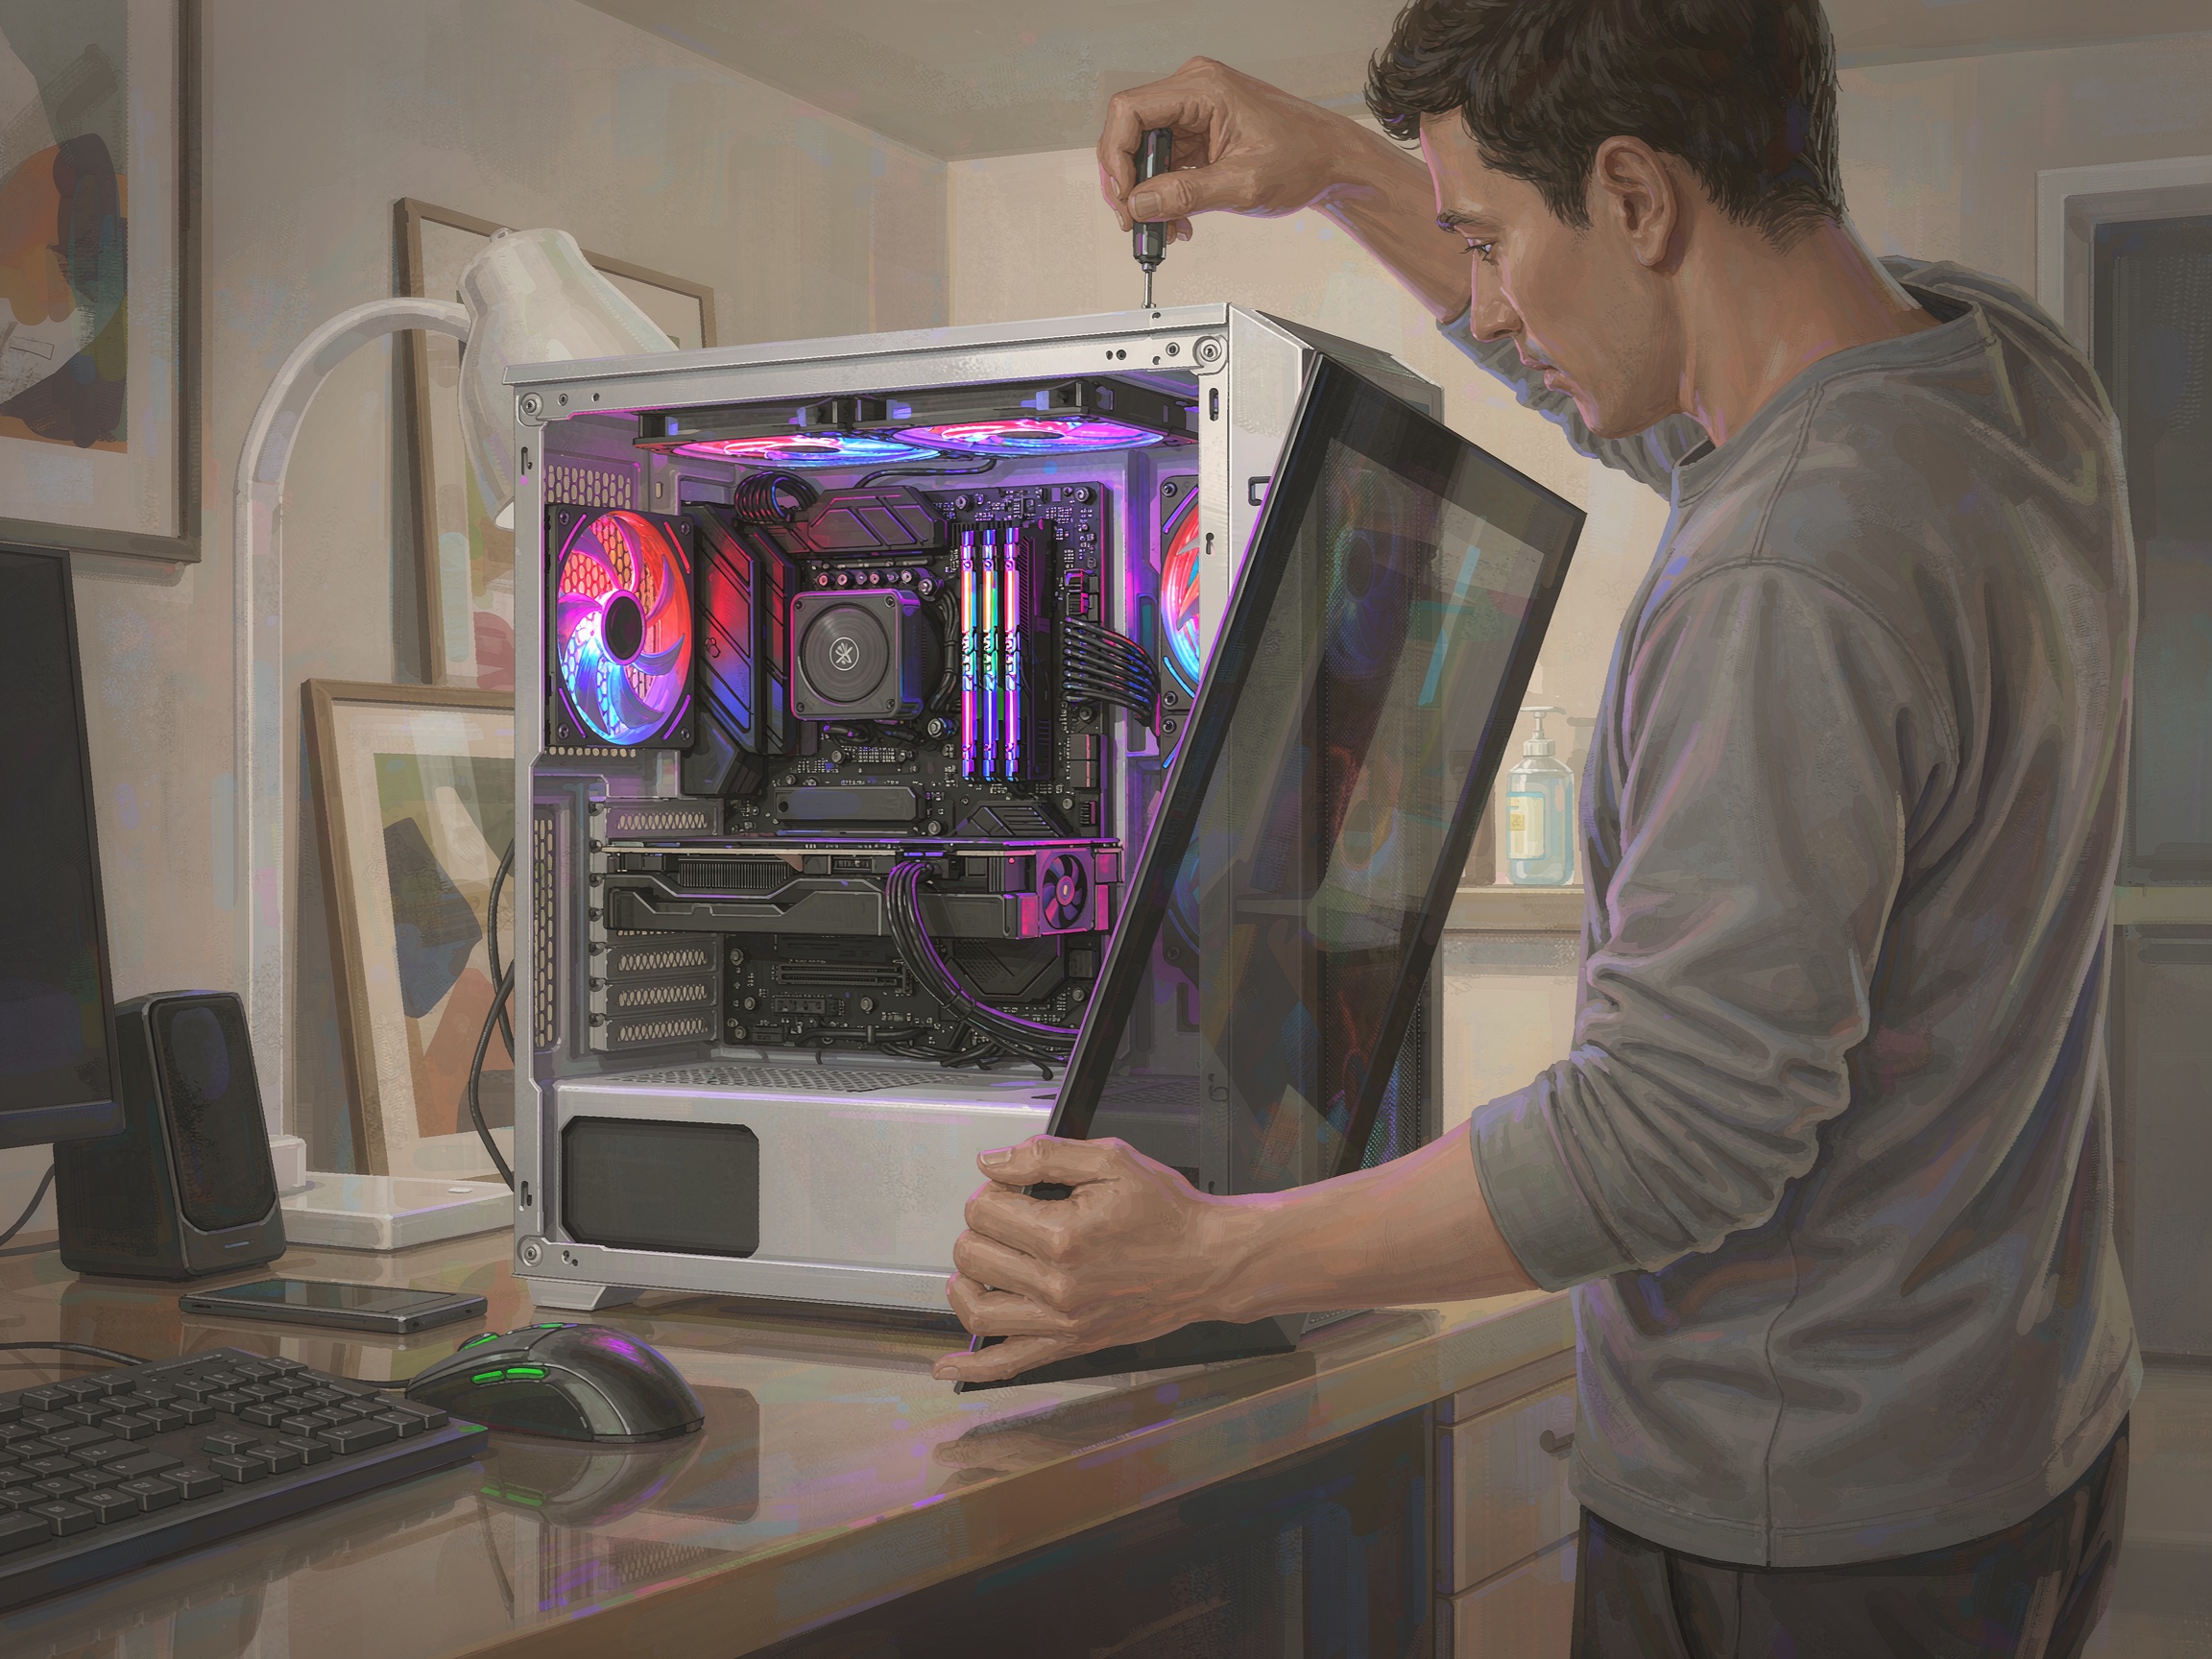
Close the Case
Replace the side panels. Ensure all cables are routed safely and no loose wires can contact components.
-
17
Connect Peripherals
Plug in your monitor, keyboard, mouse, and Ethernet cable. Connect power cables to the PSU and the monitor.
-
18
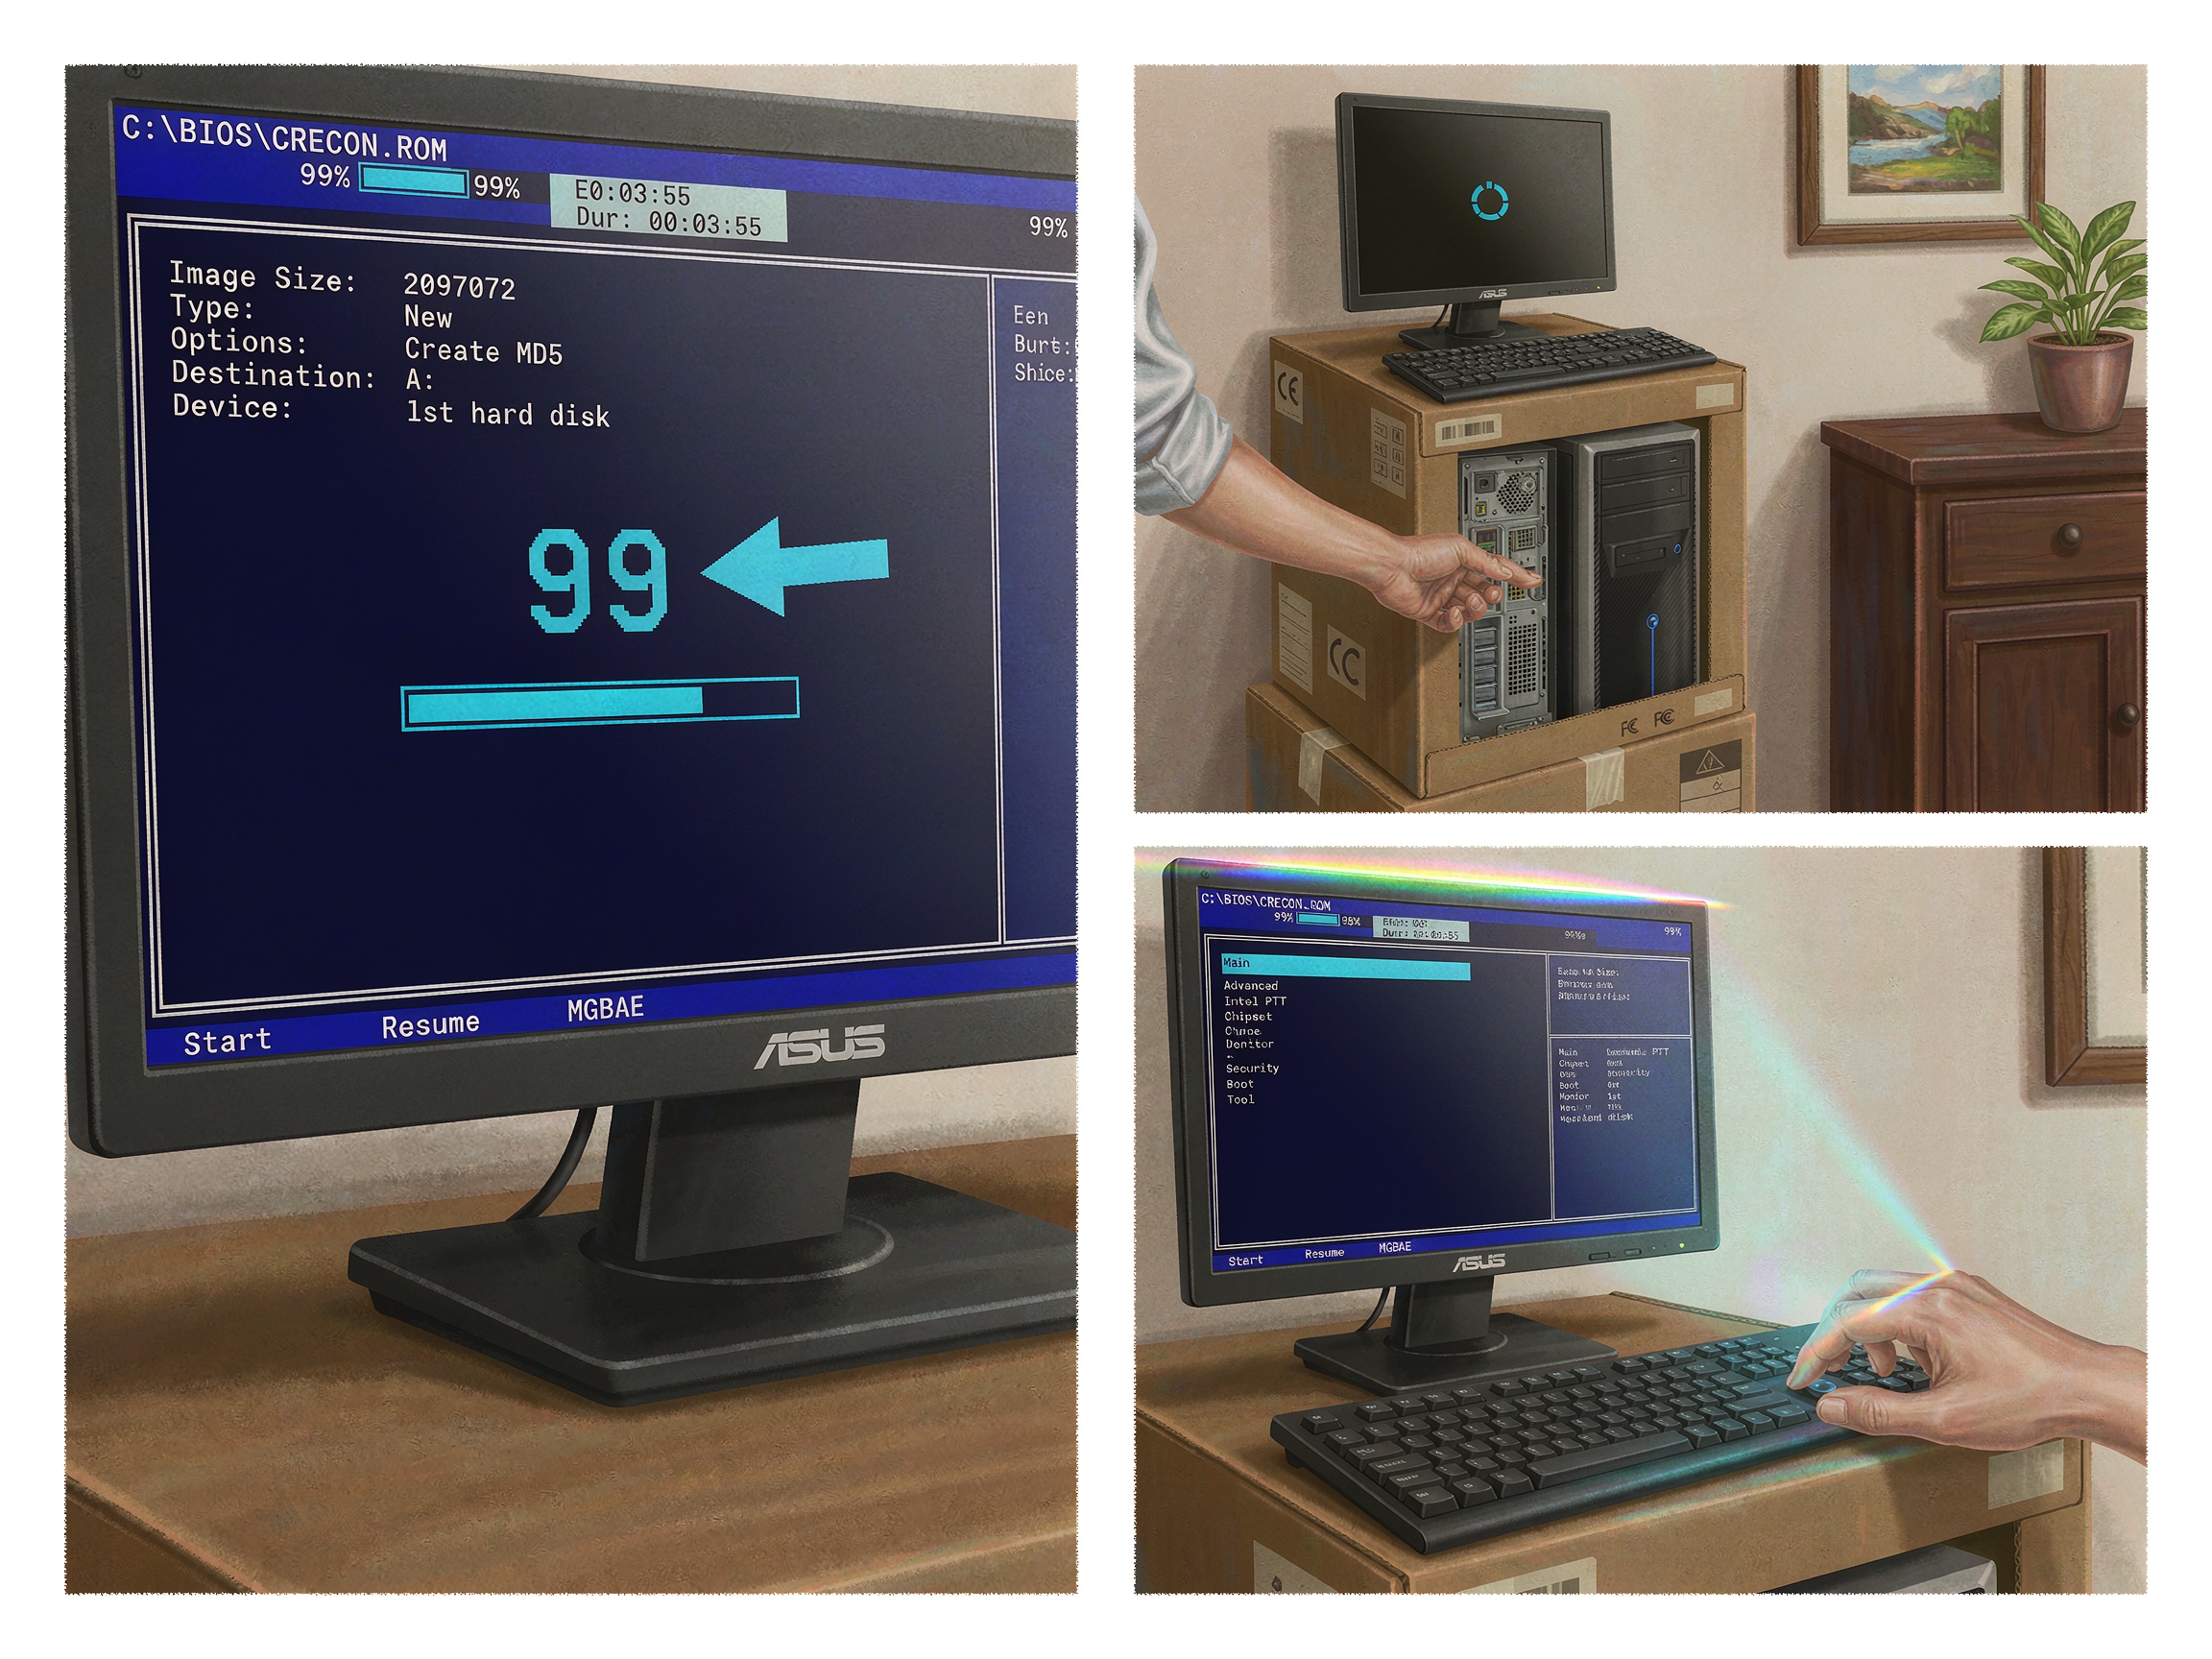
Power On and Enter BIOS
Press the power button. Enter the BIOS by pressing the designated key (usually Delete or F2). Check that all components are detected.
-
19
Enable XMP
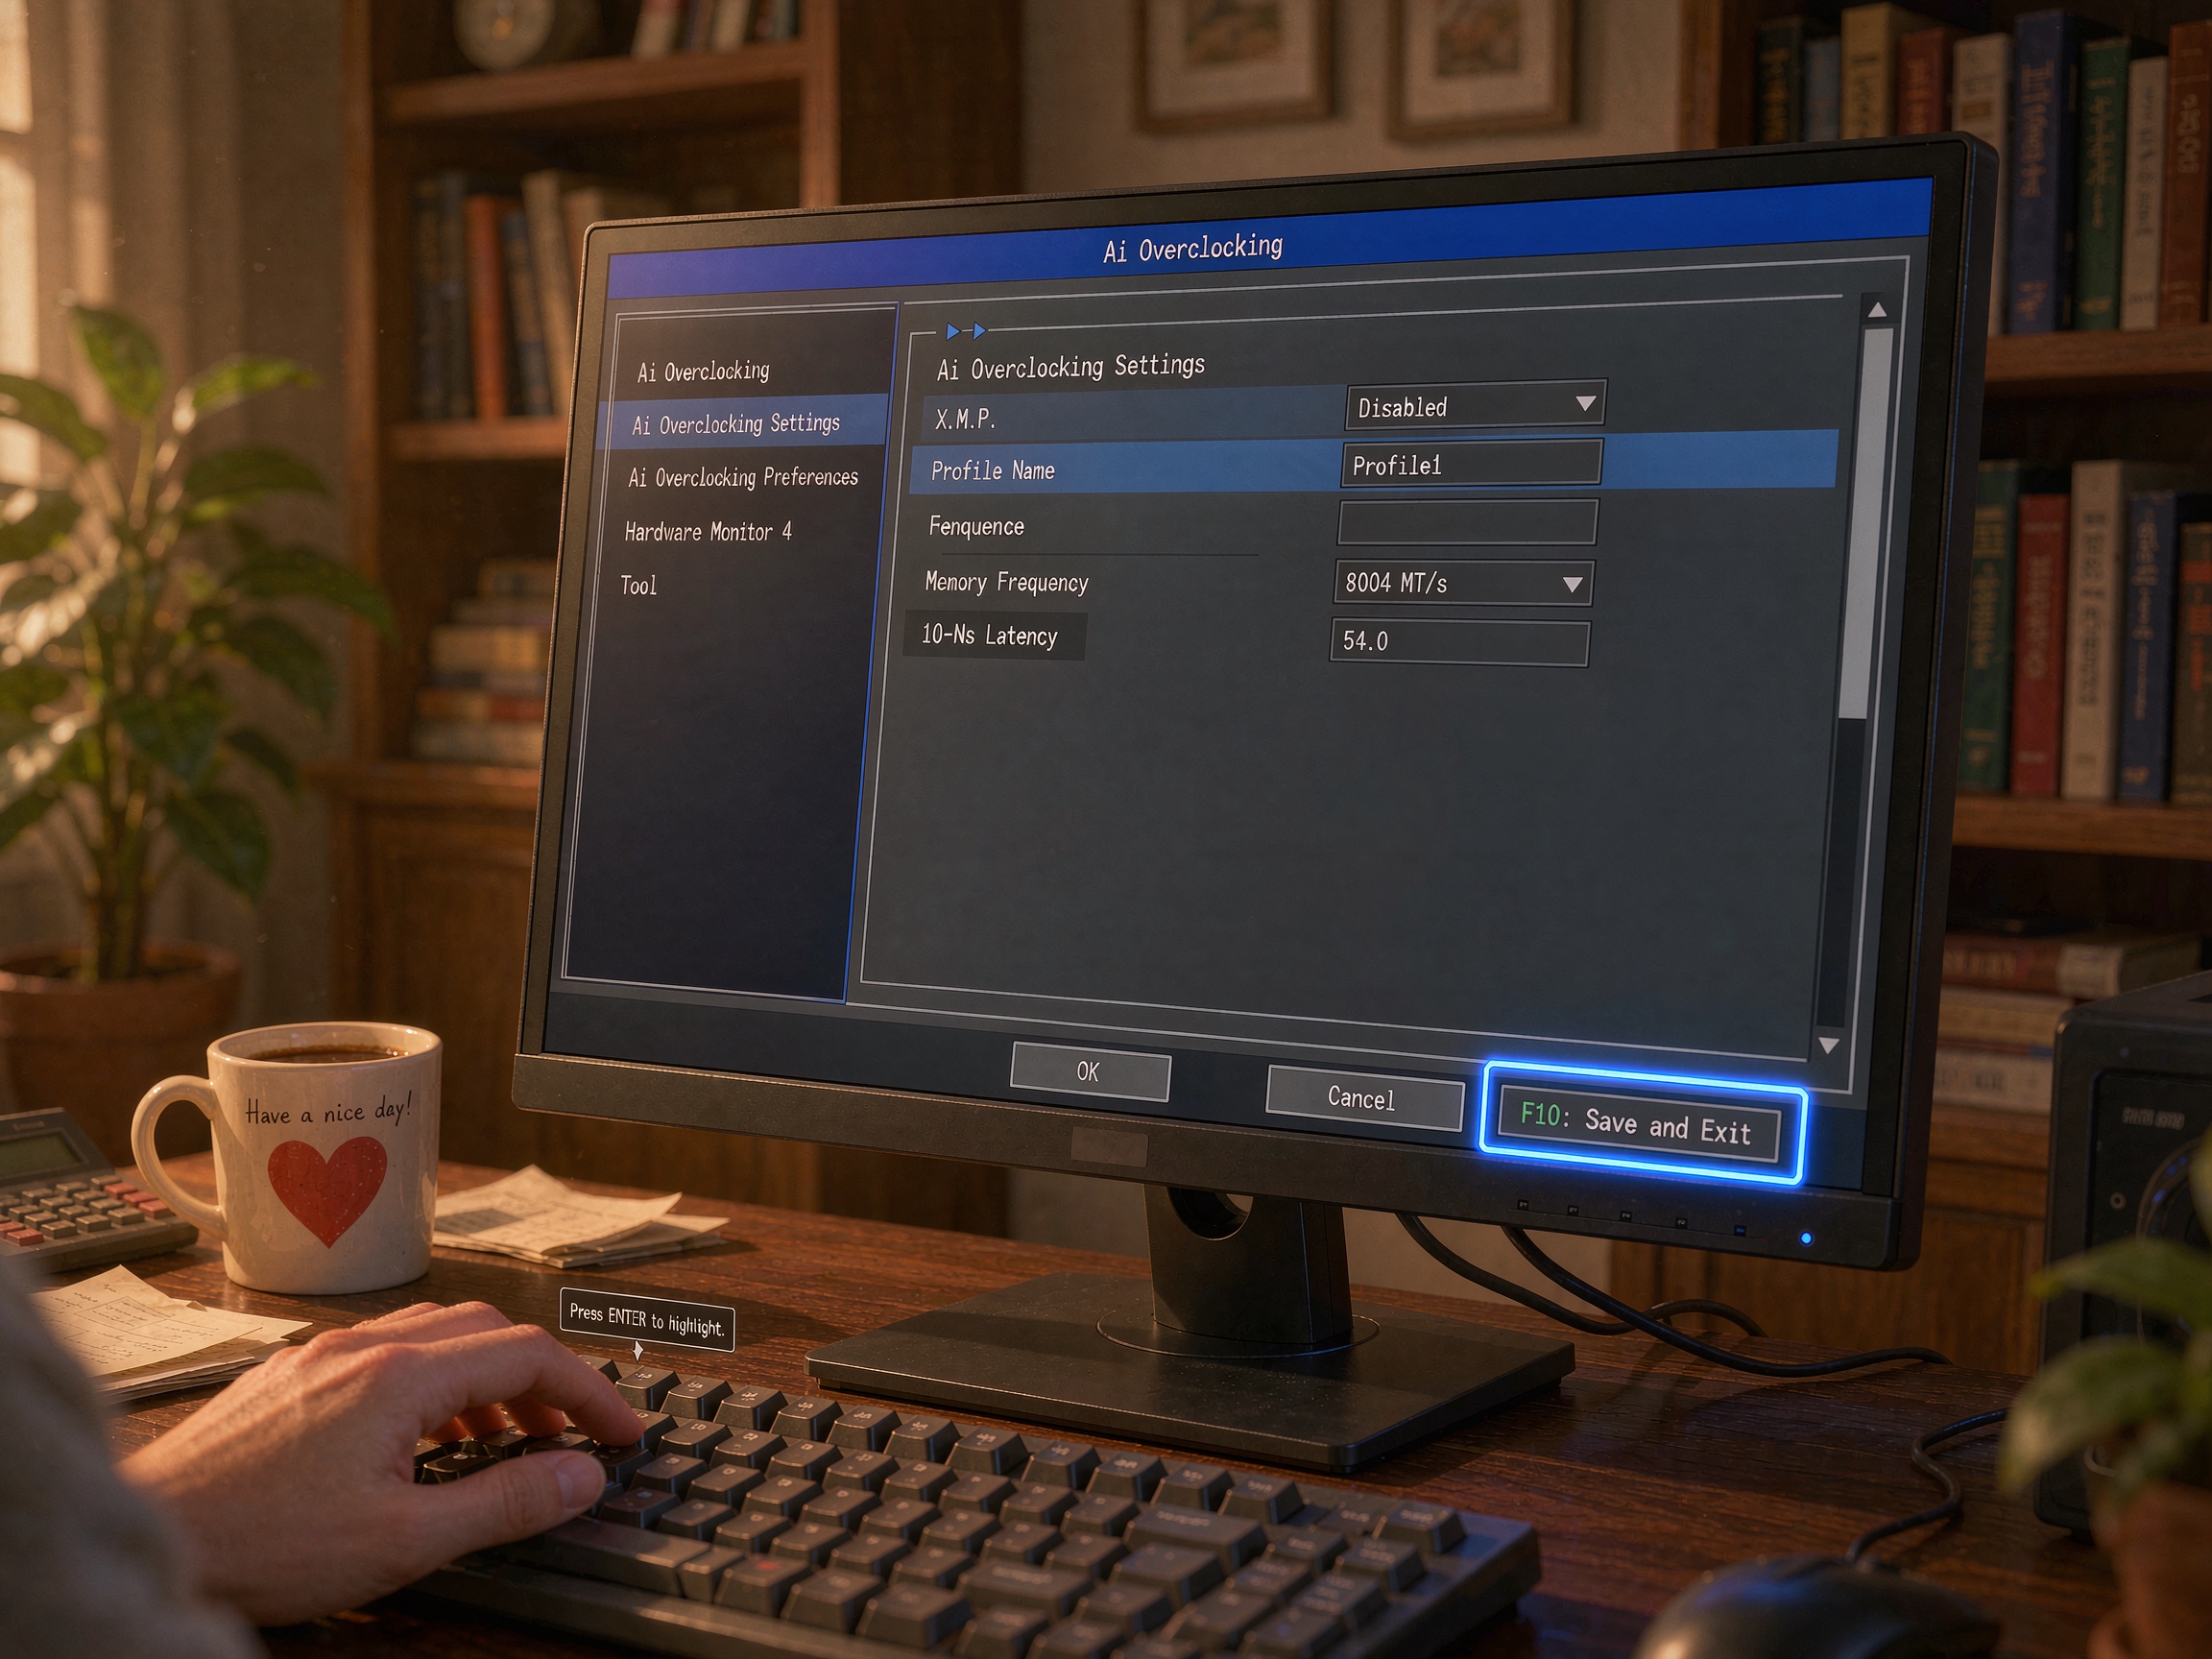
In the BIOS, enable XMP to run your RAM at its advertised speed. Without this, the RAM will run at default slower speeds.
-
20
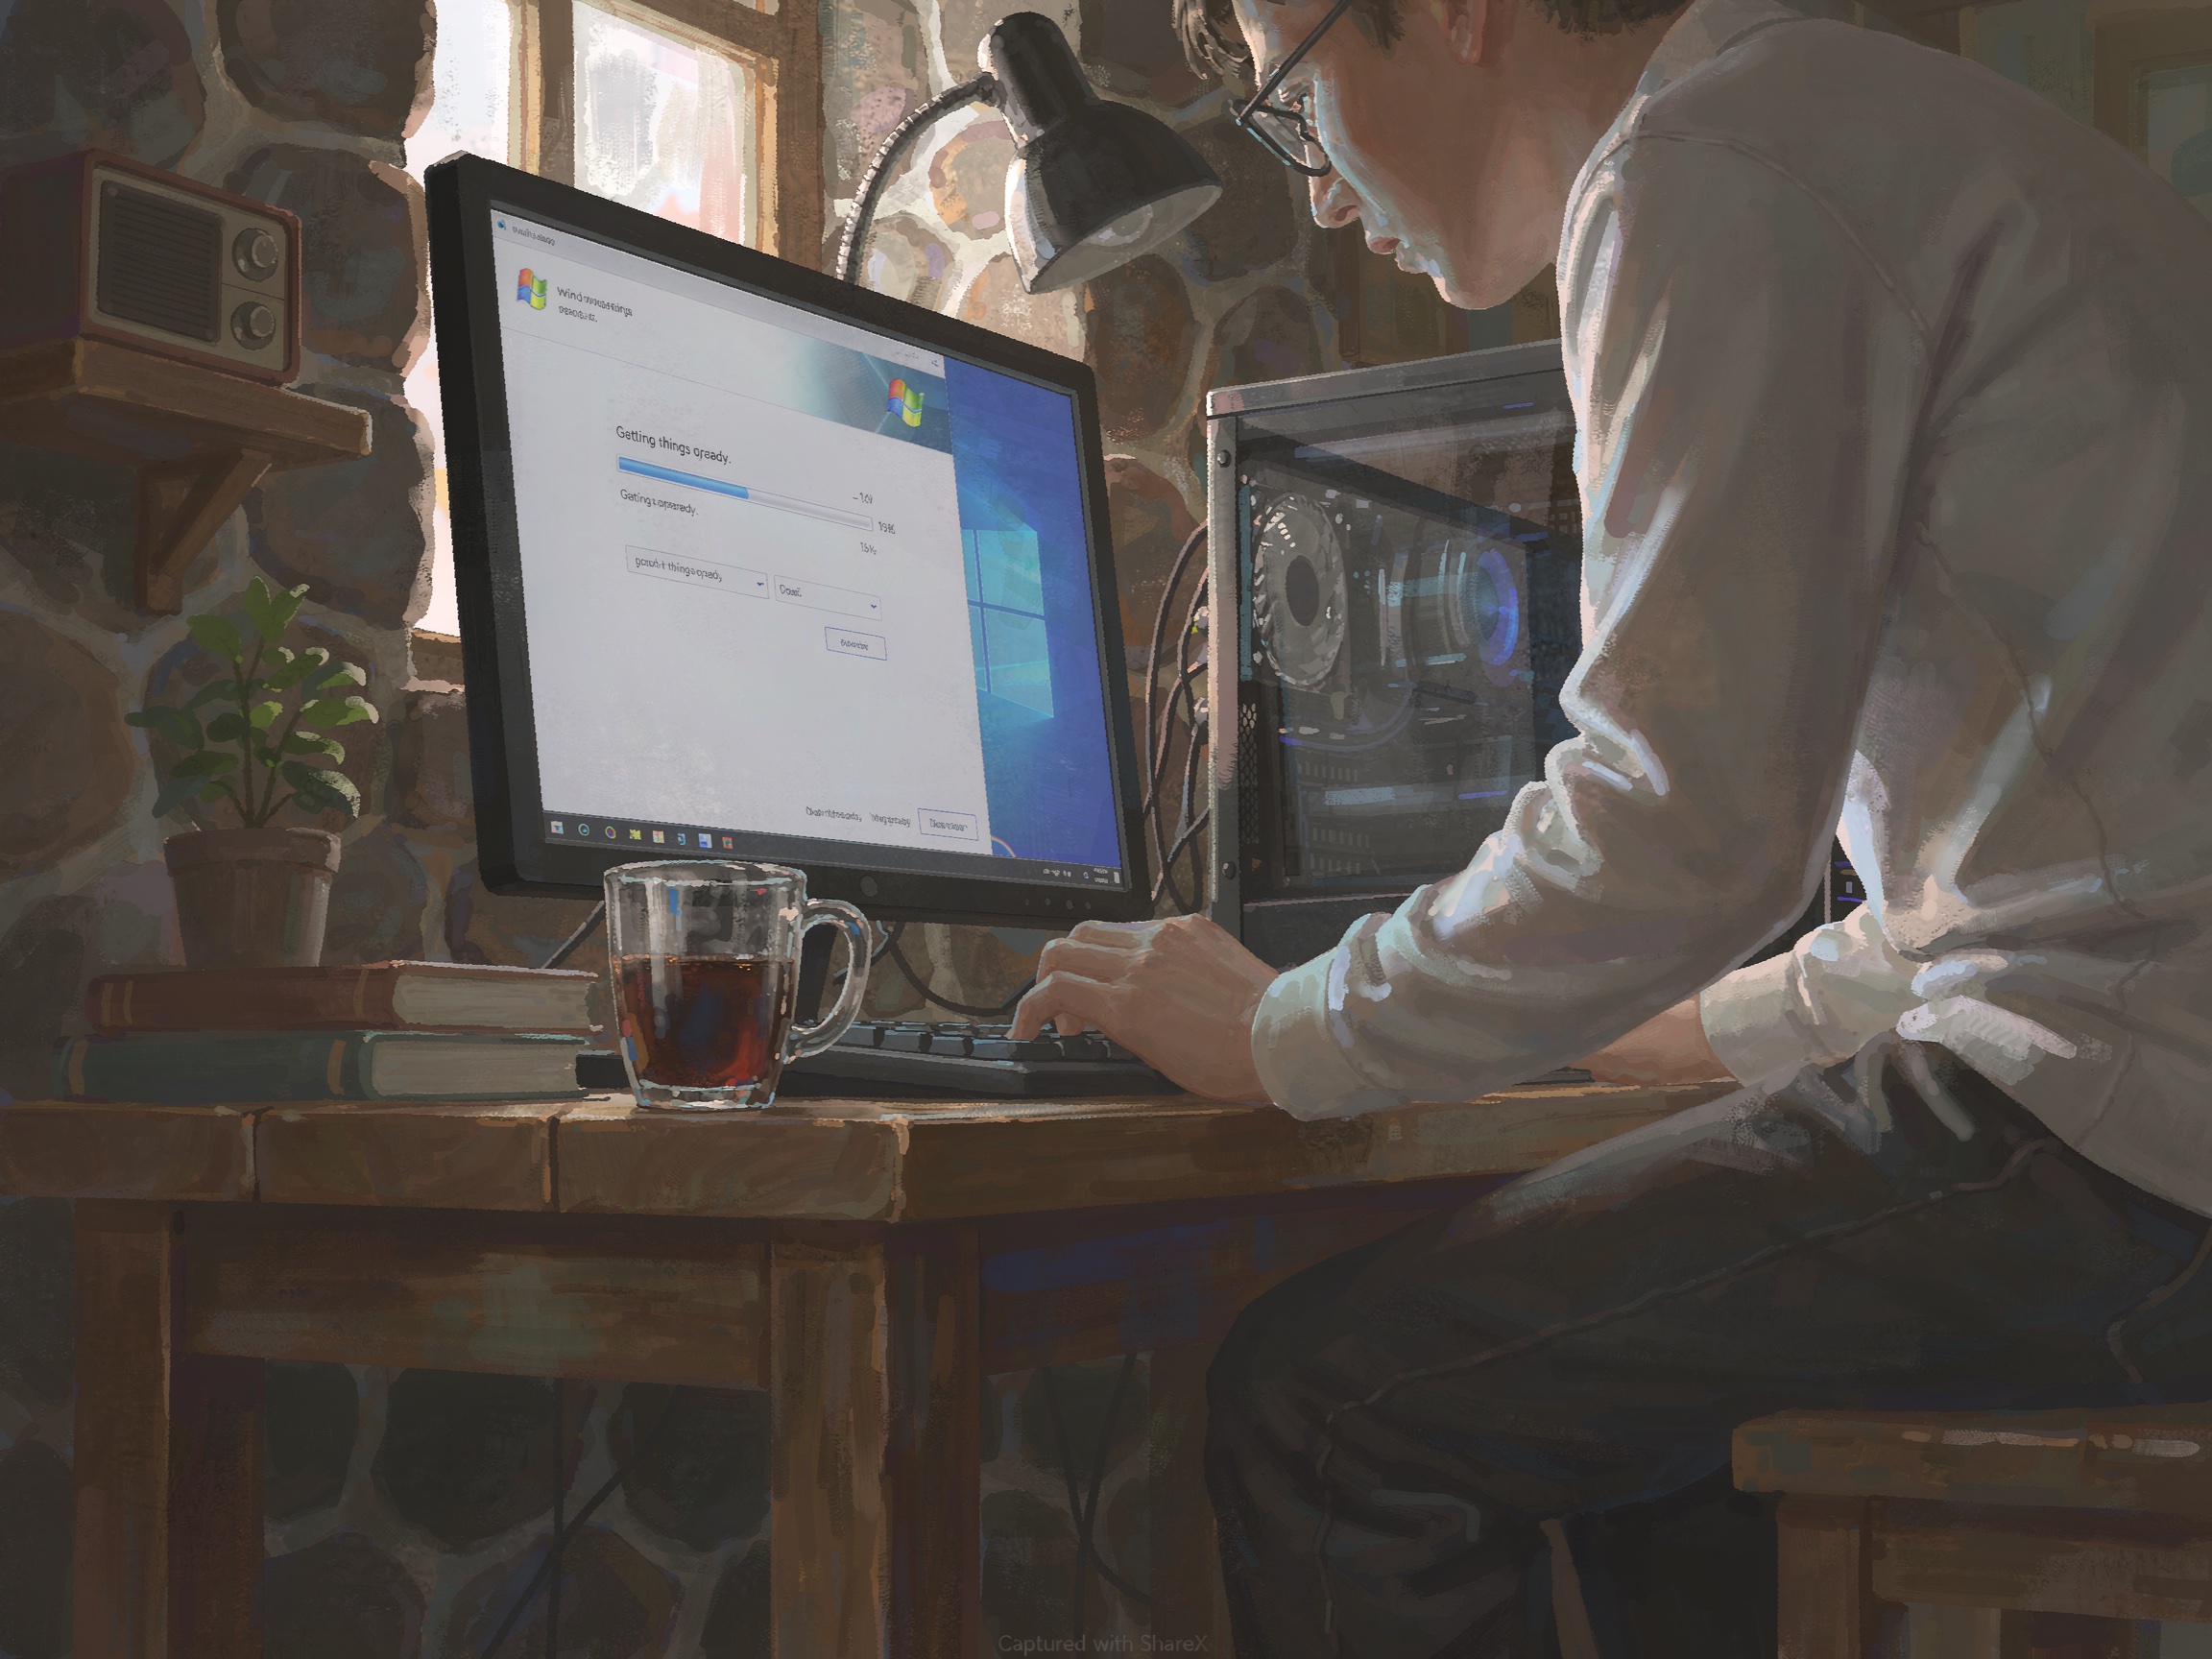
Install the Operating System
Insert a Windows installation USB and follow the setup prompts. Install Windows to your SSD, not your old drive.
-
21
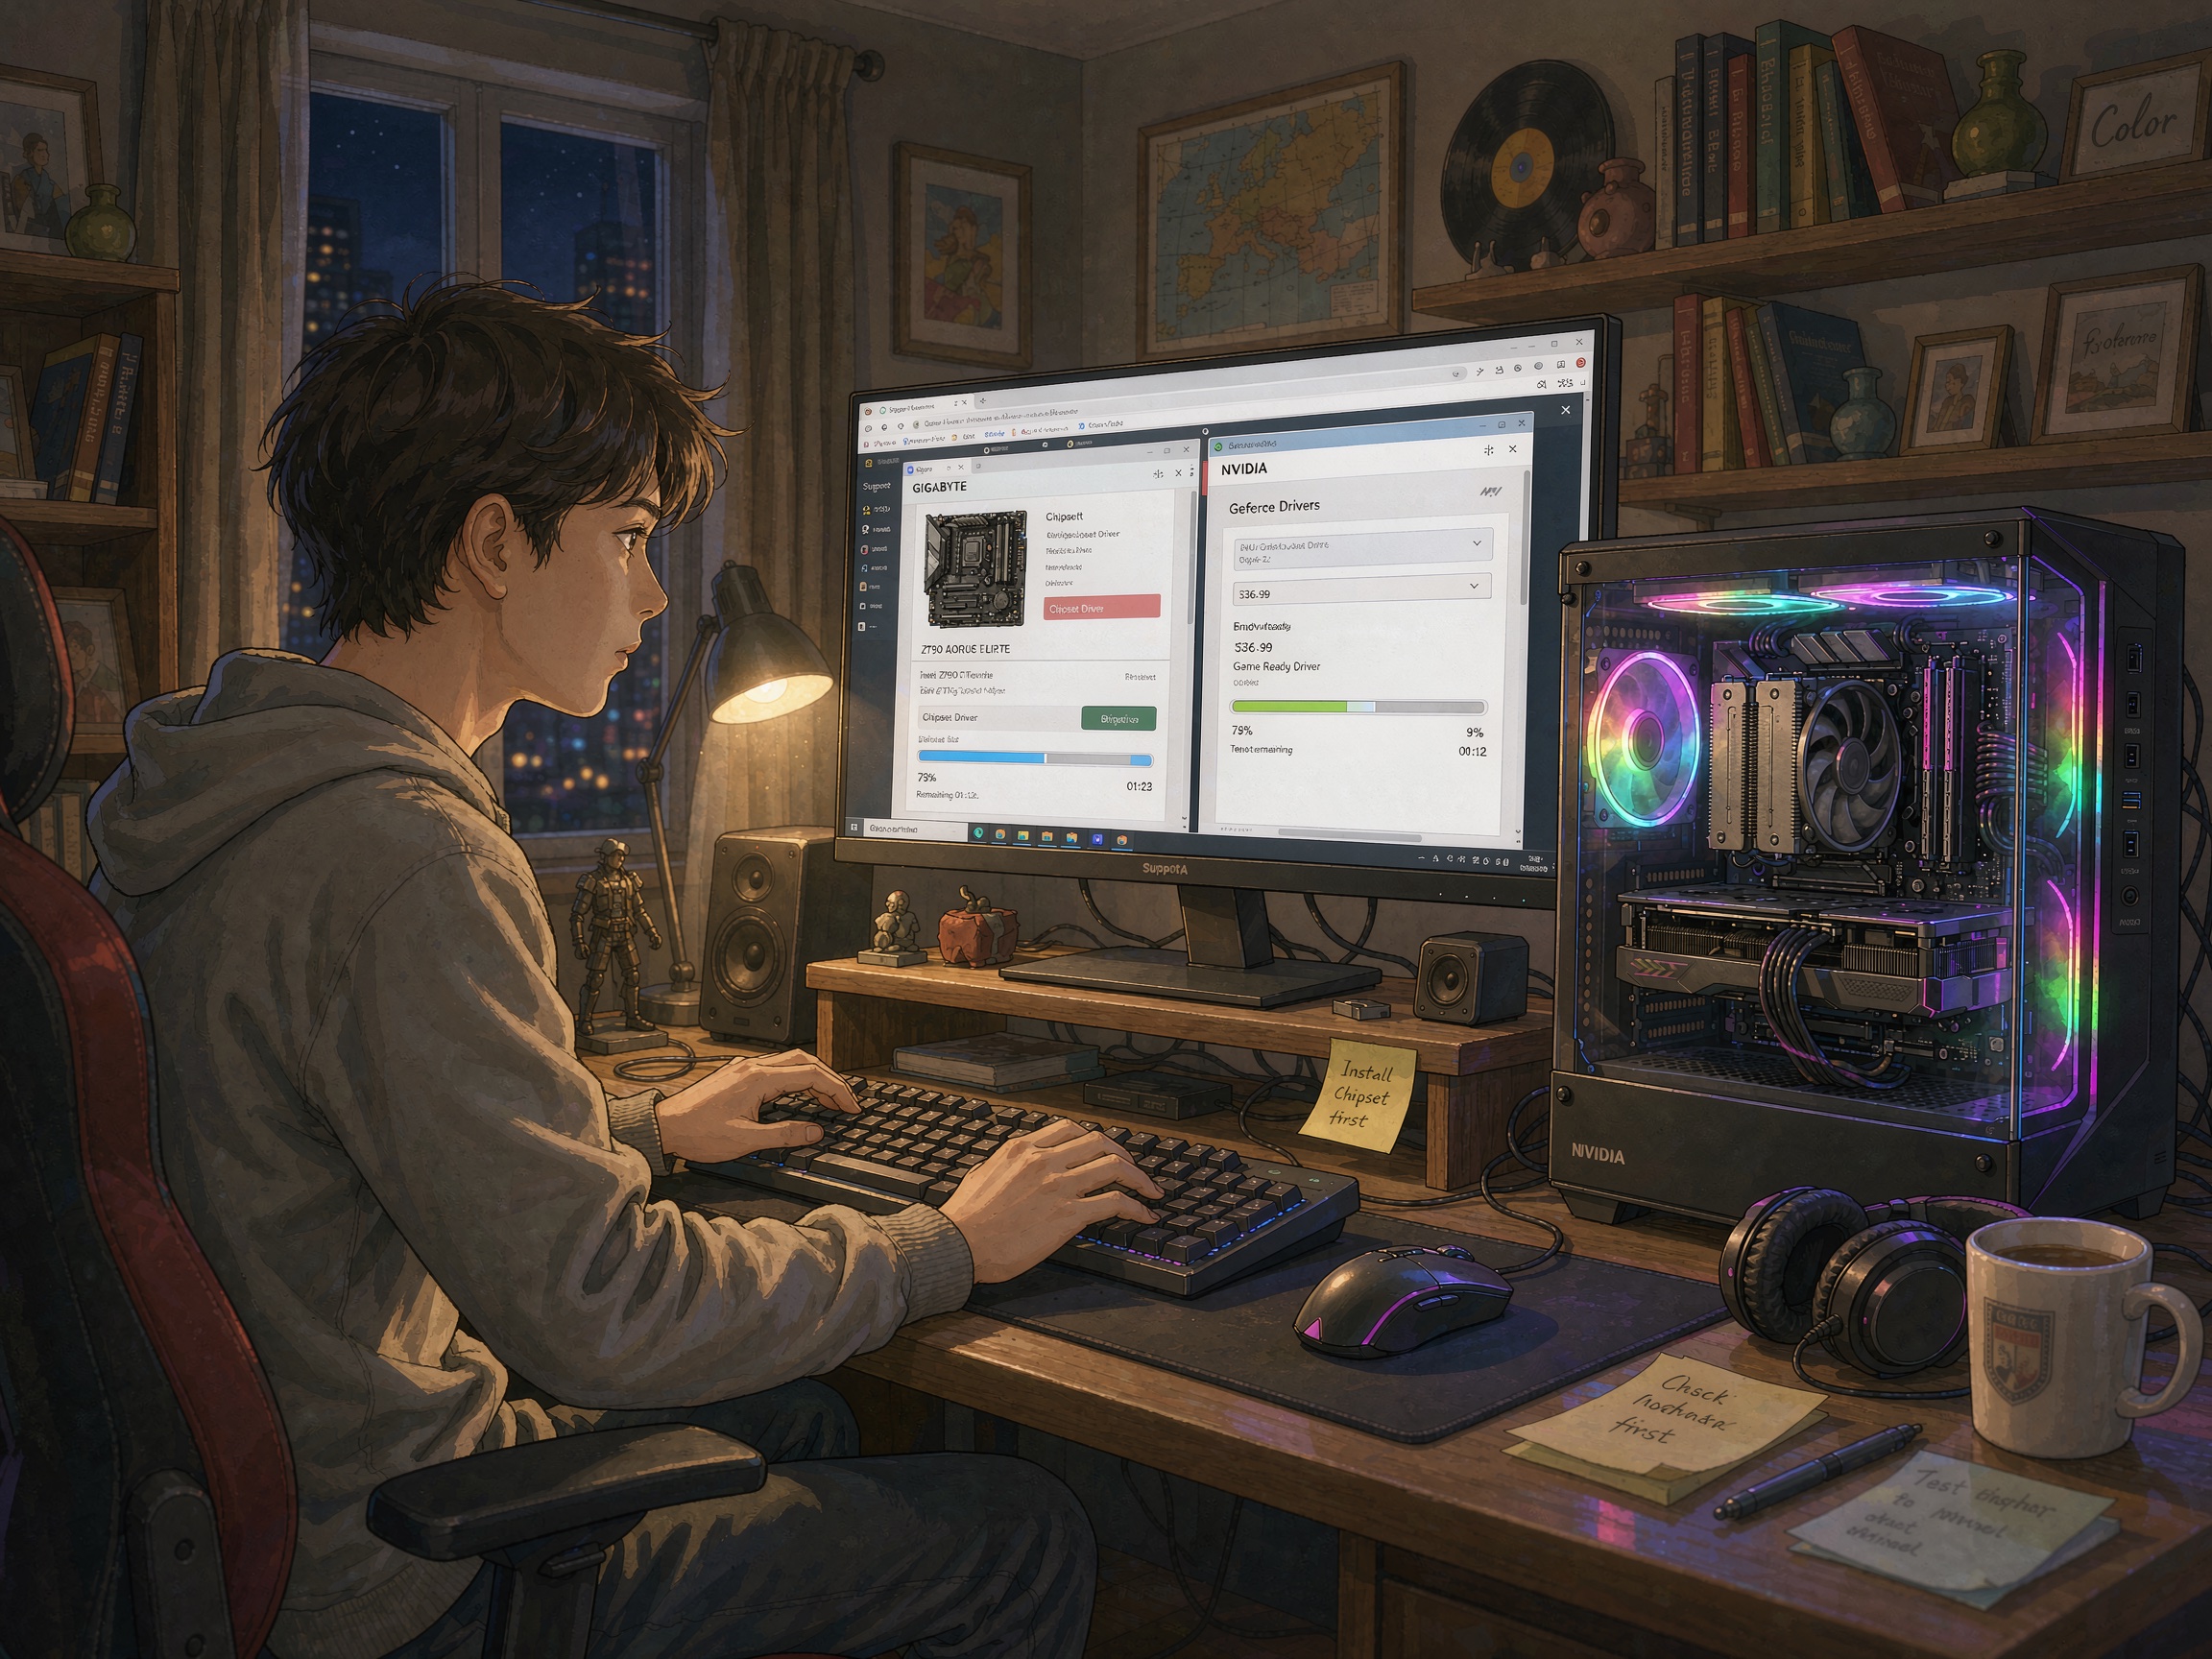
Install Drivers
Install motherboard, GPU, and other drivers. Download them from manufacturer websites. Restart if prompted.
-
22
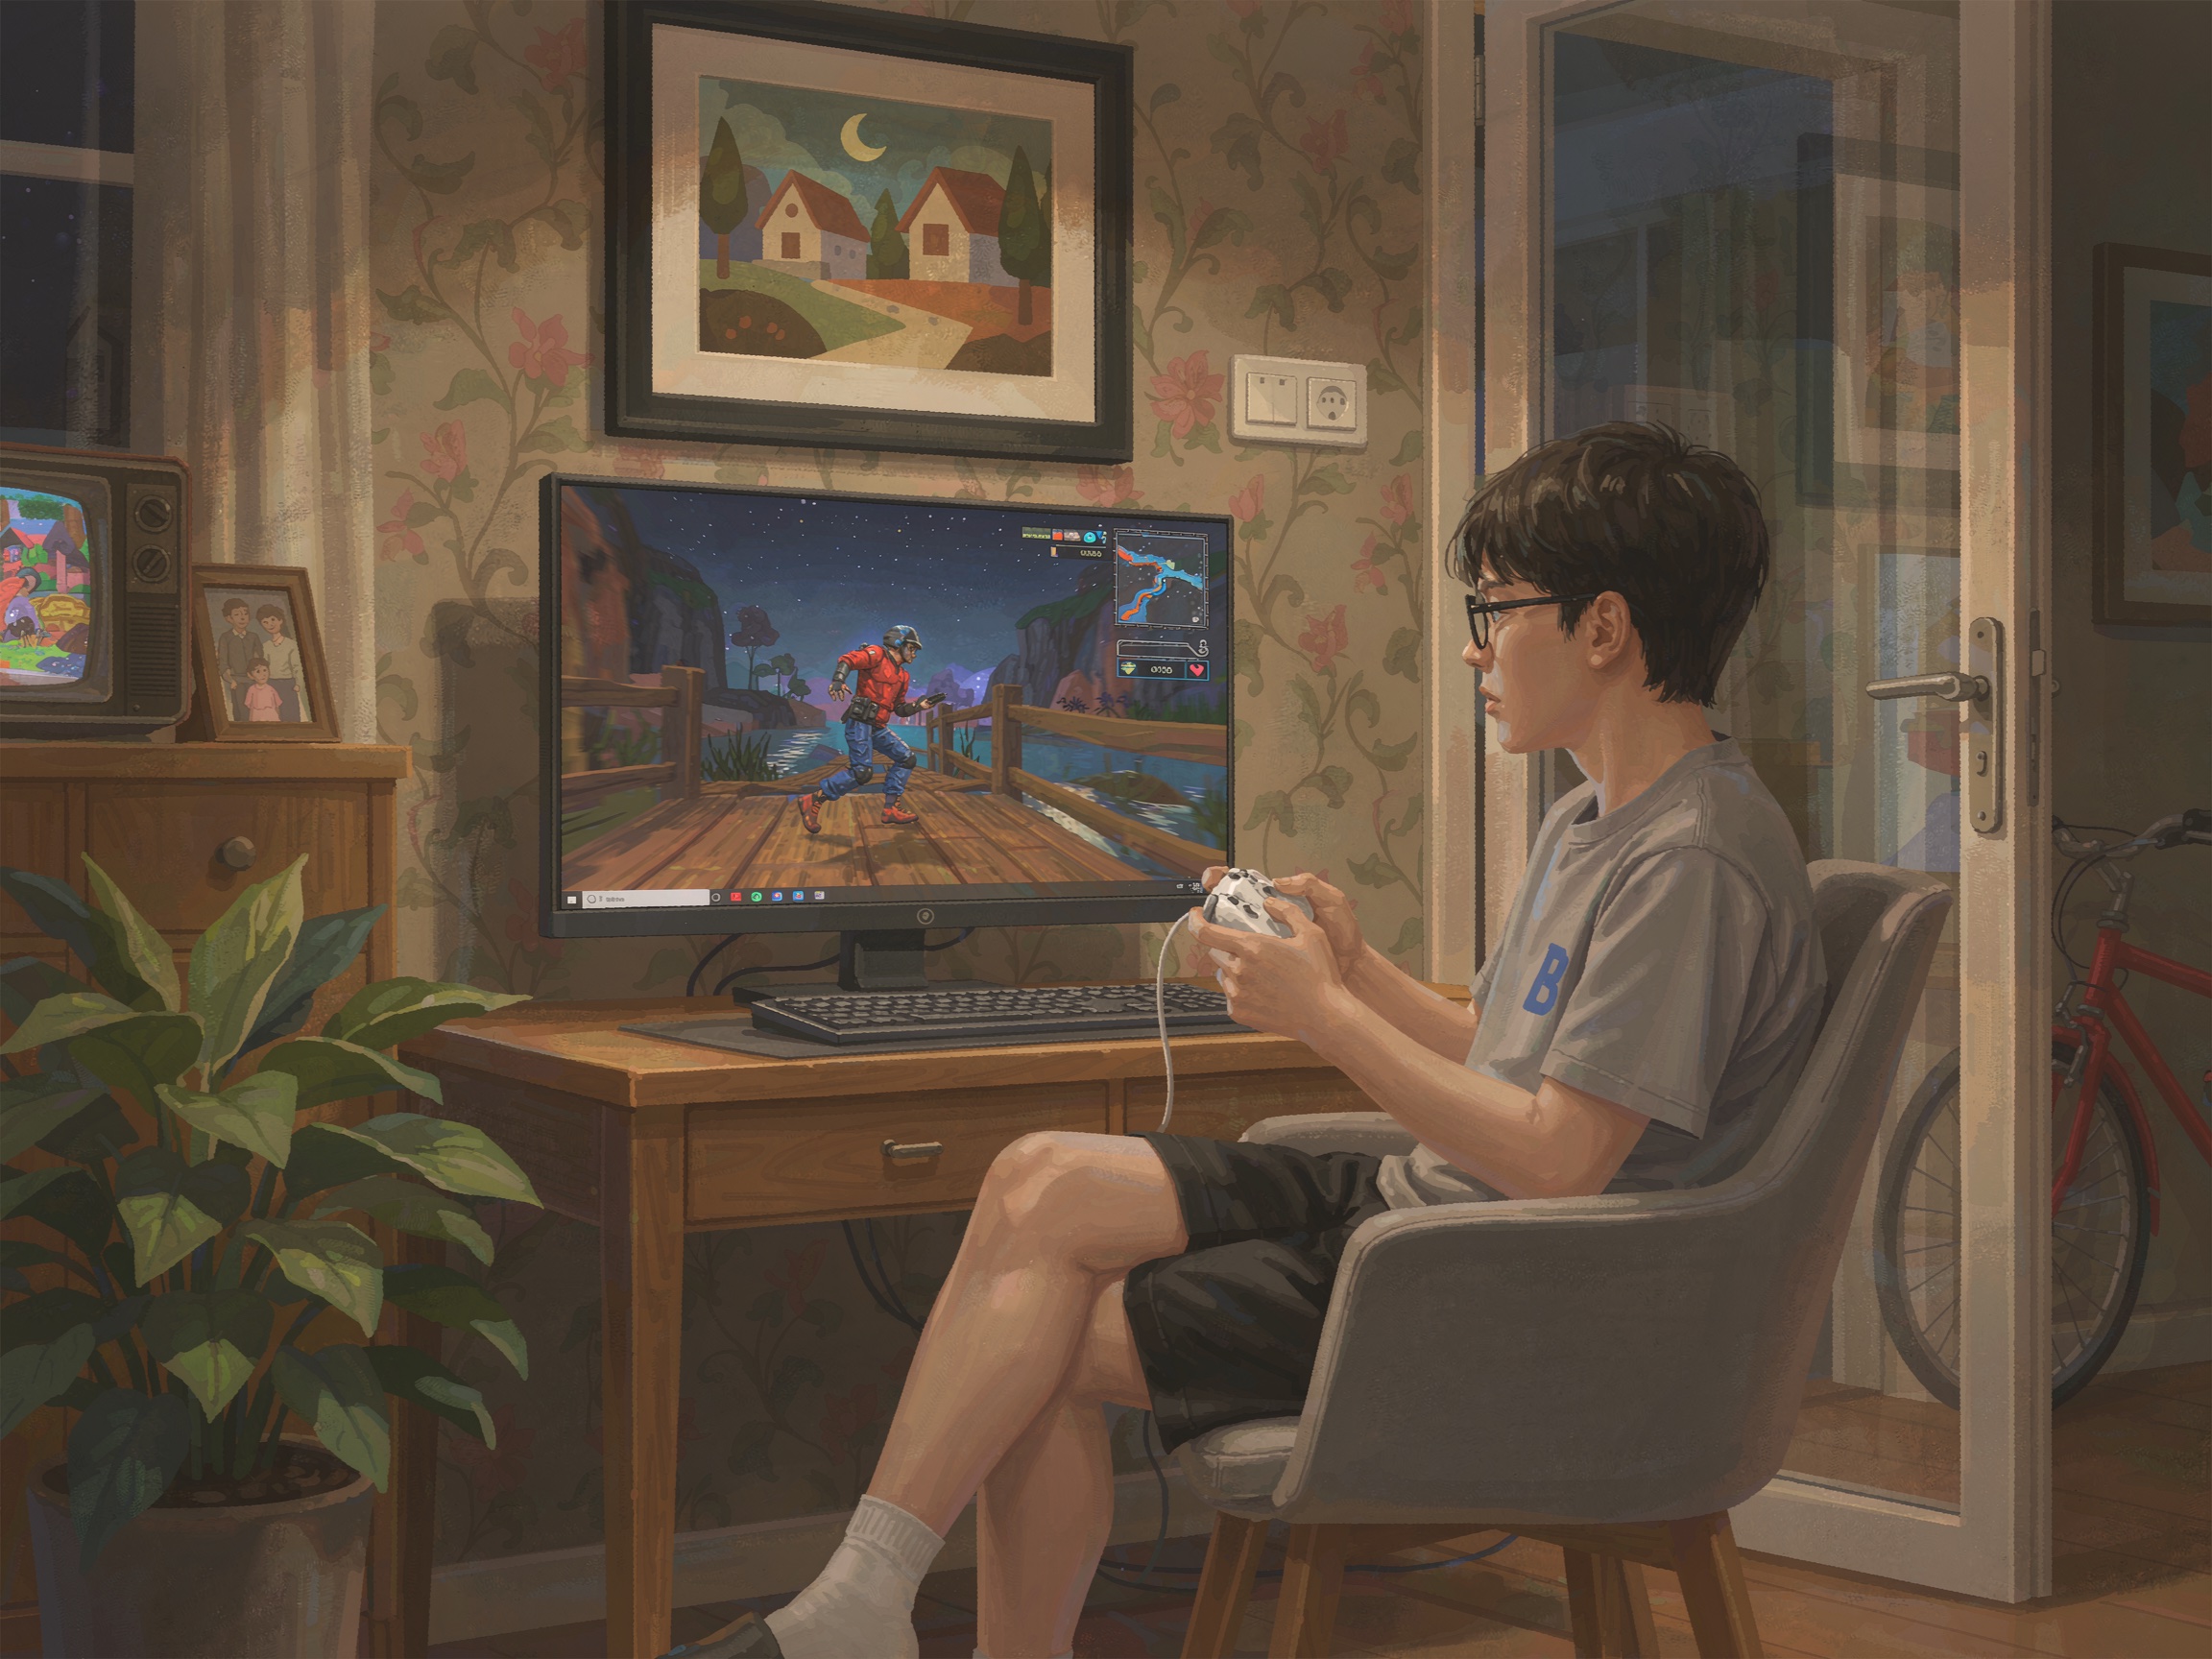
Install Games and Test
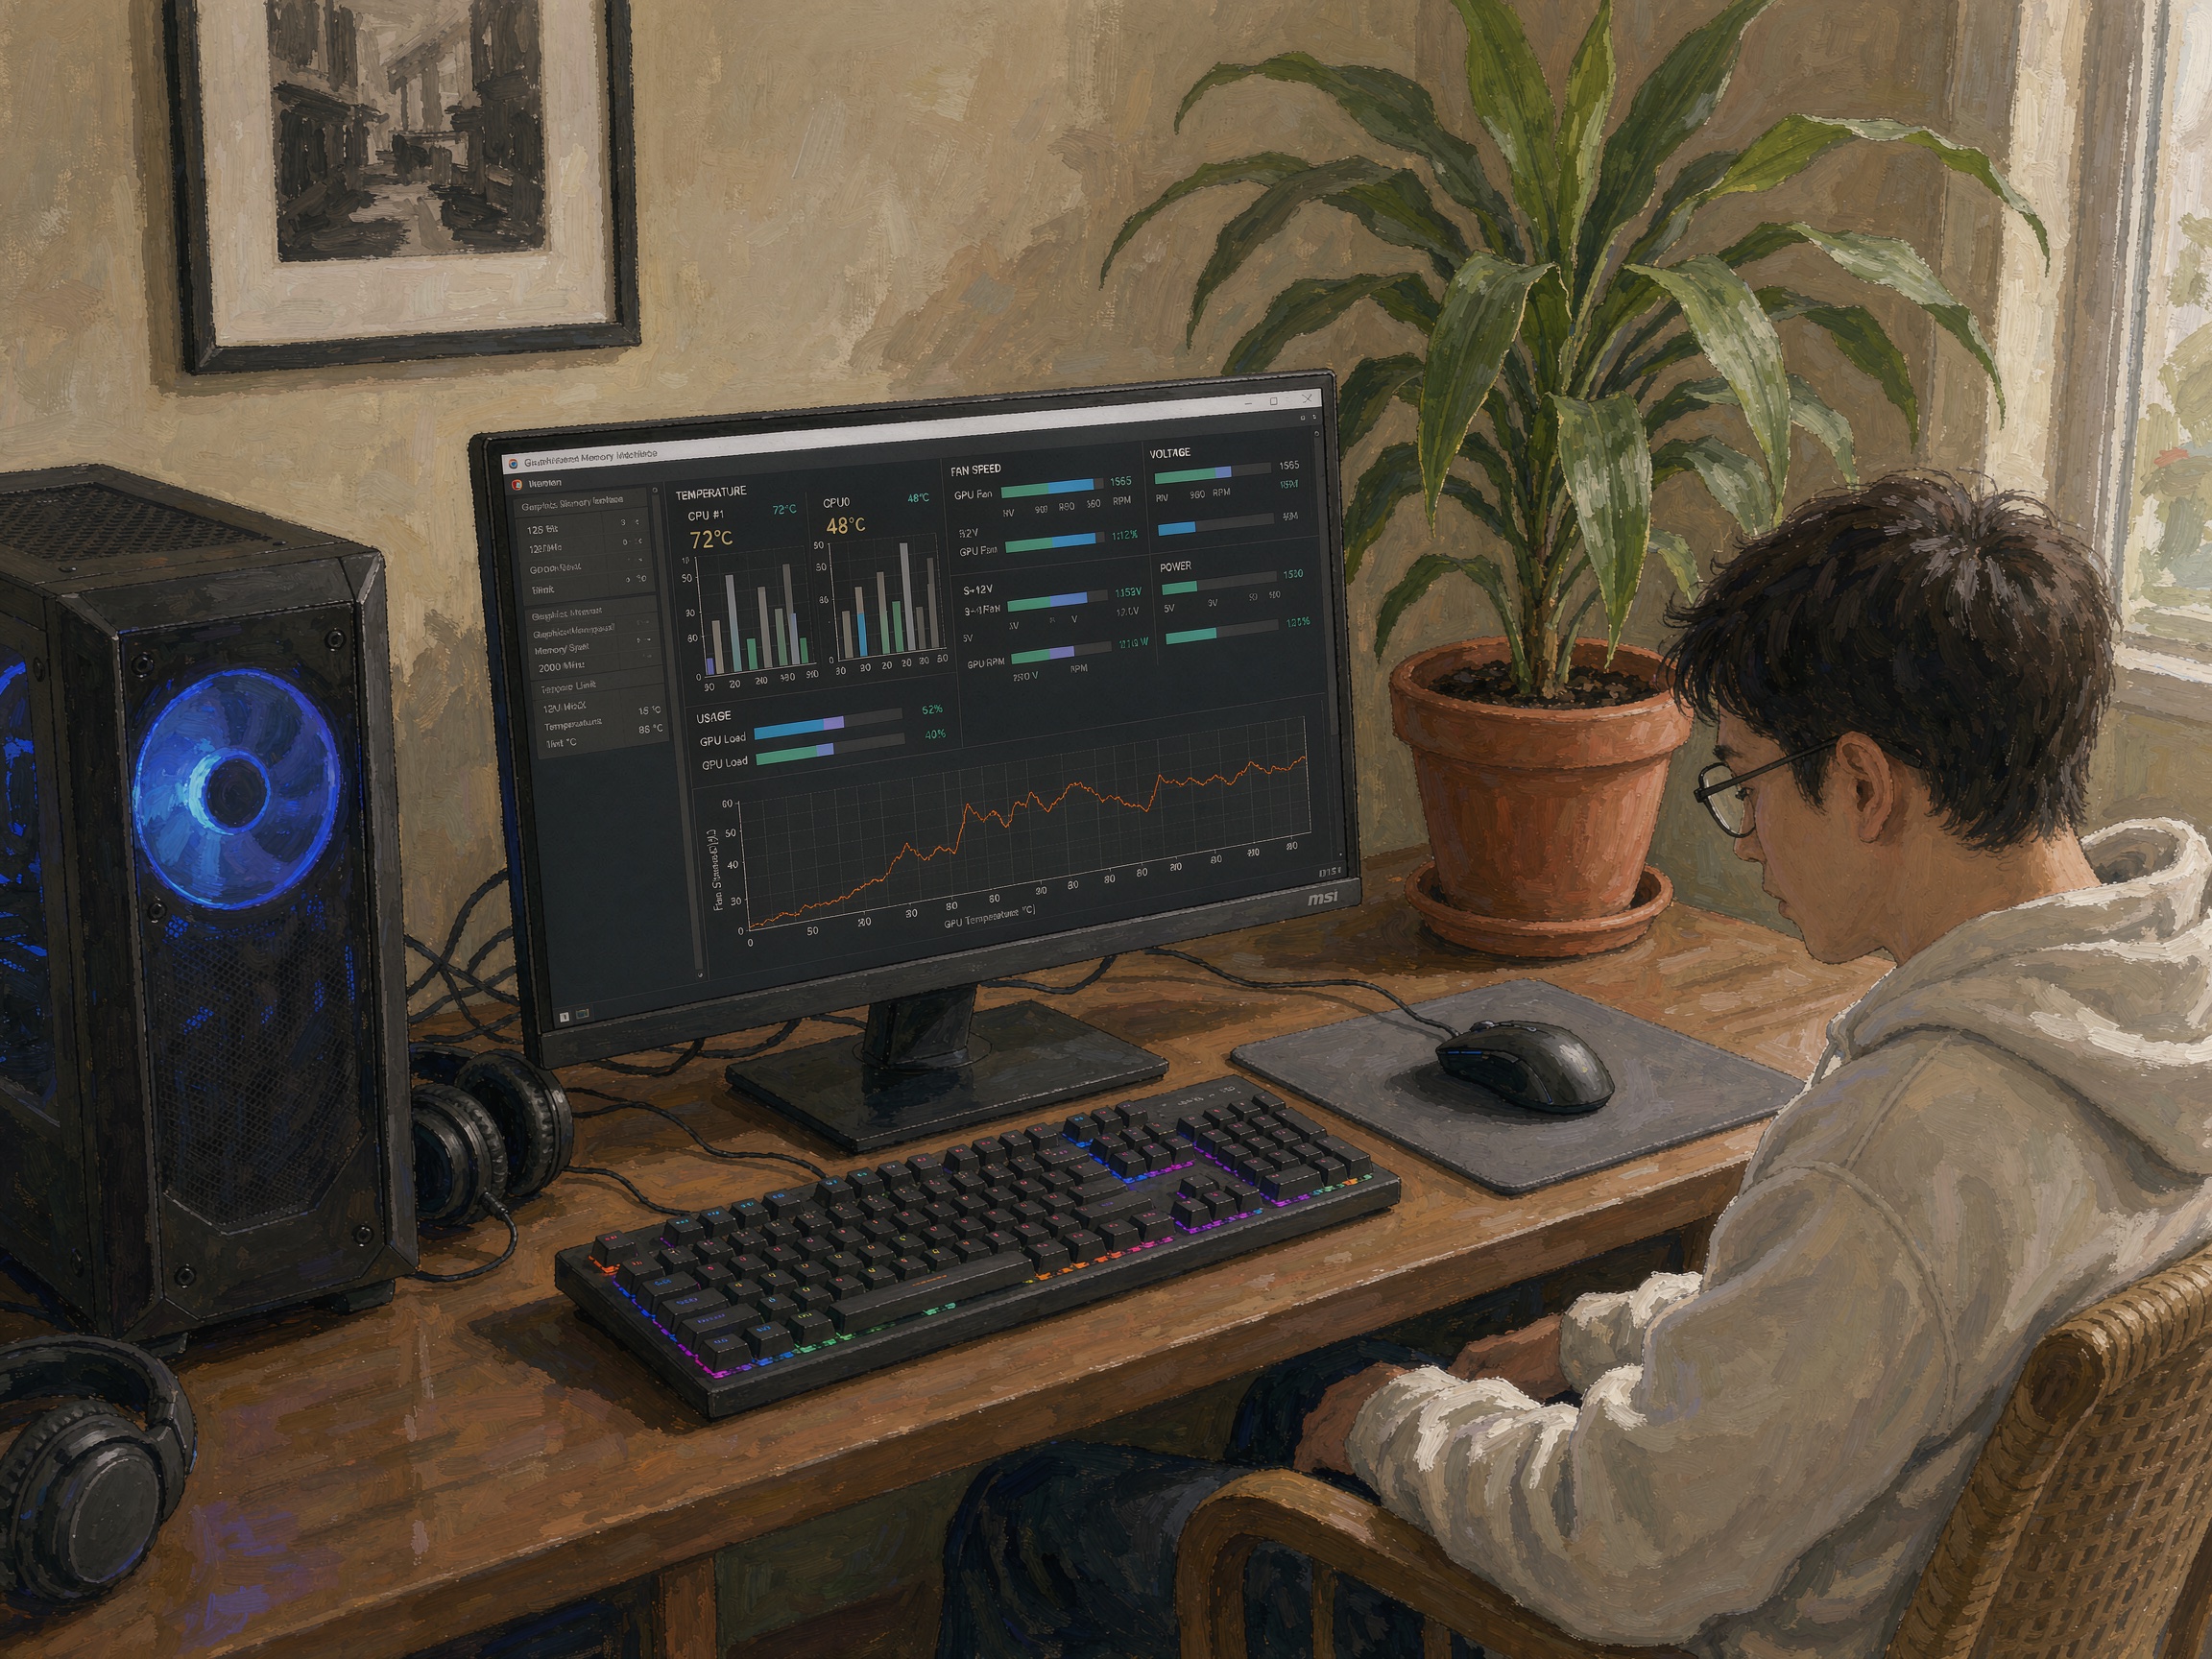
Install your favorite games and run benchmarks to test performance. Monitor temperatures with software like MSI Afterburner.
-
23
Monitor Temperatures
Check CPU and GPU temperatures during gaming. Ideal CPU temps are under 80°C, GPU under 85°C. Improve cooling if temperatures are high.
-
24
Fine-Tune Performance
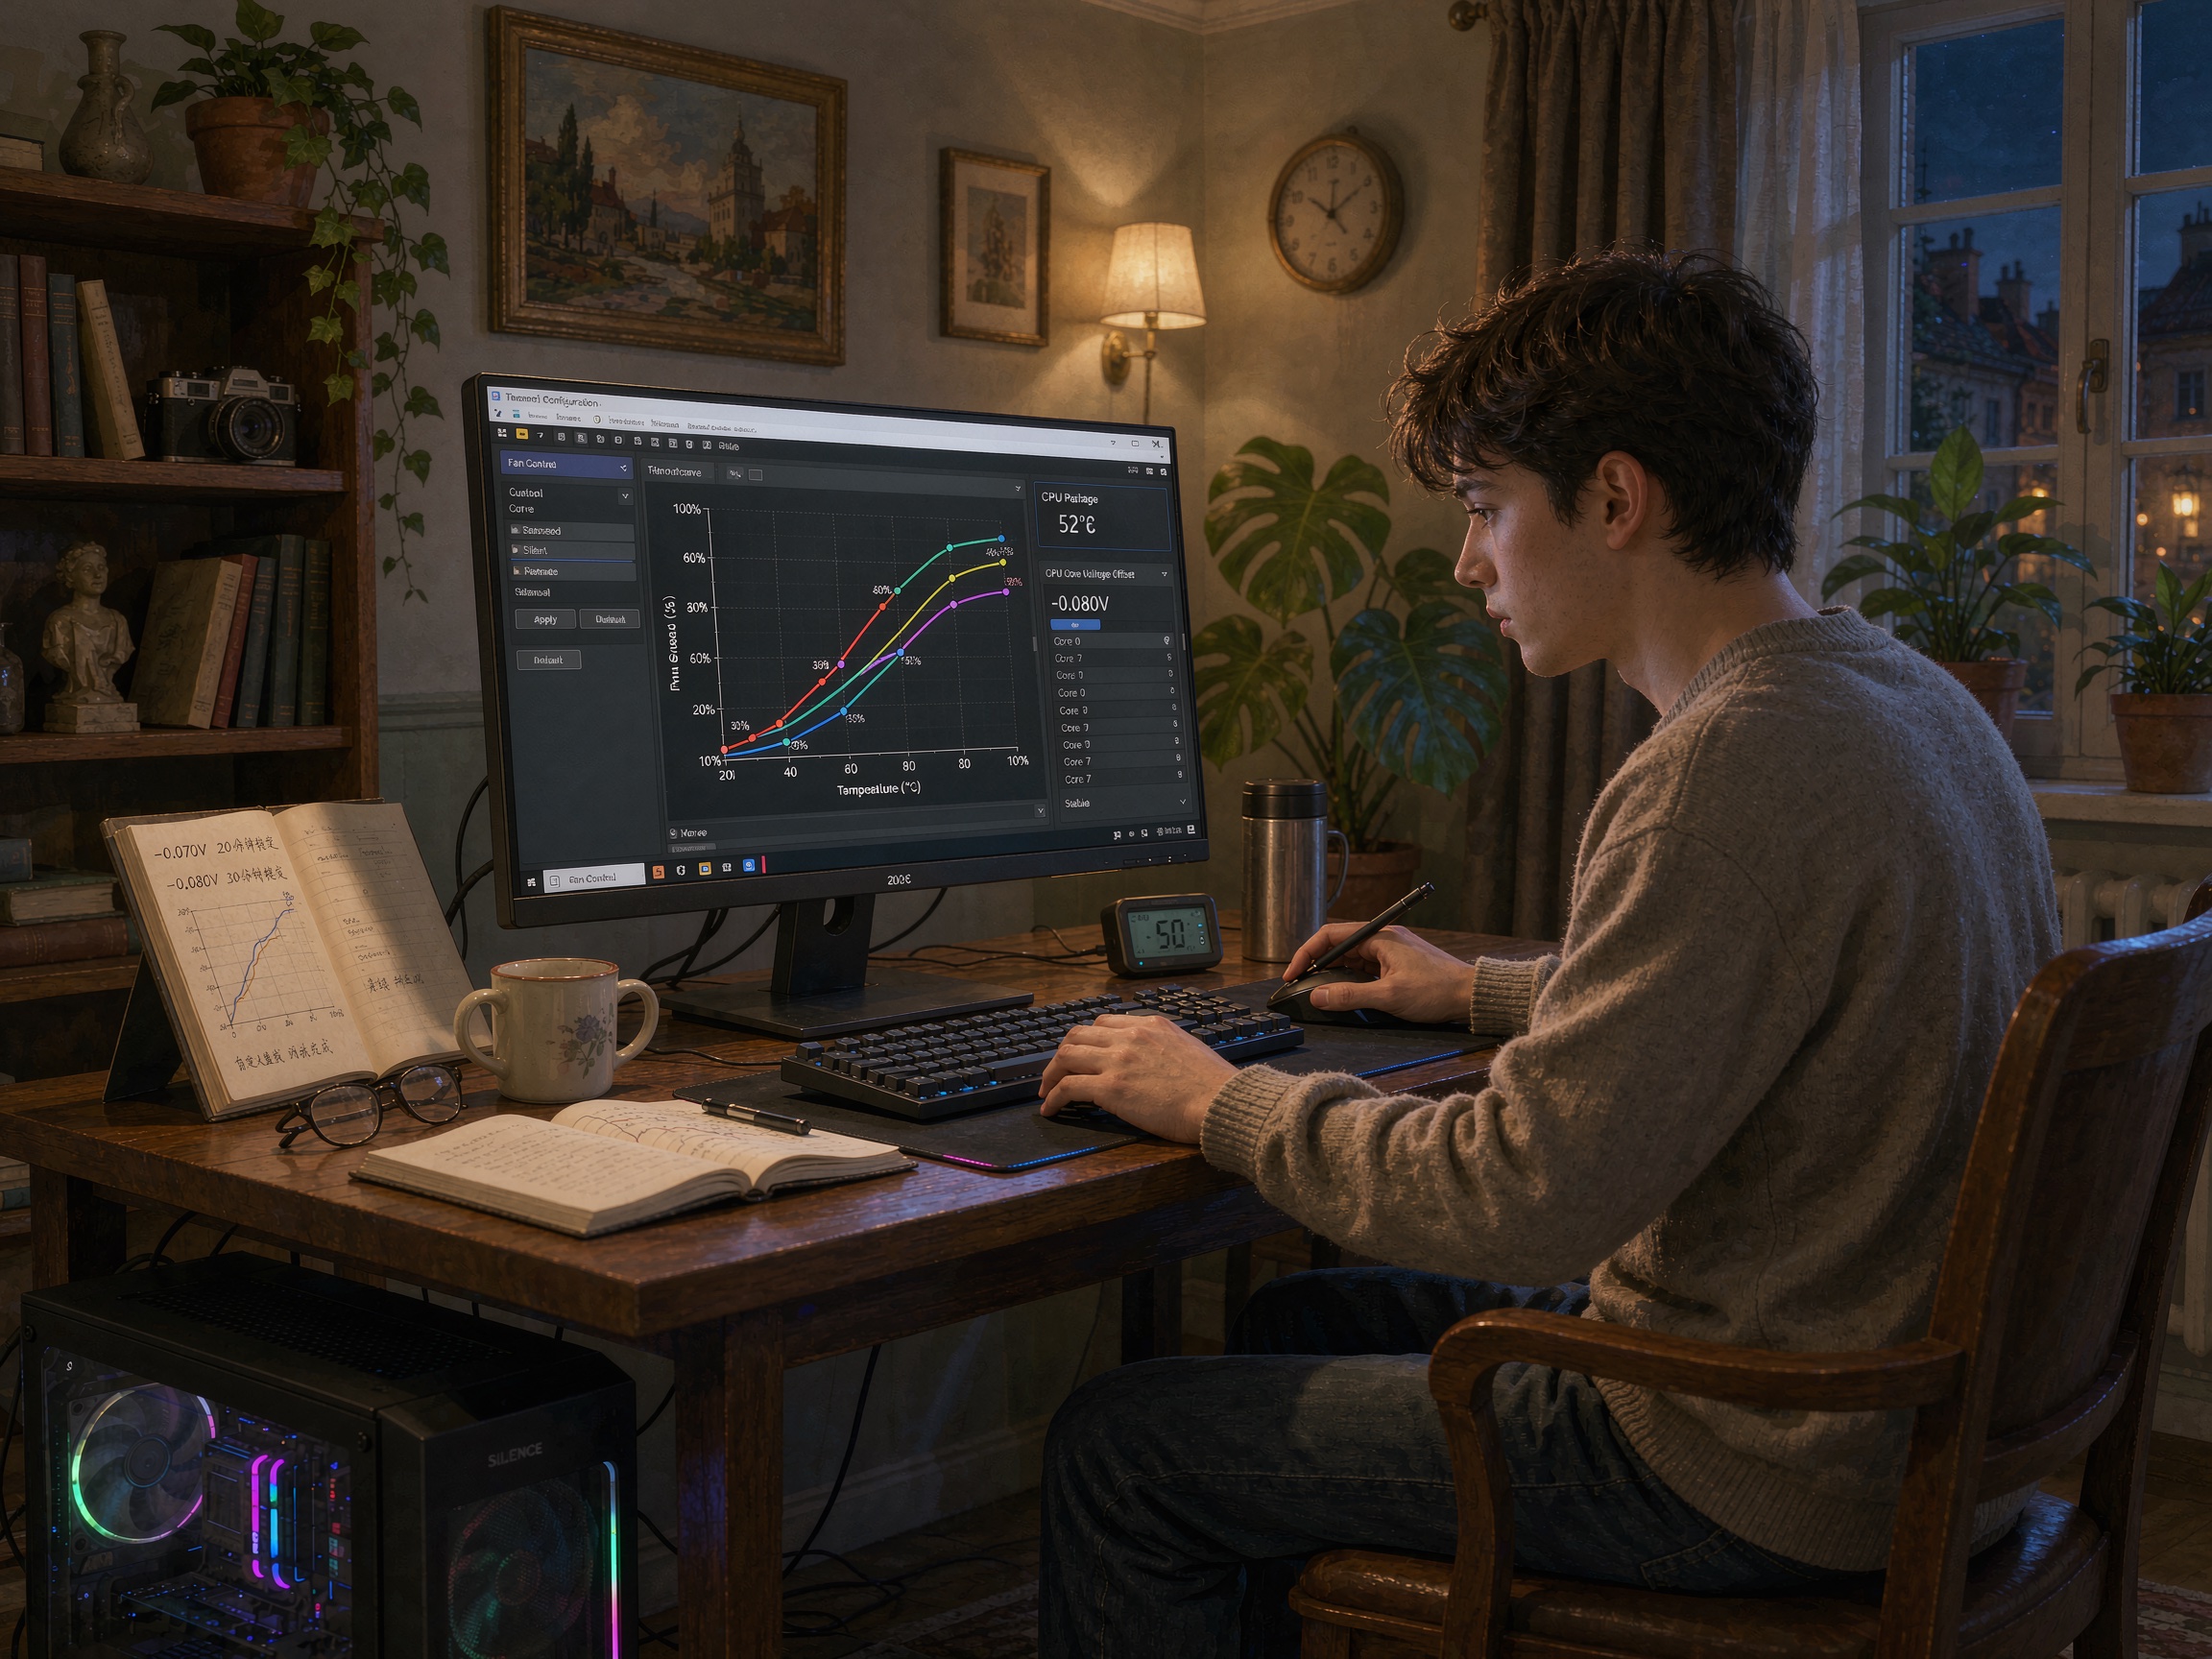
Adjust fan curves, undervolt the CPU or GPU if temperatures are high, and update drivers regularly for optimal performance.
-
25
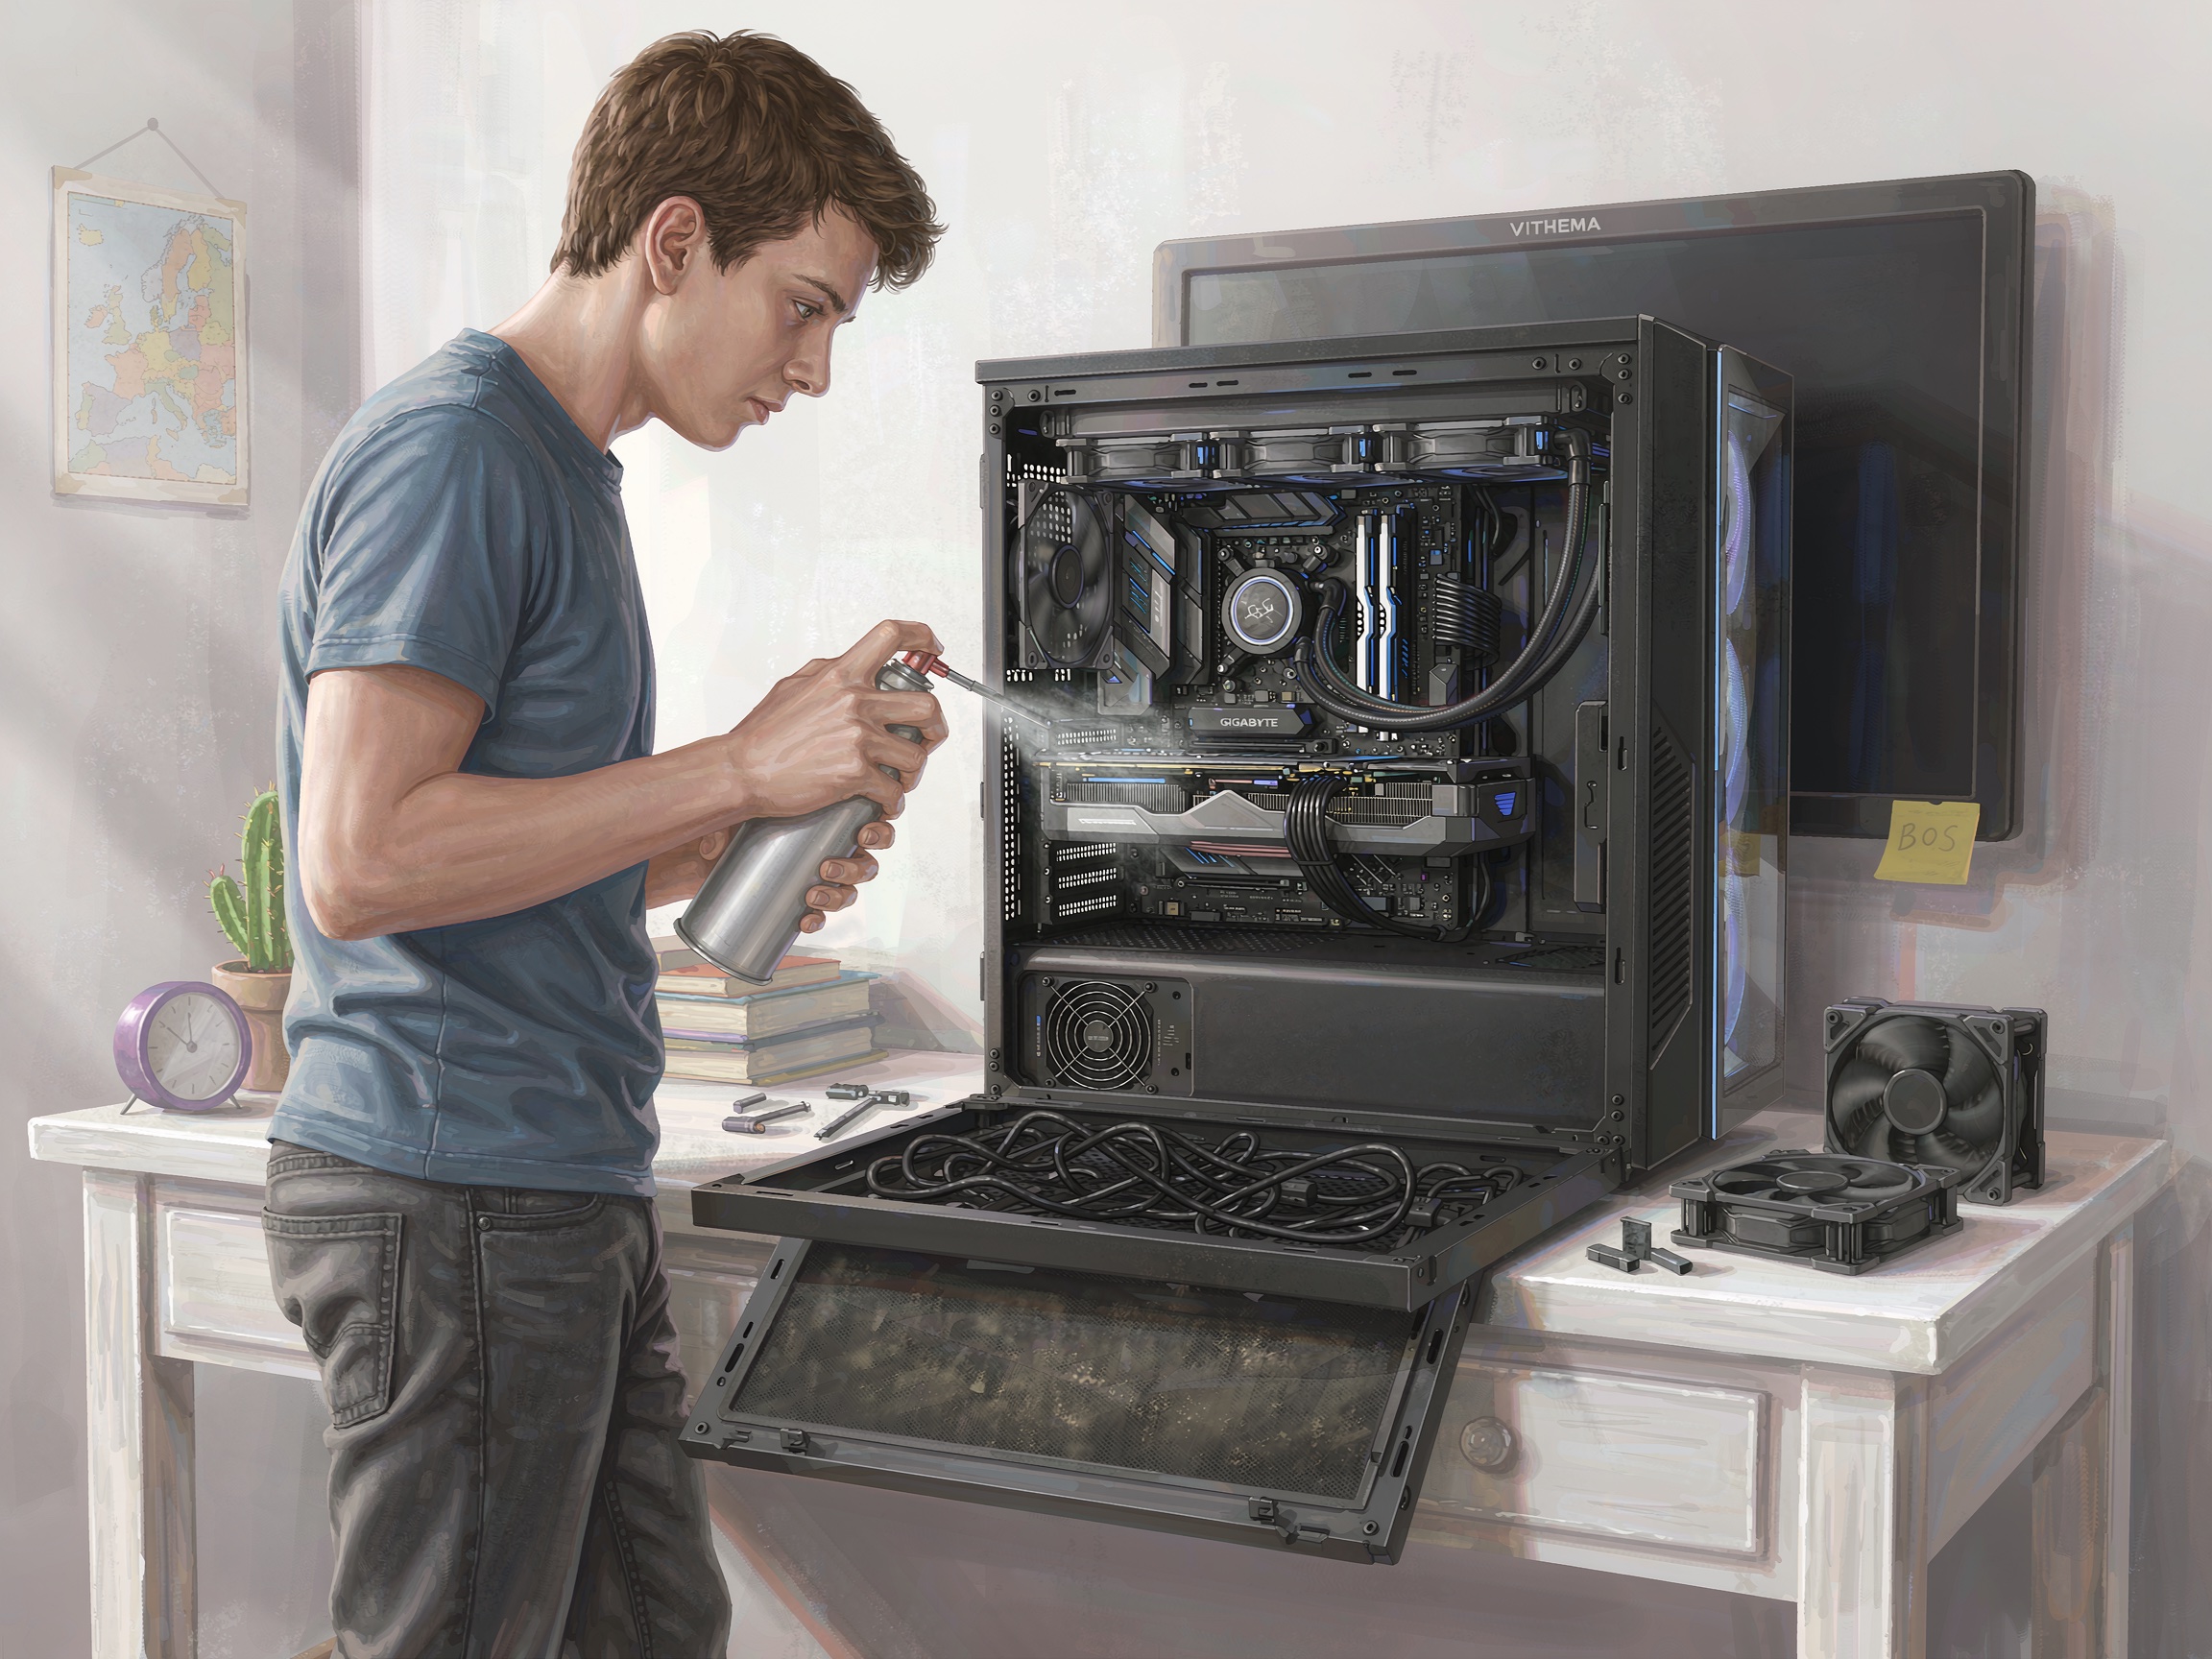
Maintain Your Build
Clean dust from fans and filters every 3-6 months. Update BIOS and drivers periodically. Check thermal paste every 2-3 years for reapplication.



Tips
- Always handle components by their edges to avoid electrostatic discharge
- Don't overtighten screws — they can strip threads
- Take photos during cable management for reference
- Keep extra screws organized — cases come with many sizes
Warnings
- Never power on without the CPU cooler installed — the CPU will overheat in seconds
- Do not touch the gold pins on the RAM or motherboard sockets
- Ensure all power cables are fully seated — loose connections cause crashes